Installing Tanzu using GRID CLI Installer
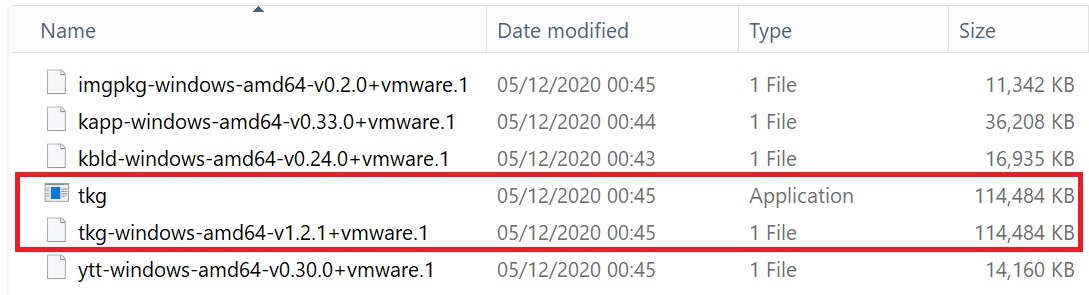
First we need to download a number of files, the tkg binary and the photon 3 kube OVA, you need to expand the tkg binary and cd into the directory

I simply copied the tkg windows to tkg.exe so that I can run it on my windows laptop.
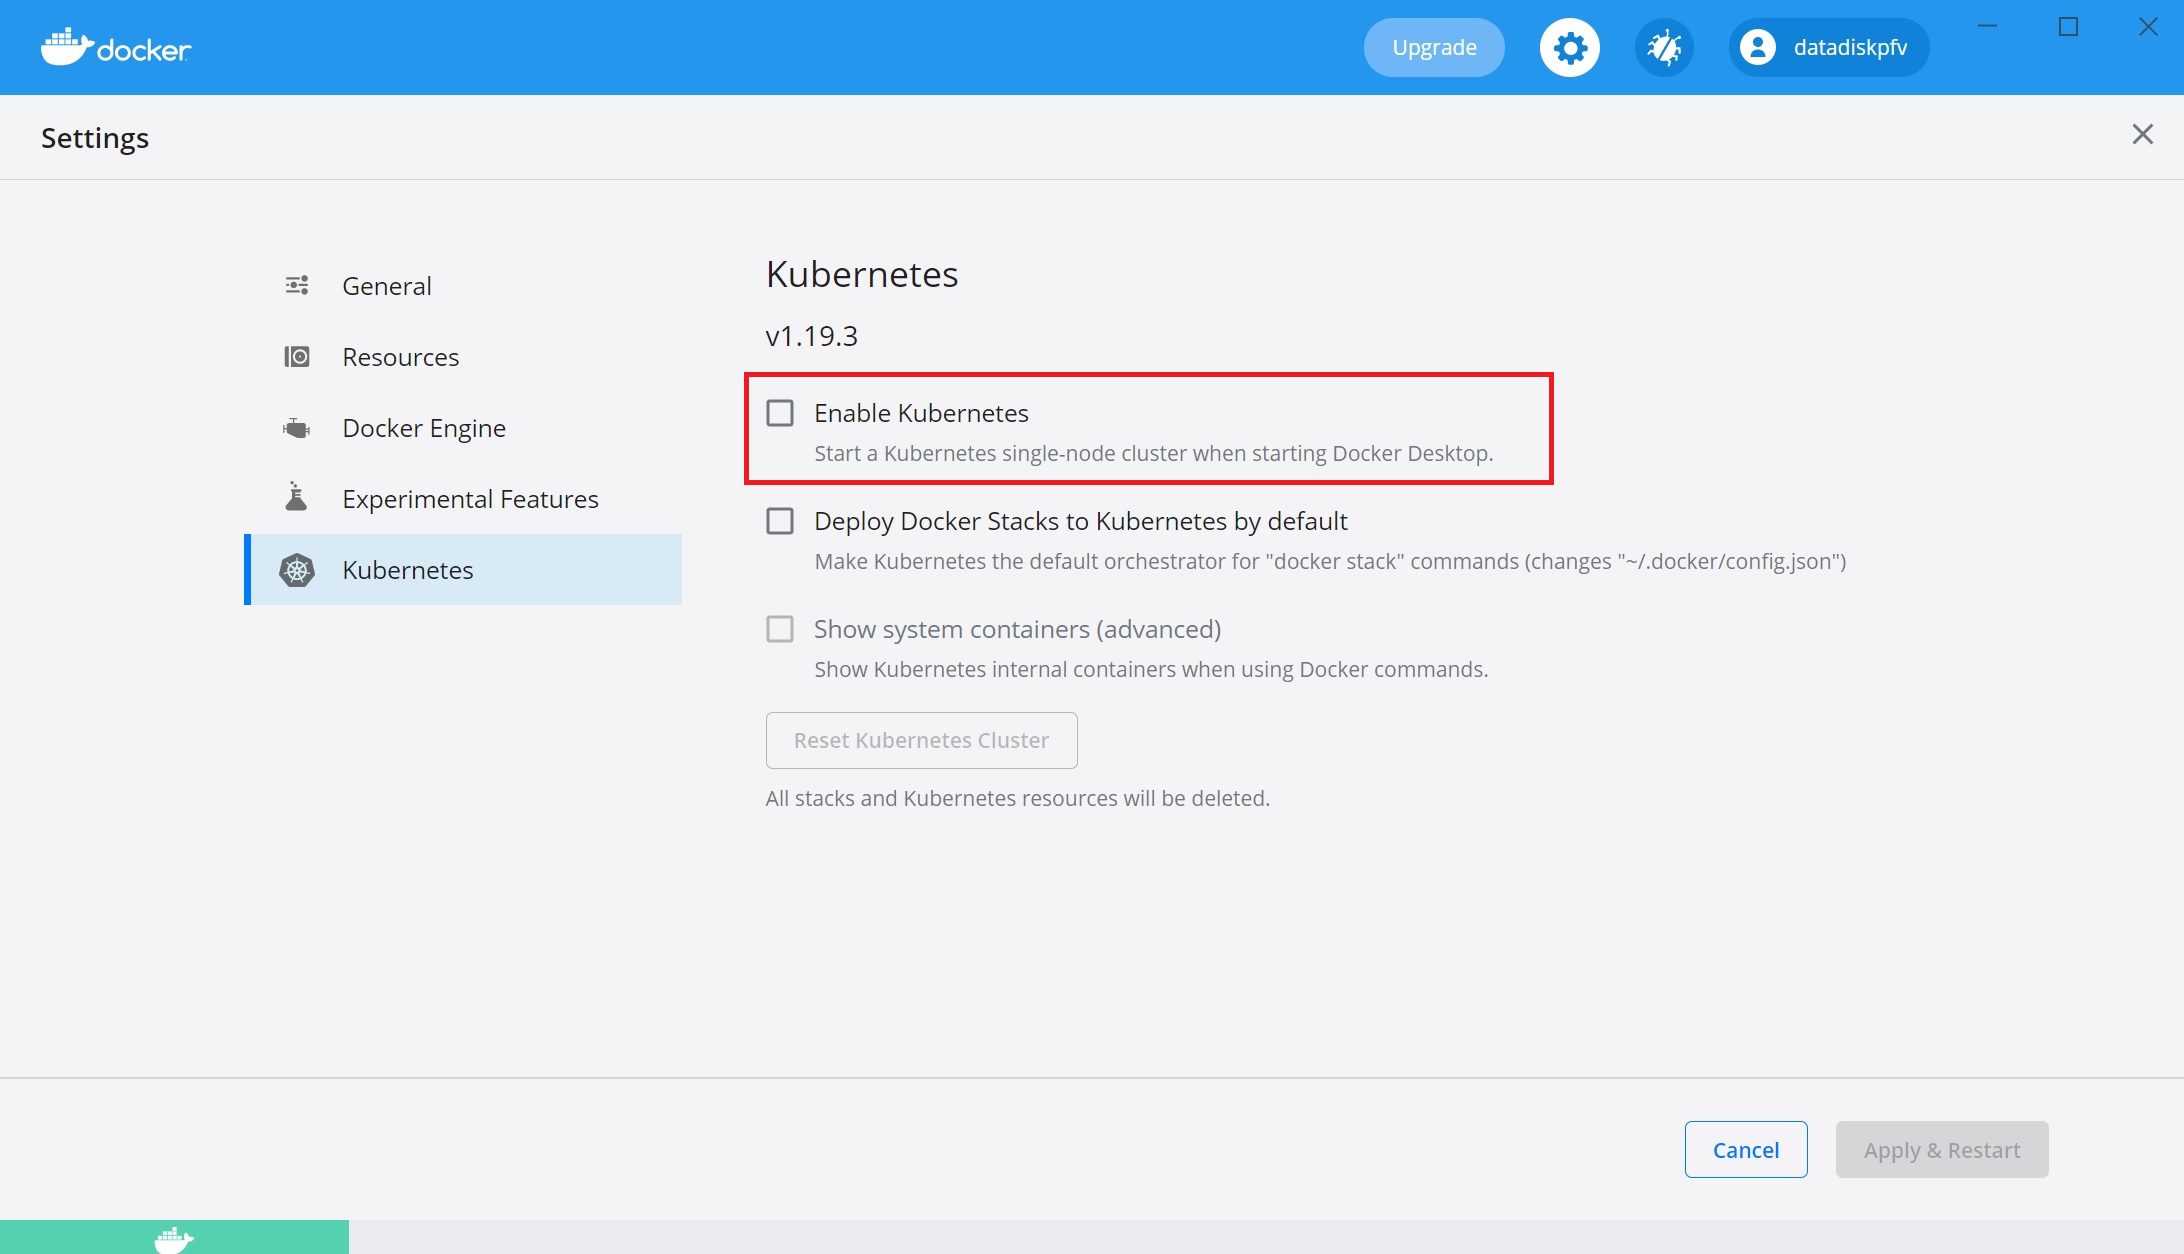
Next make sure that if you are using windows to install docker which comes with Kubernetes, you dont need to start these just simply have them installed.

As you can see Kubernetes installed only
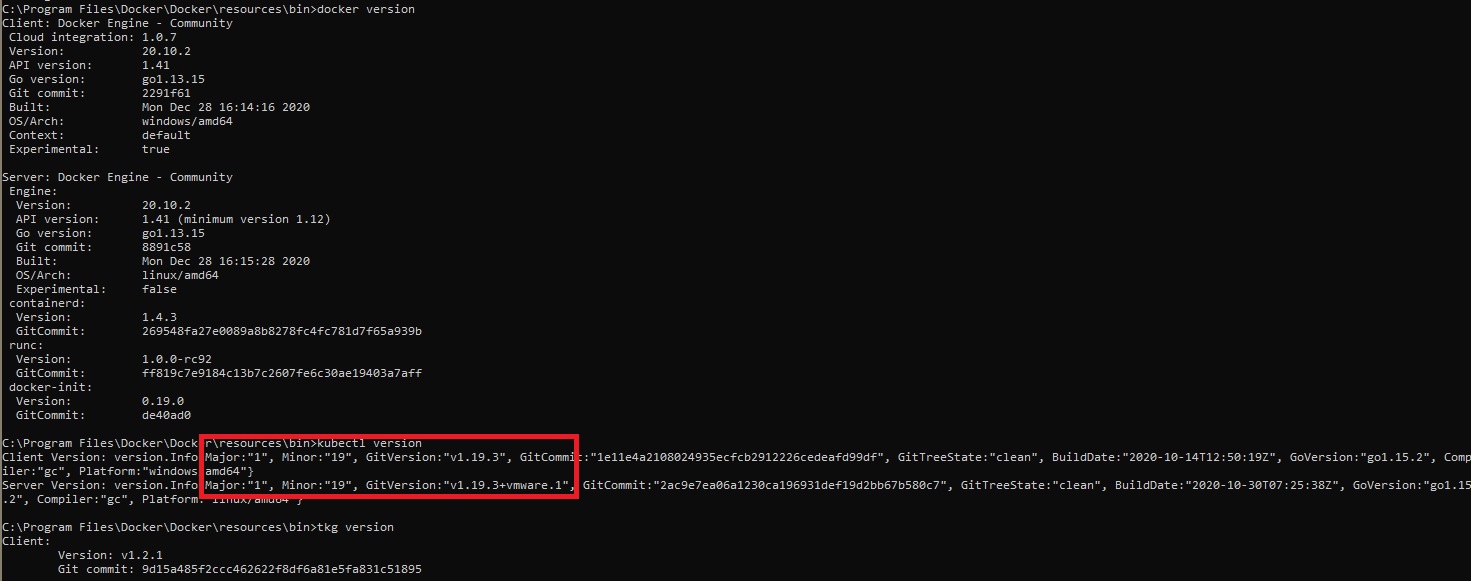
Confirm that you paths are setup as you will be using the commandline later, for kubectl you should be running at least 1.19 otherwise you will get an error later
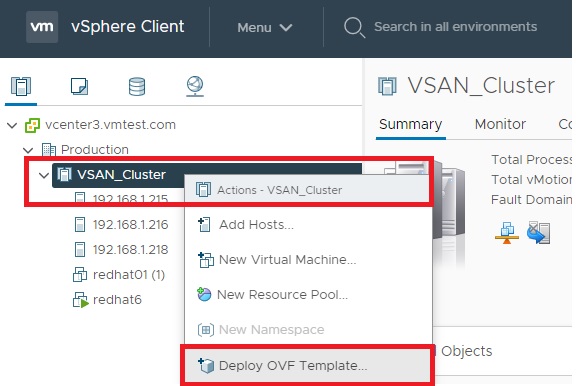
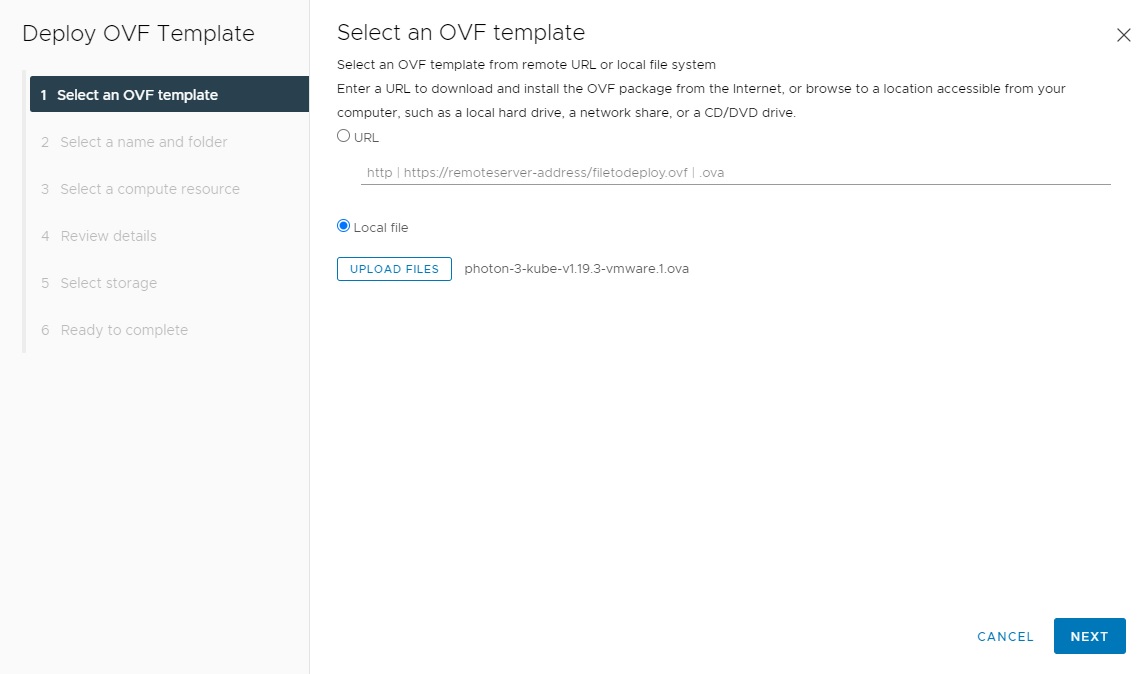
Now we can deploy a OVF template using the ova file we downloaded earlier
The first setup screen we point to the Photon 3 kube OVA file
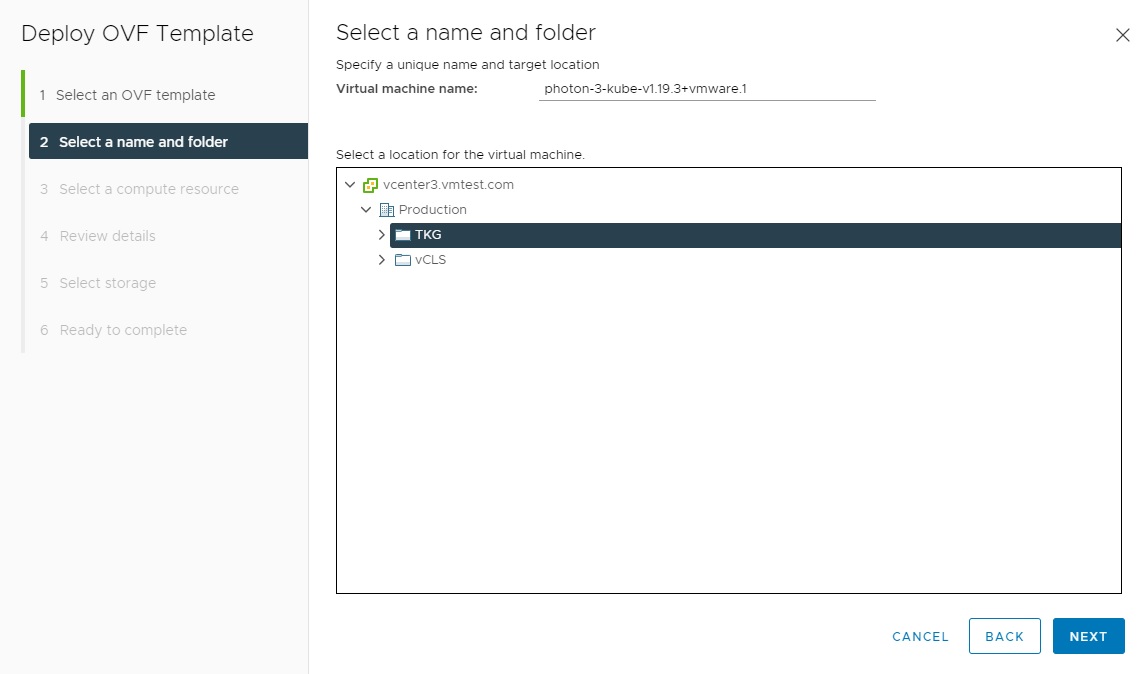
Then we select the TKG folder which I created which keeps everything in one place
Then we select the compute resource

We then come to the first review screen

We accept the license agreement

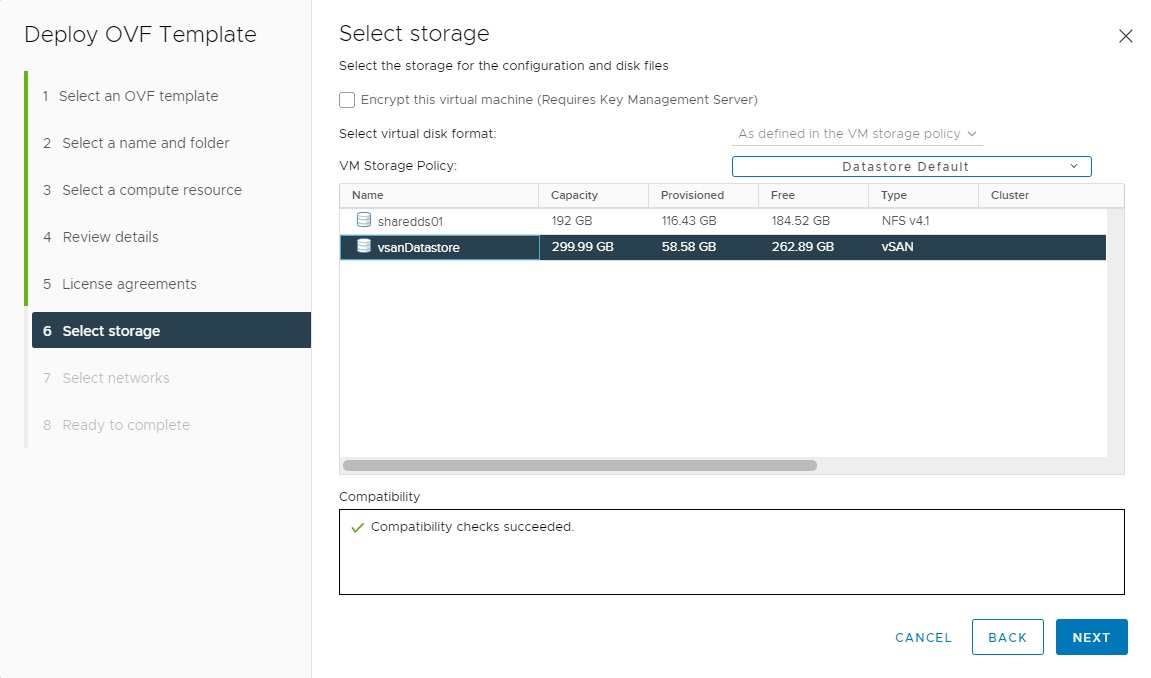
We then select the storage
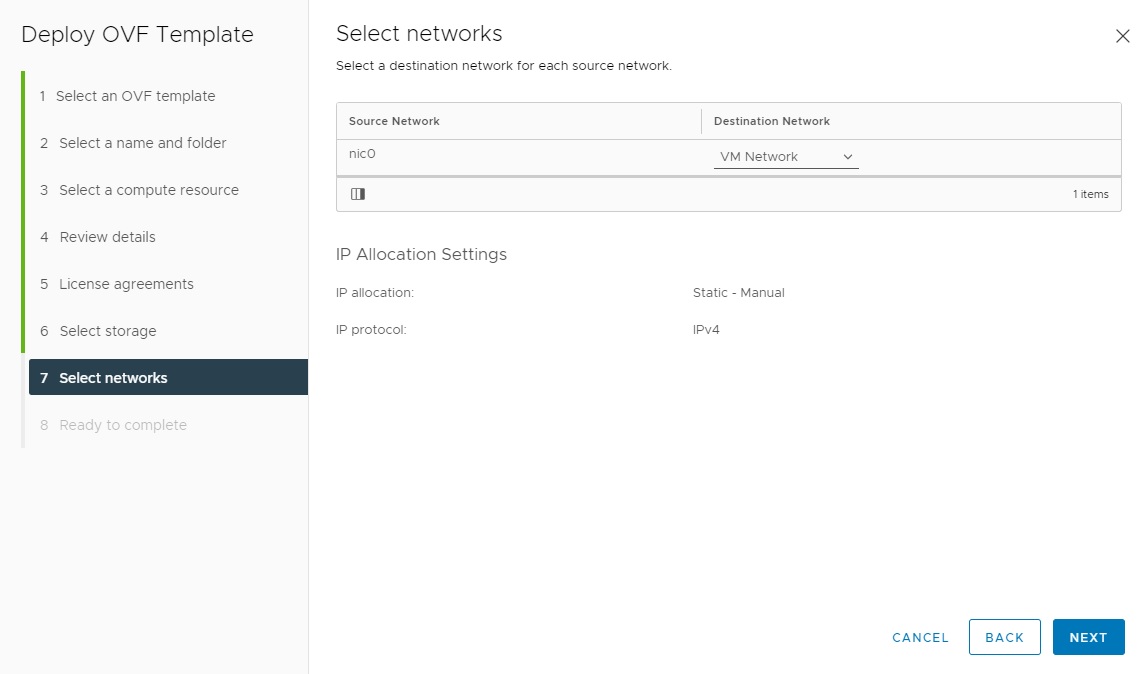
Next we select the network
Finally we get to the final review screen, click FINISH to deploy the VM

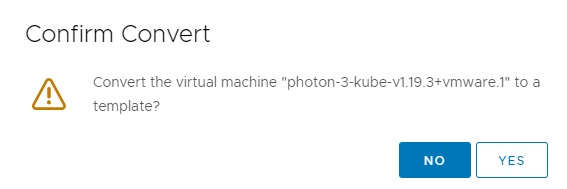
You should now see the VM deployed however we need to convert this VM into a template which will be used by the GUI installer

Right click the VM and select template -> convert to template

Confirm the conversion
Now we have the Photon 3 Kube as a template as seen below

Now we are ready to start installing the management kubernetes cluster to our VMware platform, open up a command prompt and cd into where you downloaded the tkg binary file, then type tkg init --ui
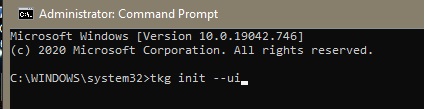
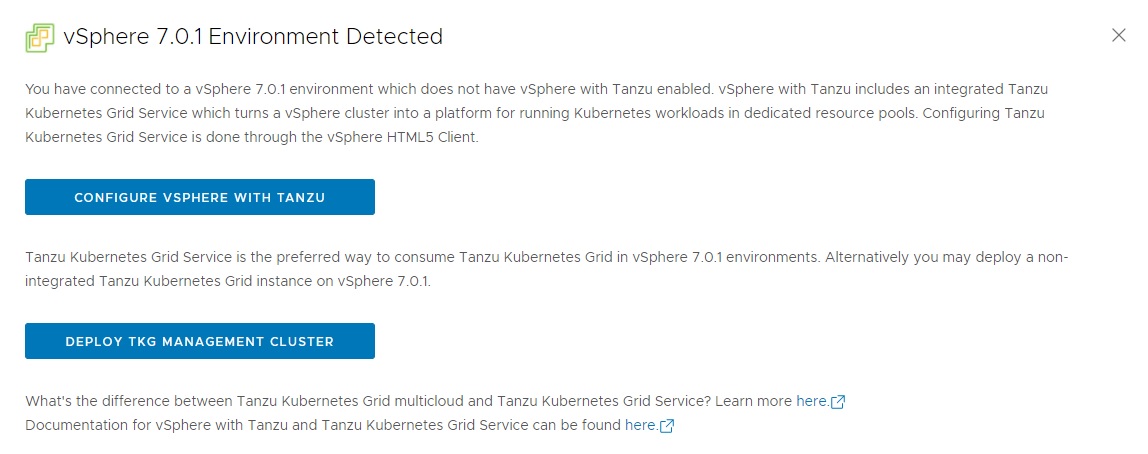
A browser will open up running the GUI installer, as you can see you can install to either a VMWare platform, AWS or Azure. click the VMware vSphere deploy

A pop screen will open up, just click the x to close it
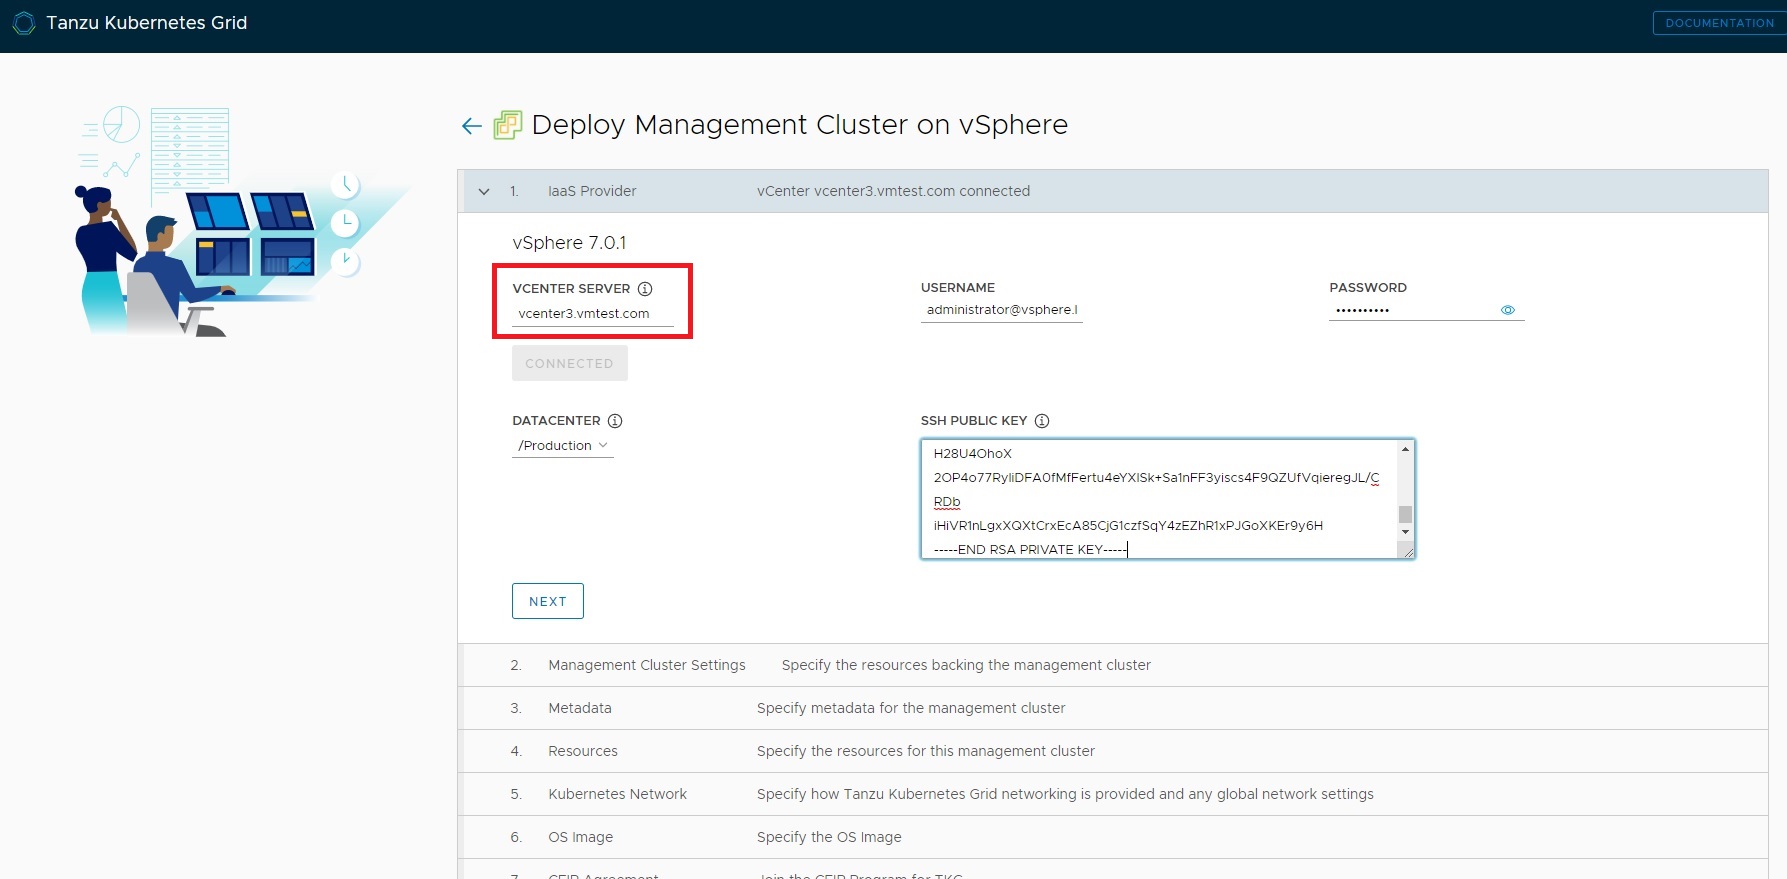
We are then taken to the first Kubernetes grid setup screen, fill in your vCenter details, select the datacenter and enter your SSH key (this would be the one on my windows laptop in my case), click NEXT
Depending on your installation type, we have a choice of a Development or Production in regards to the control plane, the drop down on each of these will determine the resources that your kubernetes cluster will have access to, for my purpose we will select the minimum I can get away with, then enter the cluster name, the IP address of the control plane endpoint, your access into the cluster, we also select the worker nodes resources again i will select the minimum

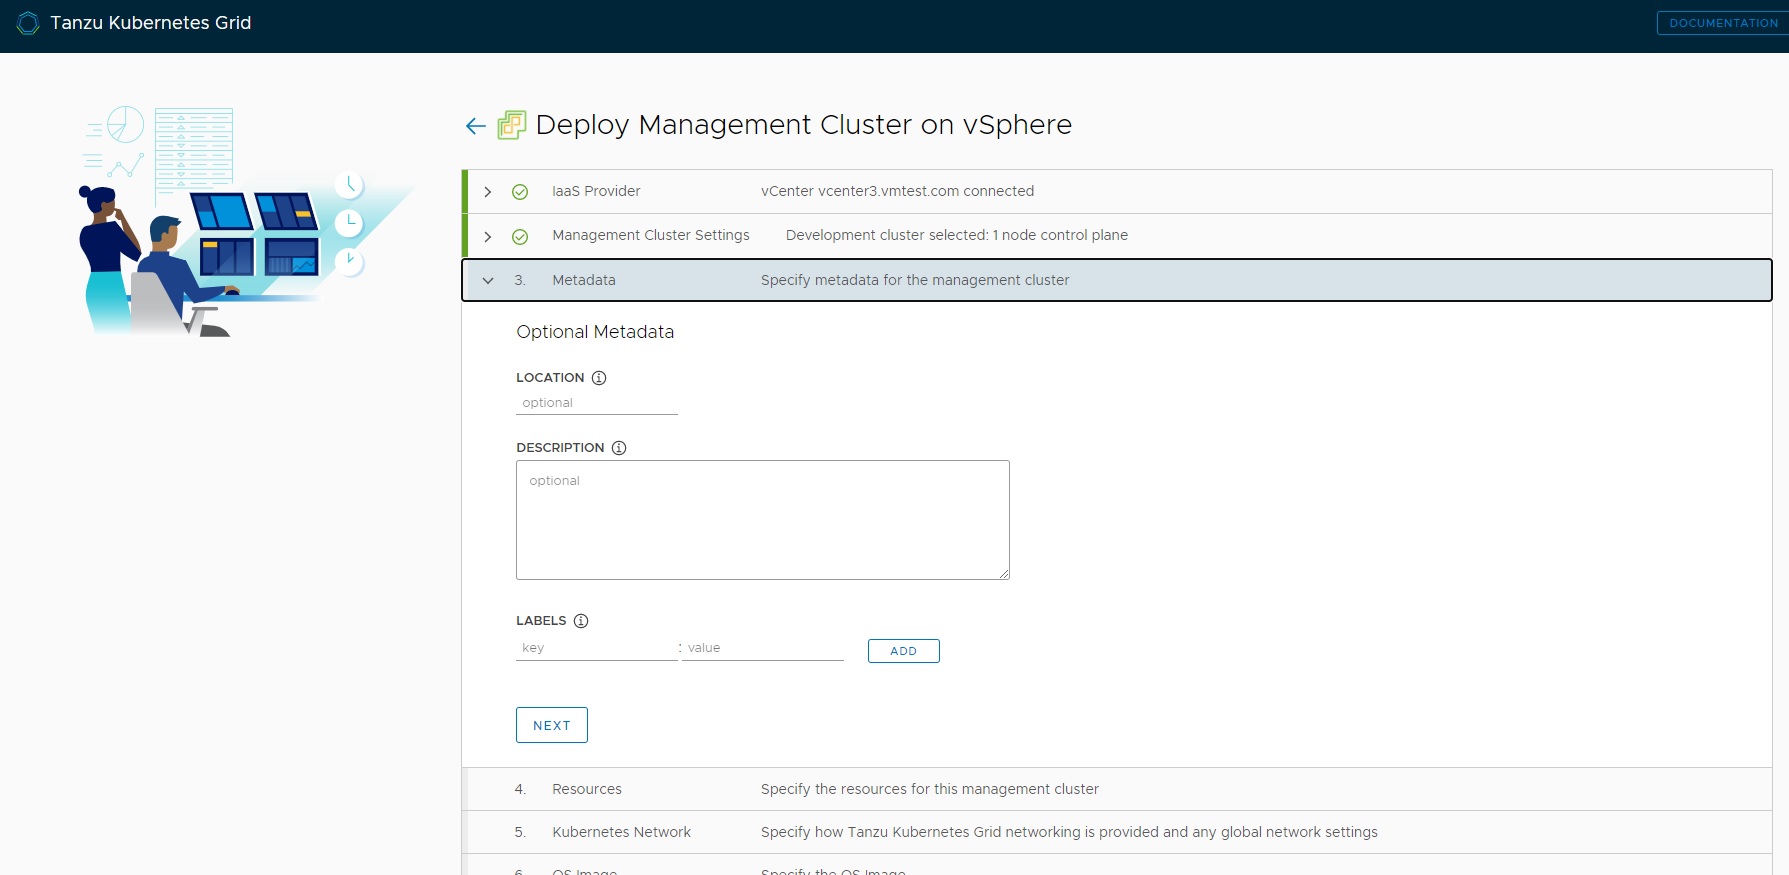
You can enter some metadata about the cluster but this is optional, this would be a good idea if you decide on deploying multiple clusters
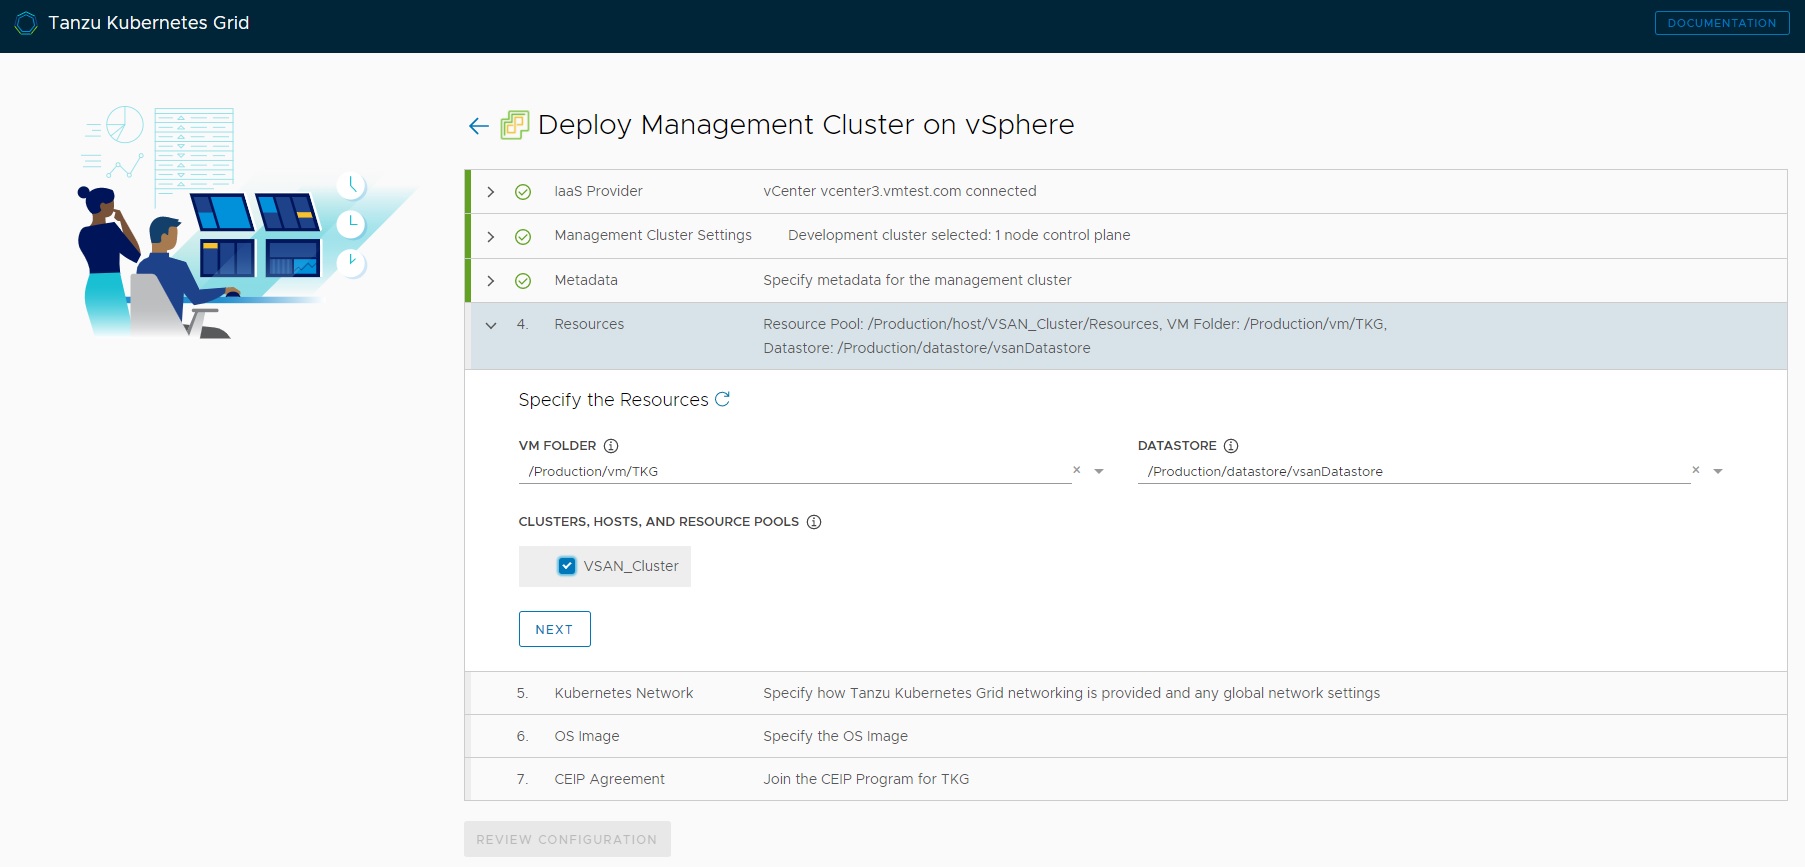
Next we specify the VM folder and the Datastore and the VM cluster we setup
Next we select the network name, use one that you have access to externally, the CIDR's I have left as default

Now we point to our Photon 3 Kube template we created earlier

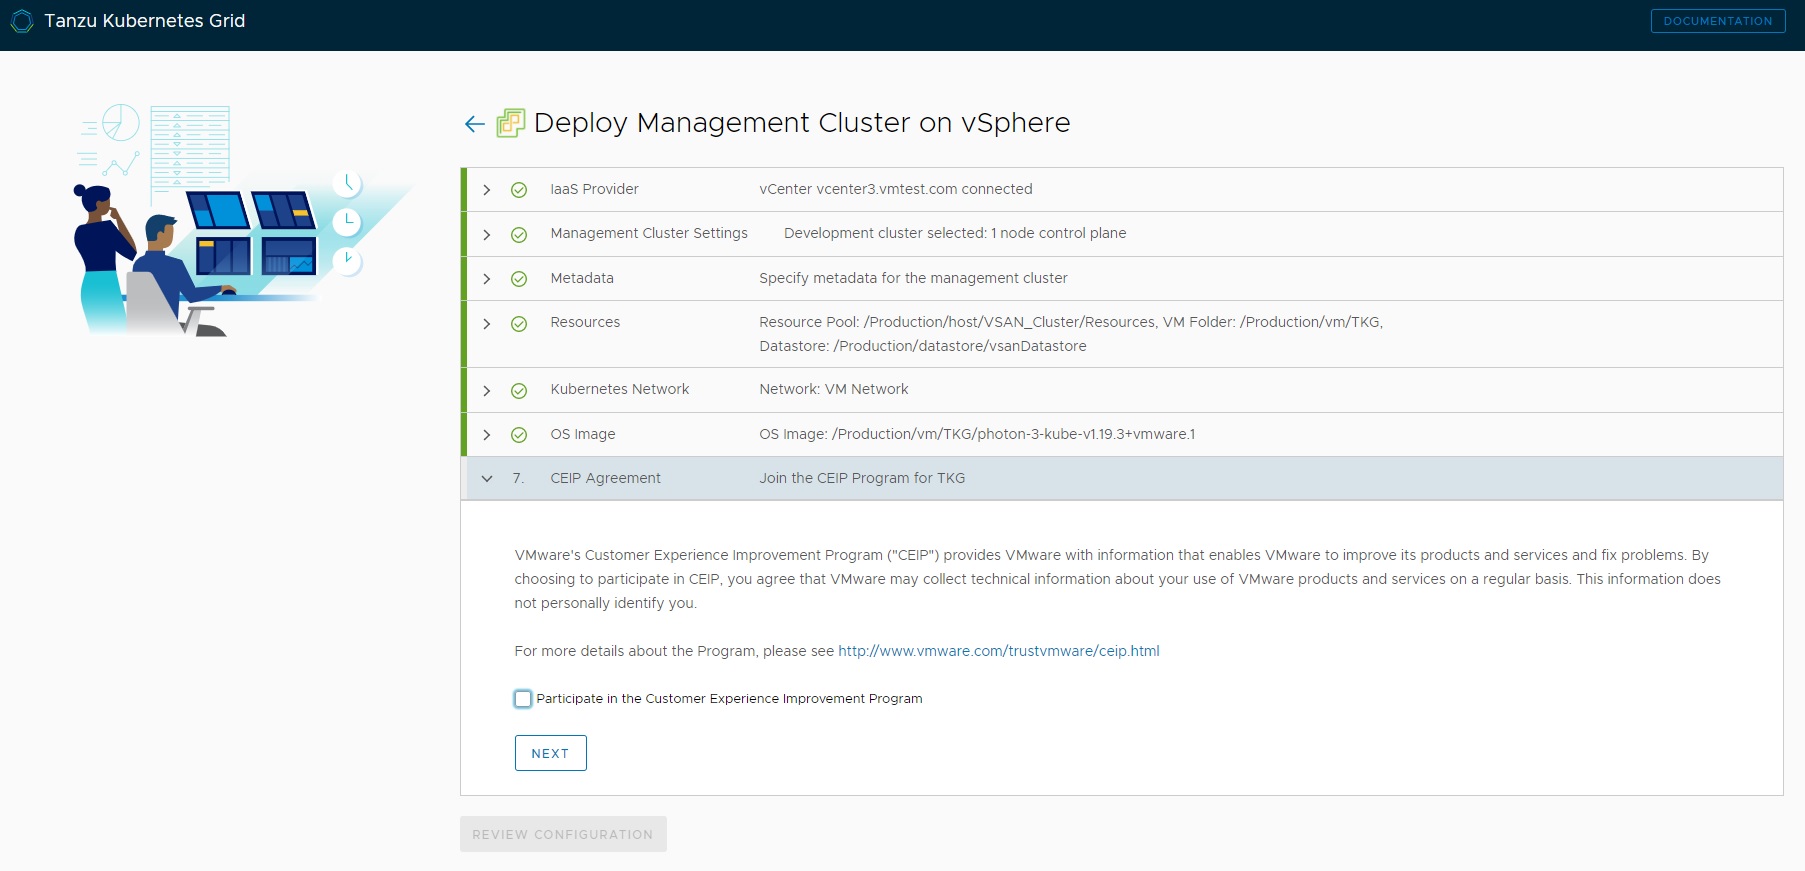
I have obmitted to join the CEIP program as this is a test environment
Double check everything in the review, make sure that everything has a green tick

The review screen is large below is the top of the screen

At the bottom we see the DELOY MANAGEMENT CLUSTER button to start the installation, or you can edit the configuration

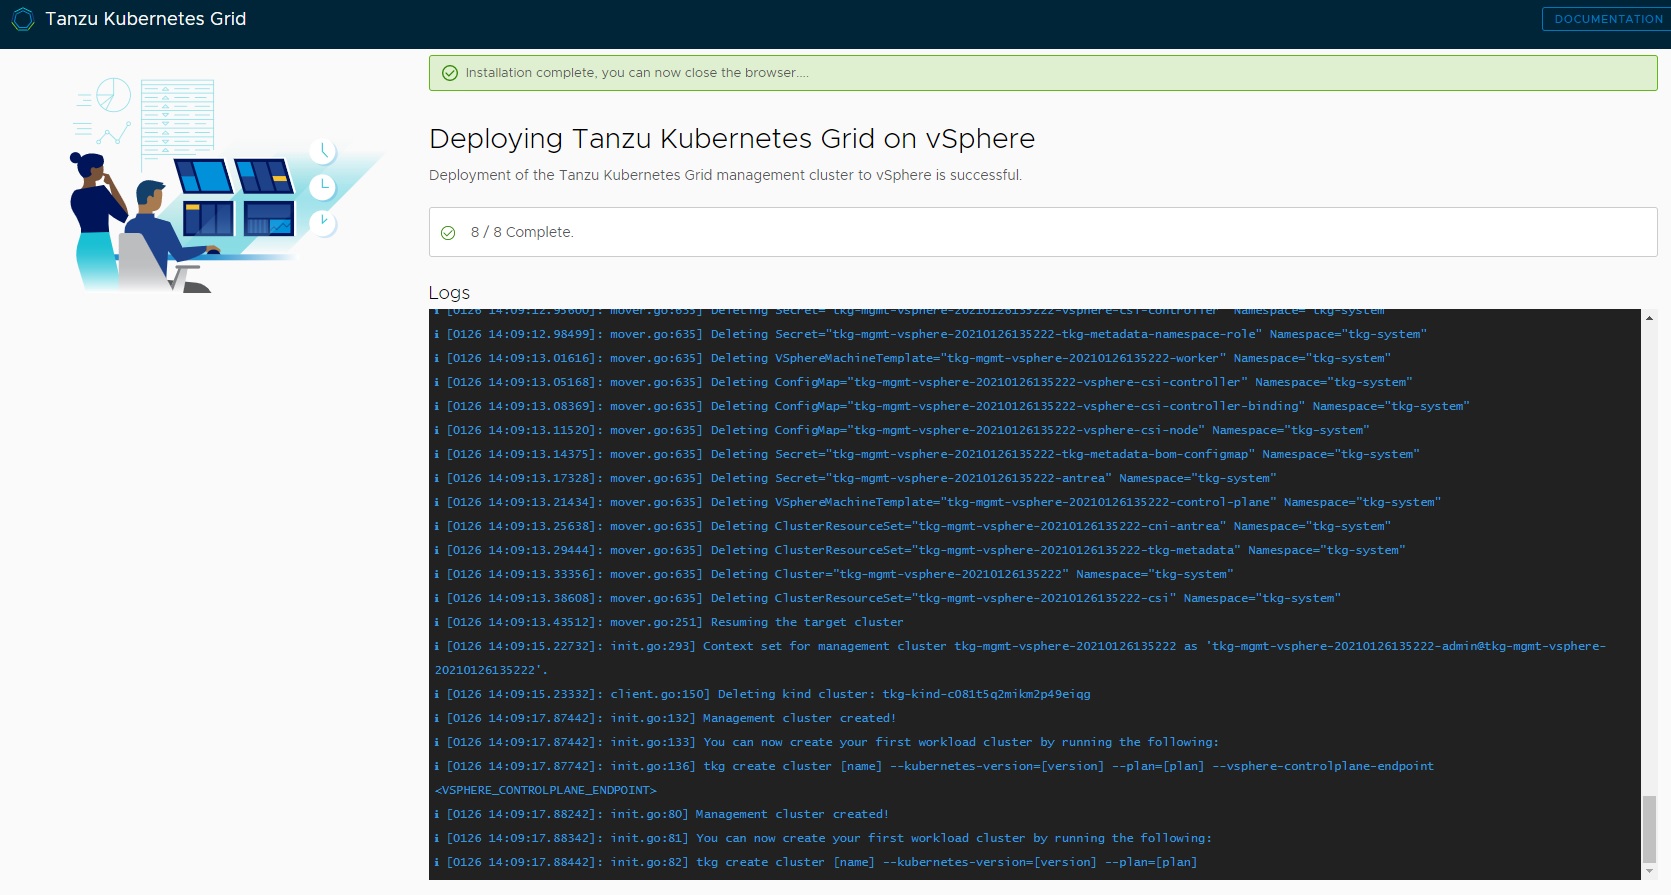
The deployment screen then appears this will take about 10-20 mins to complete the installation

Just keep an eye on the screen making sure you get no errors or issues

Eventually the installation will complete
If you return to the command prompt you can see the progress and where it went wrong if you do have issues, also it tells you the next steps that need to be taken, which is to create a workload cluster.
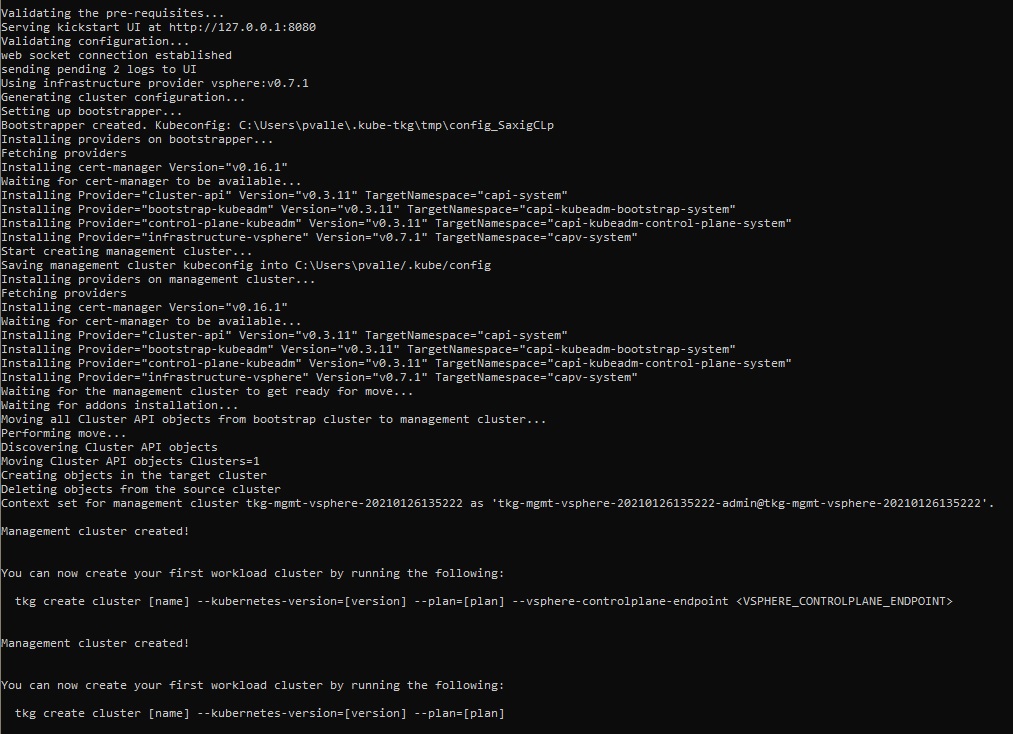
Once the installation has finished you can confirm that the management kubernetes cluster is running by using the tkg and running the command tkg get management-cluster, as you can see below I did hit a few issues and thus you see the 2 failed installations

Returning to the vCenter we can see that the kubernetes cluster has been created, we see the single control plane and the single worked we requested to be installed.

We can use either the tkg commands or the normal kubectl commands (see my kubernetes cheatsheet for more details)

Next we can create a workload cluster using the tkg command, I will use the dev plan which is the minmum amount I can get away with, again you need to specify a endpoint into the cluster, this endpiojnt will be used to access the application when we install them, which we will see in a moment.

Once the workload cluster has been created we can then deploy an application in this case nginx web server, we deploy it then create a service to expose the port to the Ip address, performing a service list you can see that port 80 is exposed

Directing a web browser to this address and port we access the deployed nginx application

So lets ee what has happened in the vCenter, here you can see that I have management cluster and two workload clusters created, you are free to deploy whatever applications you like to the workload clusters

As I mentioned you are free to use the normal kubectl commands to obtain information for example cluster info, pods, services or deployments

Once you have finished for the day I generally close down my DELL server, the steps to take are below, however I generally stop vCenter first then the ESXi nodes and finally my physical server. Thats all there is to it, actually it was not that difficult
