There are two major Javascript web technology stacks called MEAN and MERN, they make developing web applications much easier, the main different between the two is one uses Angular and the other React, both do that same thing and that is to create interactive UI's for your web application. In this tutorial I am going to cover MERN at a later date I might cover MEAN, I am not going to cover a step by step tutorial but will create a more of a cheatsheet/reference guide which will be enough to give you the basics of MERN. Also I am going to cover Redux which is a predicable state container for Javascript applications and integrates well with React (and also Angular) and now seems popular.
- MEAN - MongoDB, Express, Angular and Node
- MERN - MongoDB, Express, React and Node
In this tutorial we will cover some of the below main technologies
- ES6+ - Javascript is a programming language that conforms to the ECMAScript specification.
- MongoDB - is a cross-platform document-oriented database program, its a NoSQL database program, it uses JSON-like documents with optional schemas.
- Express - is a web application framework for Node.js
- React (including hooks) - creates interactive UI's for web applications
- Node (JS) - runtime environment that executes JavaScript code outside a web browser
- Redux - predicable state container for Javascript applications
- JWT - JSON Web Token is a standard for creating data with optional signature and/or optional encryption whose payload holds JSON data.
I am using a windows 10 laptop and have installed nodes.js version 12.17, however later versions should work.
For the MongoDB I can going to take advantage of the cloud and use MongoDB Atlas, you can use the free tier for this tutorial, however there is nothing stopping you using a on-prem version of MongoDB.
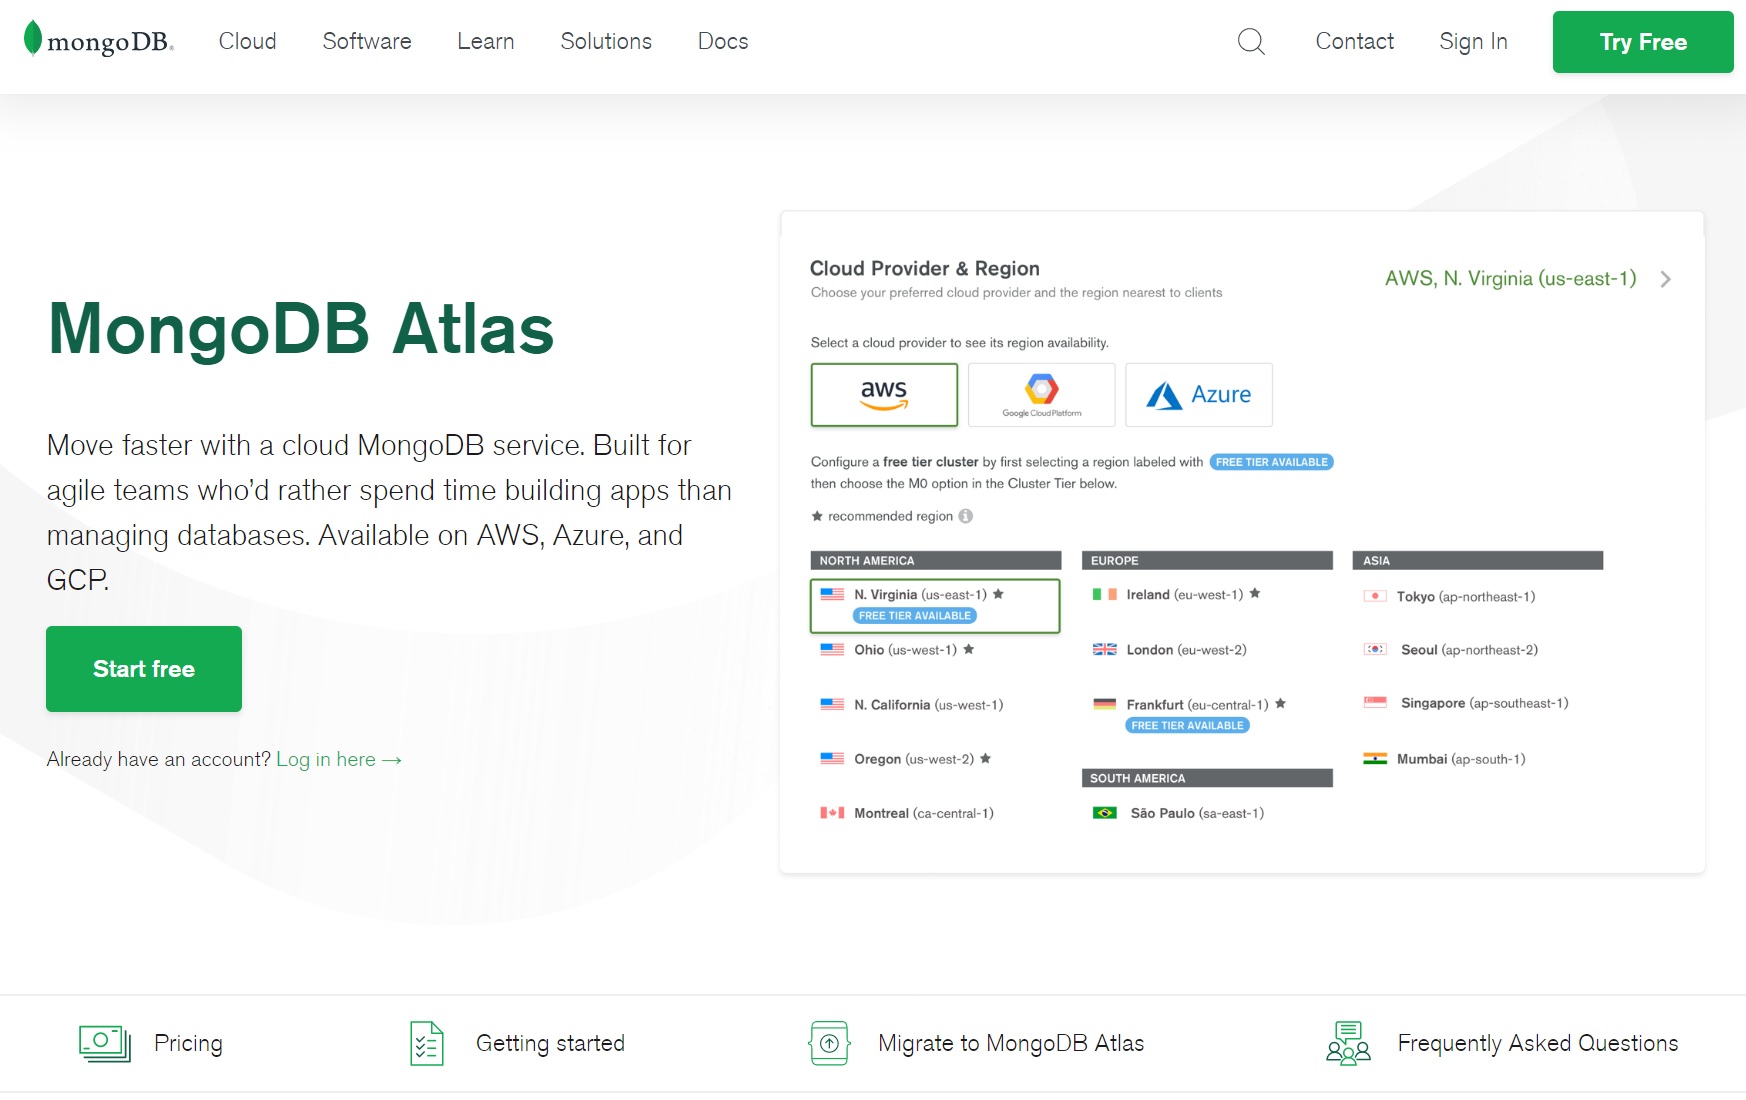
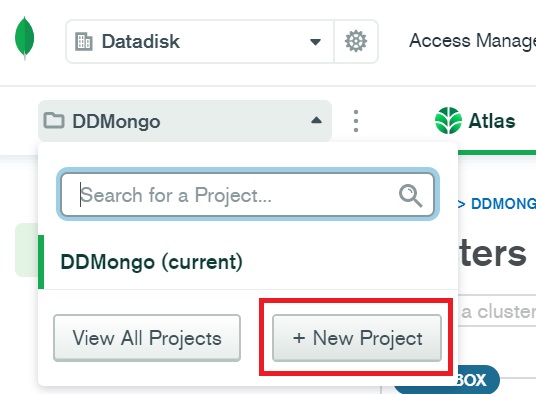
Once you have registered setup a new project and created a new cluster as per below, I selected to use AWS Cloud and the free tier, you might have to wait upto 5 mins for the database to be created.
 |
 |
Next you need to setup a user so that you can login to the database, I have setup a simple user using a password
 |
 |
Next you need to whitelist your IP address, just click the add IP address button to add your IP address or you can open it up to everyone, and that's it, your MongoDB is ready.

To get the MongoDB connection details for the application, select clusters and in the cluster select connect, then select connect your application, you can see the connection details as per below

There are many IDE's that you can use, I will be using JetBrains WebStorm as I already use other JetBrains products.

I will also being using Postman for testing the REST API.

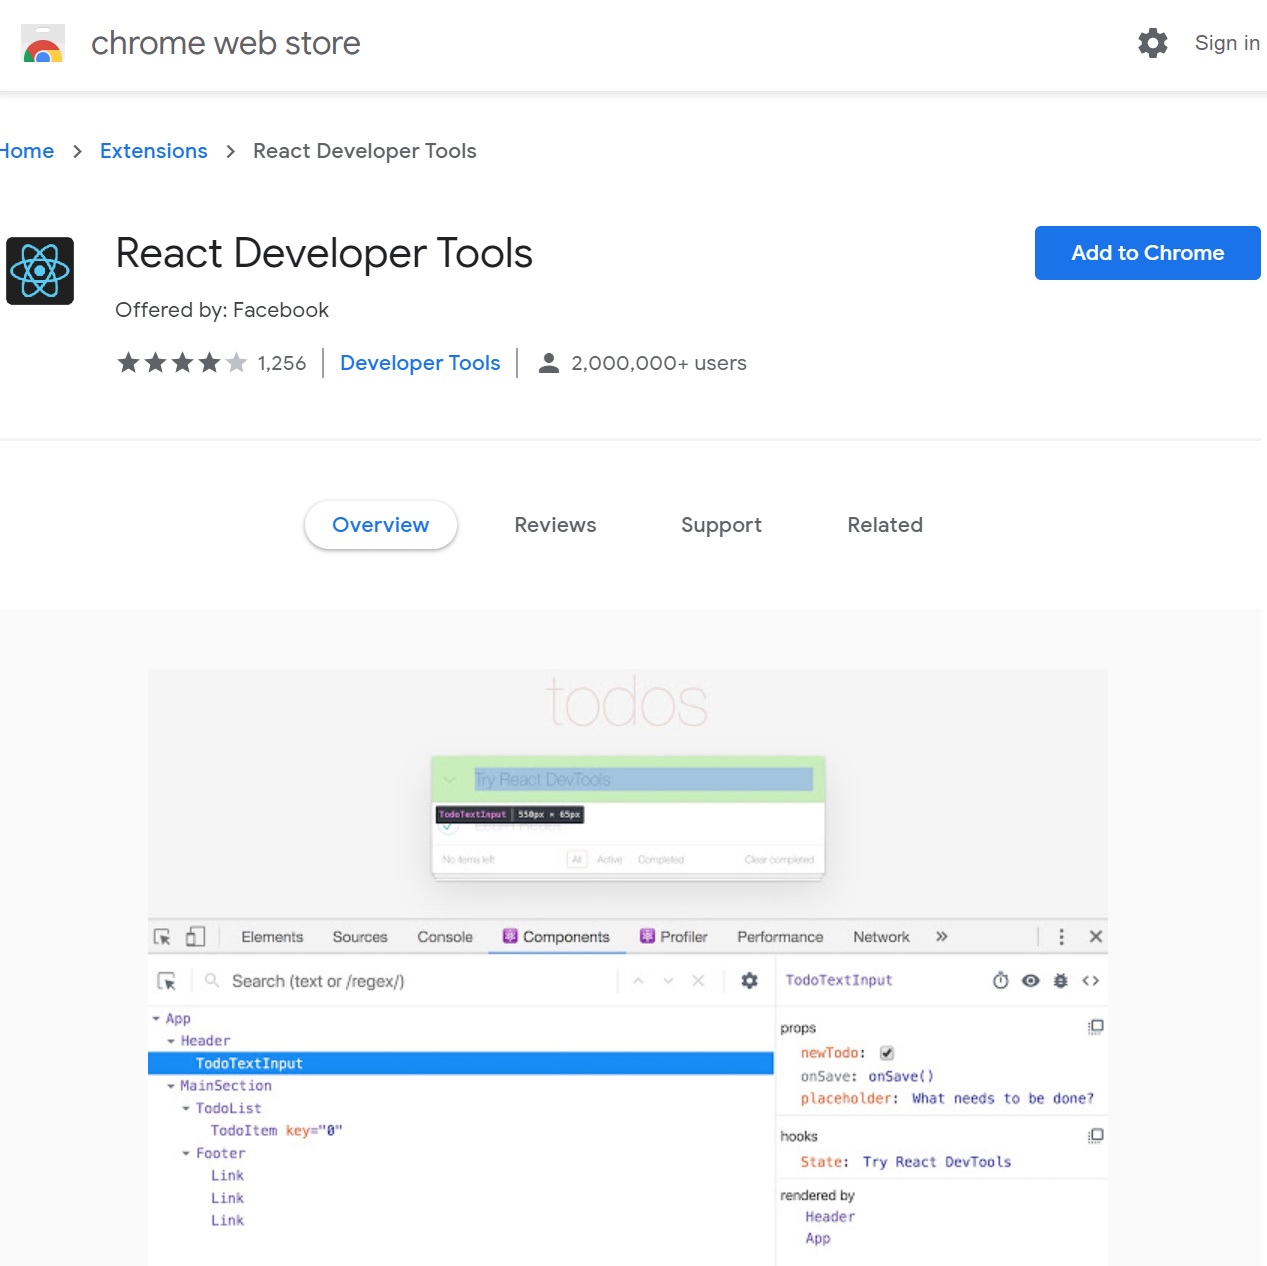
There are a couple of Chrome extensions that are worth installing React Developer Tools and Redux DevTools, these will come in handy for seeing how react and redux work and for debugging.
 |
 |
As we go through the tutorial we will end up with a directory structure looking like below but you are free to name any directories as you wish.

You are free to push the code to GitHub if you like but I won't be covering Git in this tutorial, I have already created a Git Cheatsheet.
Start by creating a projects directory, then we need to initialize the MERN project, using npm init, answer the questions which information about the project, this will create package.json file.

Next we need to install some dependencies
| Regular dependencies | C:\> npm i express express-validator bcryptjs config gravatar jsonwebtoken mongoose request prop-types express - Main web framework for the back-end express-validator - Used for data validation bcryptjs - Used for password encryption config - Used to configure global variables that can be used throughout the application gravatar - Used for profile avatars (profile images) jsonwebtoken - Will be used for JWT tokens for validation mongoose - The Mongoose database API for MongoDB request - Will allow to make HTTP requests to other API's (used for github repos's) |
| Dev dependencies | C:\> npm i -D nodemon concurrently nodemon - Used to refresh the server when changes have been made to the application concurrently - Allows both front-end (React) and back-end (express server) applications to be run together |
Once installed the package.json file will be updated as per below

Now we create a server.js file which will setup the express server, I have commented each line

Next we update the package.json file scripts section, so that we have a few options on starting the express server, you use npm run server, npm run client and to start both npm run dev. You can use Control-C to stop the server.
- start - used for external parties like heroku will use
- server - used for development and the server will refresh as changes are made to it
- client - used to start the React client application
- dev - used to start both the server and client

You can see the server start (left-hand screenshot) and then you can use postman to test that the server is working (right-hand screenshot)
 |
 |
Mongoose is a Object Data Modelling (ODM) librray for MongoDB and Node.js, it manages relationships between data, provides schema validation and is used to translate between objects and the representation of those objects in MongoDB.
Before we start setting up the connection between node and MongoDB there are a few terms that you need to understand
- Collections - these are tables in the relational database world, they can hold multiple JSON documents
- Documents - these are rows in the relational database world, Mongo documents usually combines documents to create relationships (no referencing)
- Fields - are similar to columns in the relational database world
- Schema - is a document structure that is enforced via the application layer
- Models - are higher-order constructors that take a schema and create an instance of a document.
I have created a directory called config and two files default.json (hold all global variables) and db.js. In the default.json we copy the string we retrieve earlier from MongoDB Atlas, the in db.js we pull in mongoose and config (allows you to use global variables we have set in default.json), we then use a asynchronous function to get a MongoDB connection, we use a try-catch block to show any connection problems. The last thing we do is export the module so that other code can import it and use it.
 |
 |
We then update the server.js file to pull in the db.js file and then execute the connectDB() method to get a MongoDB connection.

Thats it for connecting to the MongoDB
The routing files basically direct the client requests to methods that will perform some task, for example register a user, login a user, get users details (profile), etc. I have created the directory below to keep the routing files structured, each file has an appropriate name.

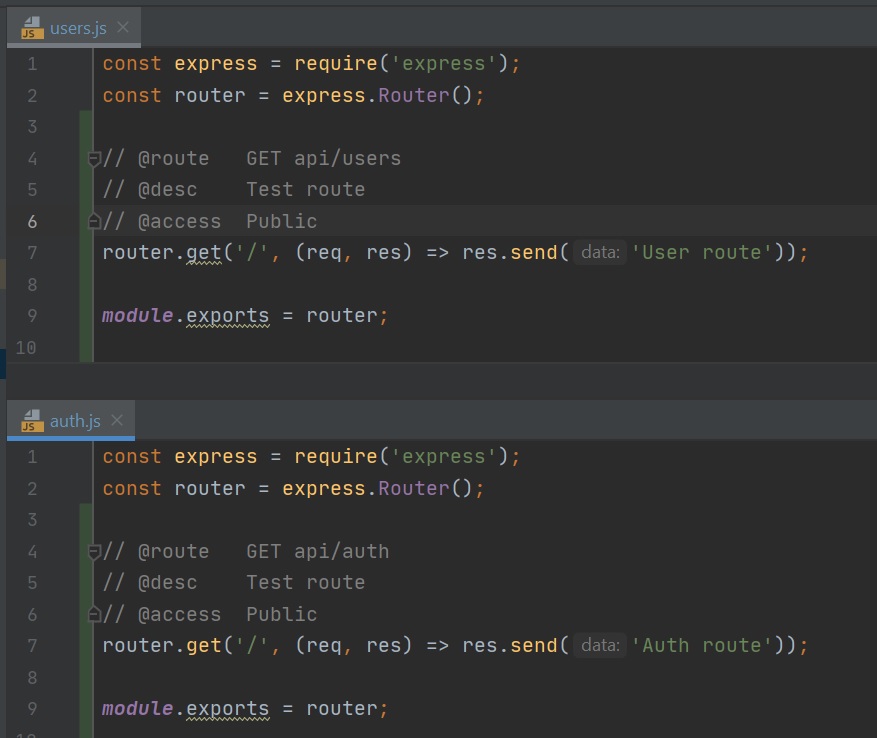
Each of the files has a basic route configured as per below, I have show users.js and auth.js, don't forget the export at the end of the file so that we can pull them into the application. If you notice the router is configured with a HTTP method for example GET, POST, etc, this is how express routes URL's to code.
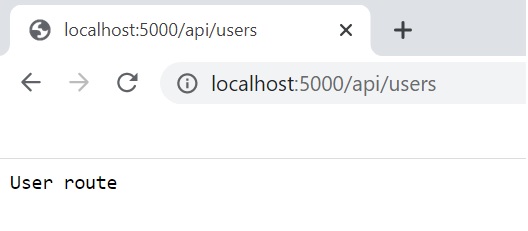
Next we create the routes in the server.js file as per below, the first parameter is the URL that you would enter (Chrome, Postman, etc), the second parameter is the route code that will get executed (if configured).

so if you use a URL of http://localhost:5000/api/users the users route GET method will be called and thus the text "User route will be returned and displayed in the brower". This means we can setup any number of routes using HTTP GET, POST, etc.
This is more related to Javascript, when importing there are two ways one using curly braces the other not using the curly braces
- Not using curly braces - means that the exported module is a default export function
- using curly braces - means that the exported module does not have a default export function, plus you can import only the functions you require from the js file.
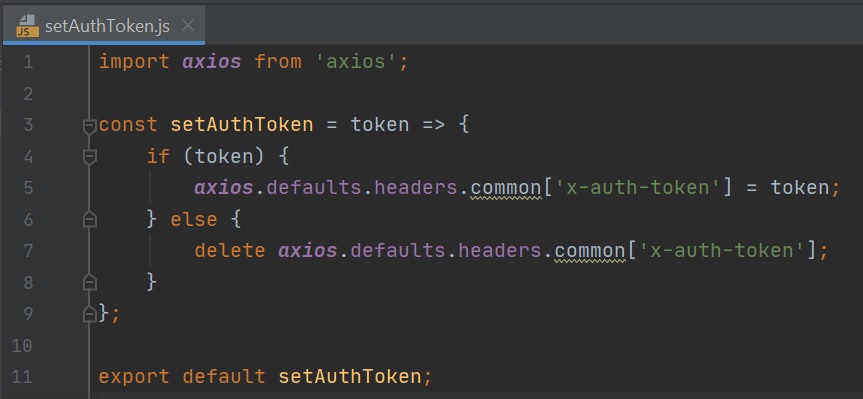
We can see from the below example that setAuthToken is exported as default, but loadUser is not

Looking at the setAuthToken.js file (left-hand screenshot), we see that setAuthToken is exported as default probably as it is the only function in the file which makes sense, but in the auth.js file (right-hand screenshot) loadUser is not exported as default plus there are many functions inside this file.
 |
 |