Controllers are the gateway to the user, they handle routing, web page creation (working with thymeleaf), data retrieval (JSON) and can be setup to work with access control. As you can see in the diagram below controllers sit between the users browser and service layer, the controller can provide either plain RESTful services (probably JSON data) or HTML content, I will cover both in this section.

Before we get into controllers I want to cover what RESTFul web services are as you need to have an understanding before we start looking at controllers, there might be times were a customer might provide its own web GUI front end (React, Angular) and thus they only want to retrieval the data probably in the now standard format of JSON, this means the client can be anything not only a browser.
Representational State Transfer (REST), where Representational means the payload normally JSON (could use XML or own data structure) and State Transfer means HTTP. There are a number of HTTP methods, as a note Idempotence means does not change anything
- GET - read data from resource, read only, idempotent, safe operation
- PUT - update objects (insert), not-idempotent, not safe operation
- POST - create new objects (insert), not-idempotent, not safe operation
- DELETE - delete an object, idempotent (same behaviour), not safe operation
There are terms that you need to be aware of regarding RESTful web services
- URI - a unique string identifying a resource
- URL - a URI with network information (http://www.datadisk.co.uk)
- Stateless - service does not maintain any client state
- HATEOAS - Hypermedia AS The Engine Of Application State, allows you to discover links to resources, I will cover in HATEOAS section
A useful tool to use when testing a RESTFul web service application is called Postman (there are other application that do the same thing), it allows you to interact with a RESTFul application, in the below screenshot I am performing a POST request and sending data to the RESTFul application.

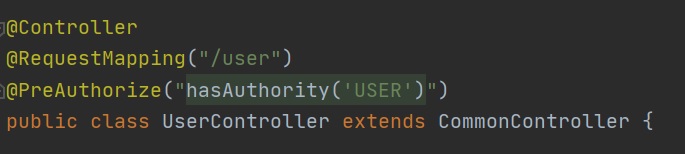
You start by using the @Controller annotation, then there are other annotations that you can use, firstly @RequestMapping annotation is used for routing purposes which can be used on the class itself, it will add the string to all routing paths within the class, if none is used then to will use the default of nothing.
 |
 |
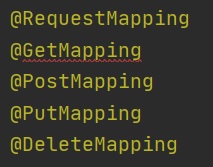
There are number of annotations that can used @RequestMapping is generic but others are for specific REST methods
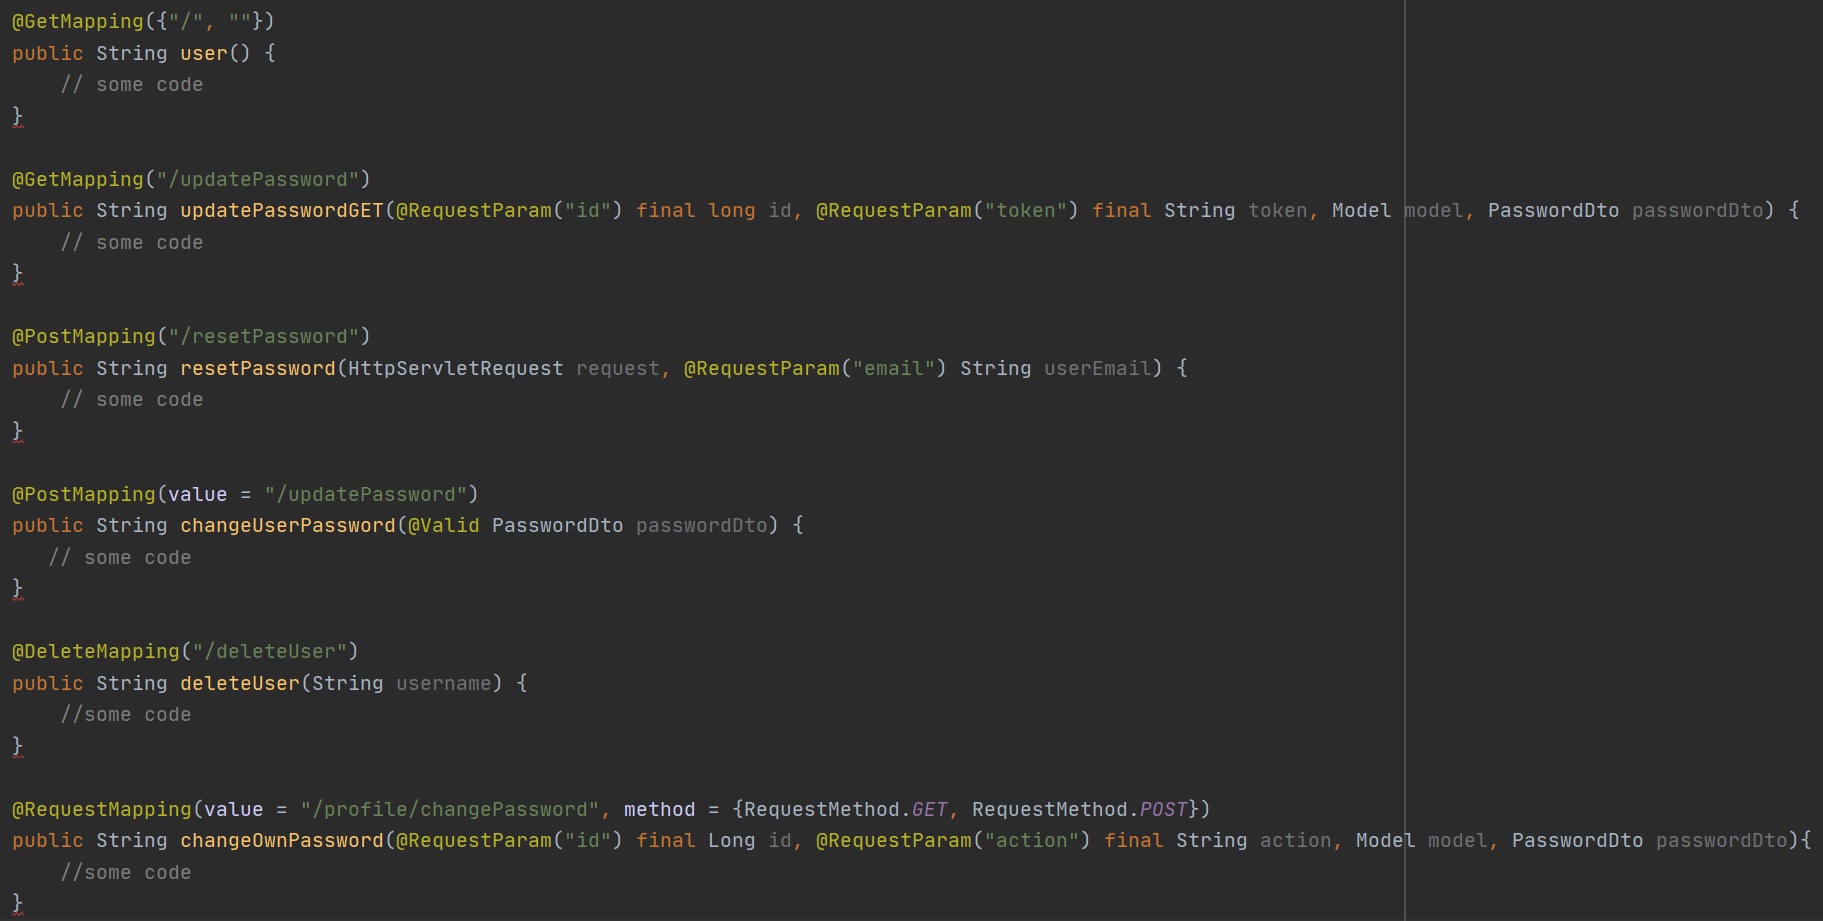
Below are some examples of using the annotations, at the moment just focus on the annotation, you can see that I have used specific annotations (@GetMapping, @PostMapping) and a generic mapping (@RequestMapping), basically when the clients web browser sends a HTTP request Spring Boot will look at the URL and the HTTP method and route to the specific method. For example taking the top example all traffic with http://localhost:8080/ using the GET method will invoke the top method, in the second example all traffic with http://localhost:8080/updatePassword using the GET method will invoke the second method, etc. The Generic @RequestMapping routes traffic from http://localhost:8080/profile/changePassword using either HTTP GET or POST methods.
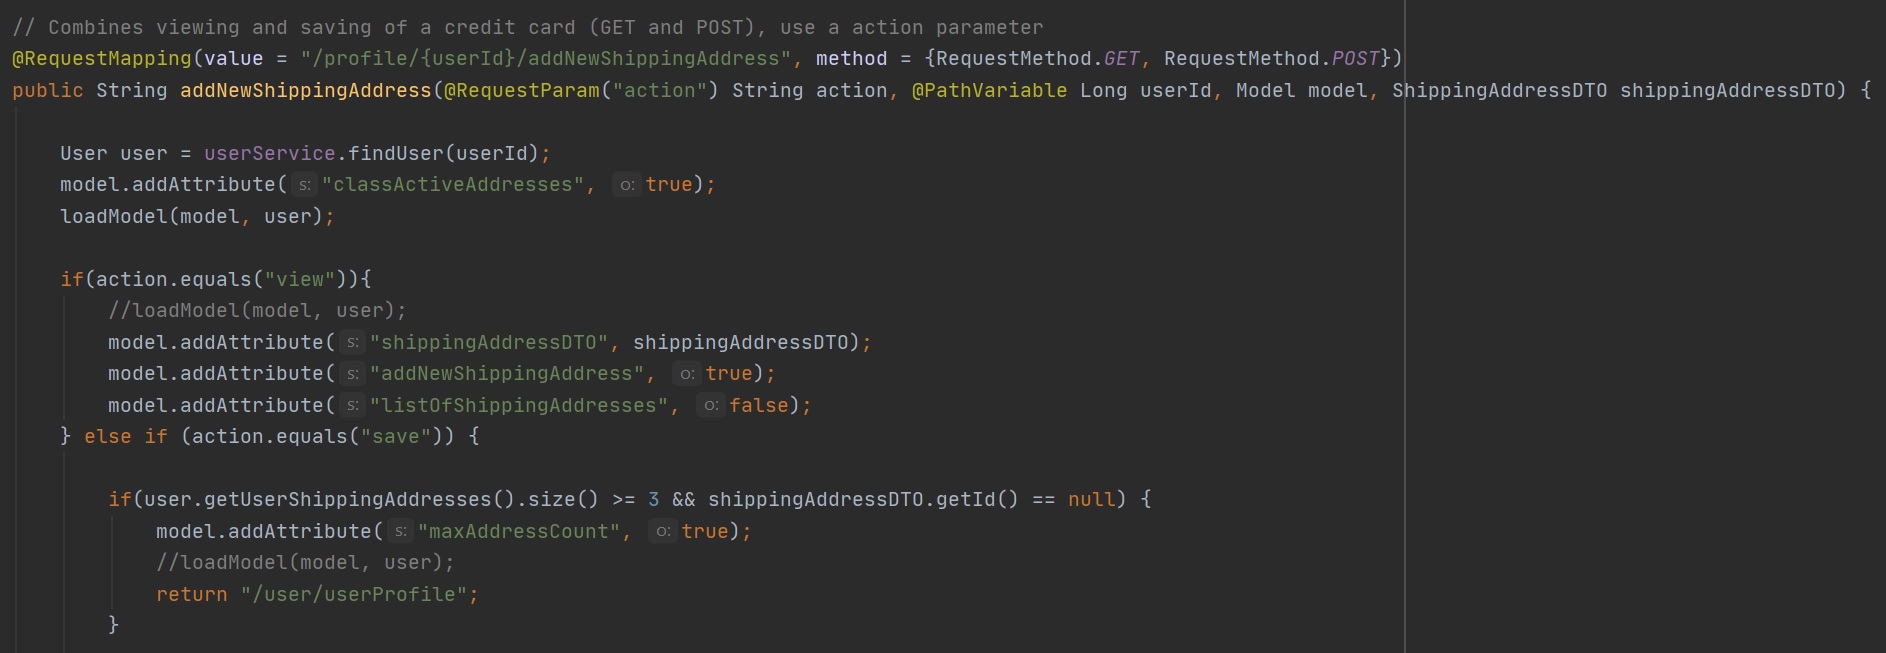
You can use the generic @RequestMapping to combine HTTP methods to reduce code like in the below example, I combine viewing and saving in one method as code would be duplicated if broken out into two methods.
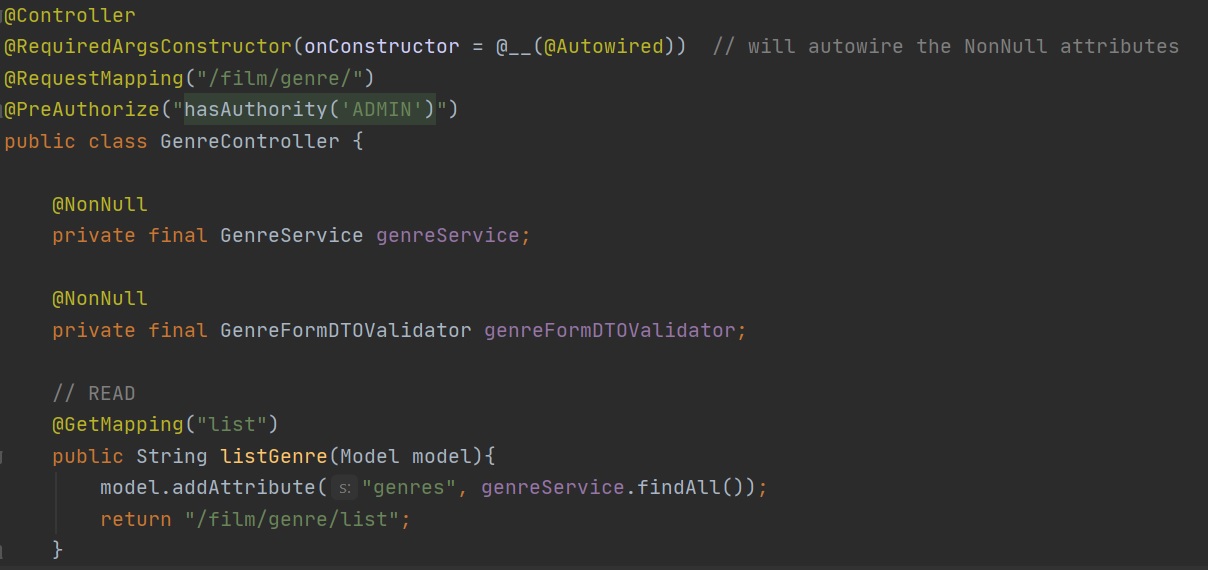
In the below example we use the @RequestMapping on the class as a whole and thus the first method will be invoked if the URL is http://localhost:8080/film/genre/list using the HTTP GET method. You might have noticed the @RequiredArgsConstructor which is explained in my Lombok section. I will cover @PreAuthorize in my security section.
To summarize think that these are URL mappings to a method that will be invoked to do something, return data, add a user, etc.
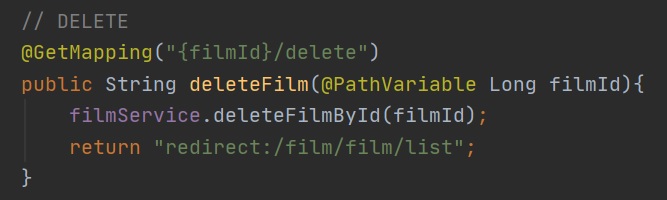
In the last section we covered basic controllers, now I will cover passing parameters to controllers, so for example lets say we want to delete a film from the database, the user will use the browser to select the film and will then send the request (HTTP GET method), the URL string (http://localhost:8080/film/1/delete) will contain the ID (1 in this example) of the film (field is surrounded by curly braces) to be deleted, in the parameters list you can see that we map the passed filmId to the Long filmId object using the @PathVariable anotation, the filmId can then used with the film service to delete the film. @PathVariable is a Spring annotation which indicates that a method parameter should be bound to a URI template variable.
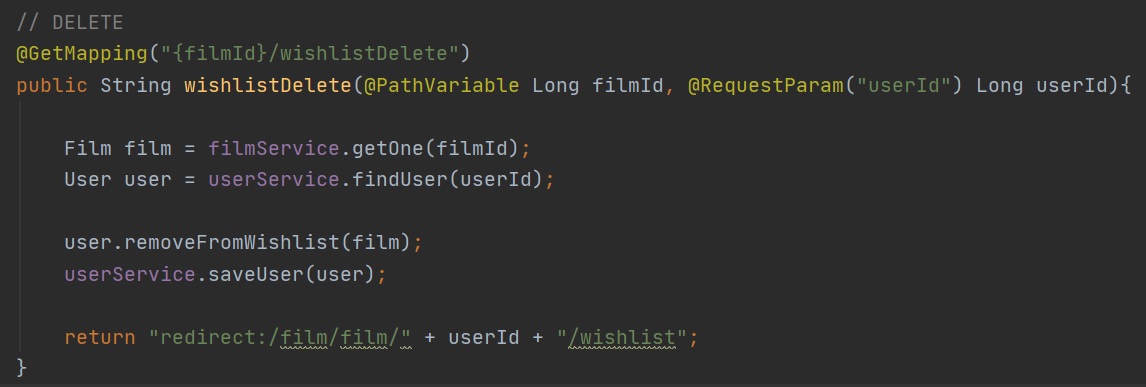
The other way to pass data is a Request Parameter so for example the URL http://localhost/film/1/wishListDelete?userId=1, here we use the annotation @RequestParam to map the parameter sent to the Long userId object and then can then use this inside the method. You can mix and match @PathVariable and @RequestParam as in the example below.
Lastly you can pass objects to controller methods as in the example below, I will cover this in more detail in my Thymeleaf section. In this example we are using a POST method and the payload will be contained in the body of the HTTP request, Spring Boot will retrieve this object and map it to the passwordDto object. I will cover the @Valid annotation in my validation section later.

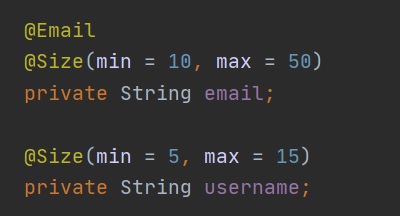
Lets start with Springs Validation Constraints, you place a constraint on the fields in the object itself, as I am using MapStruct DTO's my constraints are placed on these objects, in the below screenshot you can see two constraints, the first uses the @Email annotation, this makes sure that the field is a valid email address, the @Size annotation makes sure that the email address is between 10 and 50 characters. The right-hand screenshot displays a custom validation constraint which I will explain in detail below.
 |
 |
To use the constraint you use the @Valid annotation on whatever method that will be using use the object, mainly you will be using them in controllers methods to validate that the user has entered data correctly, this makes sure that data is valid before passing onto the service layer.
Below is another example used in a controller

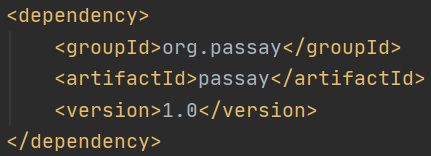
You can also create your own validator, you might have noticed the @ValidPassword in one of the above examples. I am using Passay library which is a password generator and validator, you need to use the dependency below
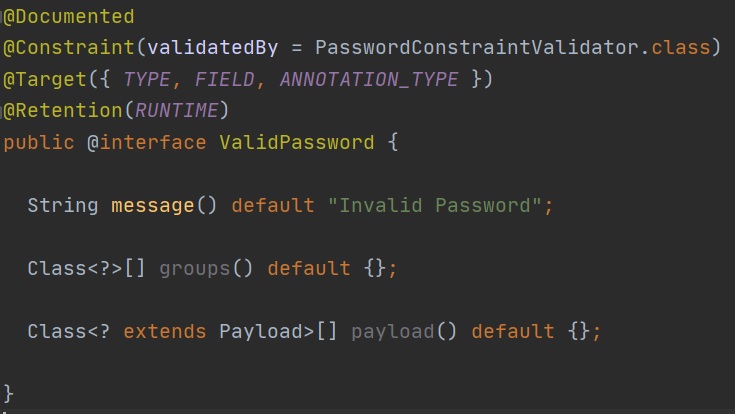
First we create the annotation as seen in the left-hand screenshot, notice the @Target which defines this as a field annotation, we also define a default message, the right-hand screenshot is the validator itself, notice we use the ValidPassword annotation as a argument to the ConstraintValidator interface thats how we bind the two together, we then have to implement the isValid() method and if you notice all we need is to return a boolean value, inside the method we use passay to define the rules and to make sure that the password meets those rules otherwise false is returned. Thats all there is to creating your own Validator.
 |
 |
The second way to validate data is to create a class that implements the Validator interface, when you invoke you pass it the object to be validated and a BindingResult object is used to store the results, you can then use the hasErrors() method to check if the validator picked up any errors with the object. The left-hand screenshot is the controller parameters, the right-hand screenshot is using the validator and BindingResult object to check for any errors.
 |
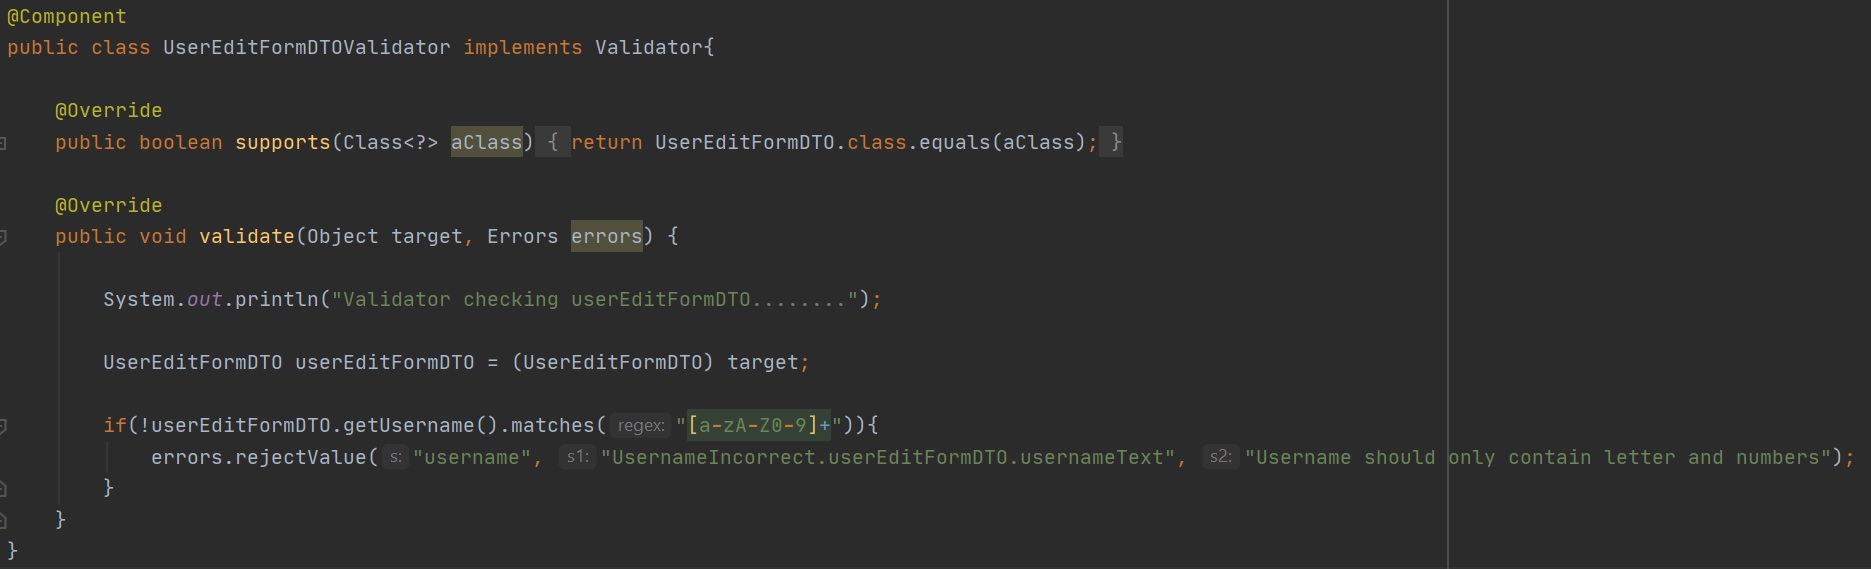
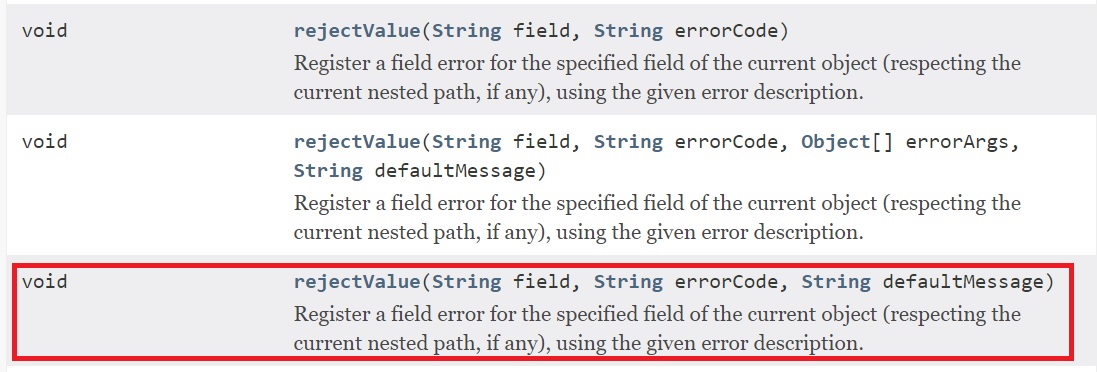
Below is the validator itself (left-hand screenshot), we use the @Component annotation to make sure its a bean that will be picked up, we implement the Validator interface, override the support and validate methods, its the validate method that you use logic to determine if the object is valid or not, because we are passing a BindingResult object any errors will be reflected in this object and passed back to the main program, you can perform any number or any type of checking, in may case I am checking that the username only contains letters and numbers, the rejectValue method in my case I pass the field, error code and default message as can be seen in the right-hand screenshot.
 |
 |
There are a few ways to configure a pure restful API controller each of which I will explain below, first a high-level view, one note to make is that Spring will provided Headers and Status code if the specific implementation that you are using does not, there are some cases that will throw an exception and thus you need to use another implementation.
| API Implementation | Headers | Body | Status Code | @Controller | @RestController |
|---|---|---|---|---|---|
| Simple method that returns a String/Object | provided by Spring | provided by @RestController | provided by Spring or use @ResponseStatus | ✖ | ✔ |
| ResponseEntity | provided by ResponseEntity | provided by ResponseEntity | provided by ResponseEntity | ✔ | ✔ |
| @ResponseBody | provided by Spring | provided by ResponseBody | provided by Spring or use @ResponseStatus | ✔ | ✔ |
| Using producer | provided by Spring | provided by @RestController | provided by Spring or use @ResponseStatus | ✖ | ✔ |
| HttpEntity | provided by HttpEntity | provided by HttpEntity | provided by Spring or use @ResponseStatus | ✔ | ✔ |
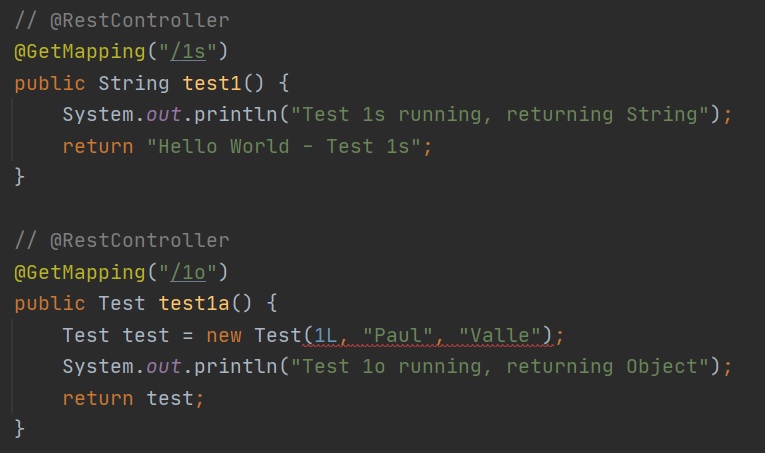
I have a few examples of each of the API implmentation for the above to explain each one in more detail, first we start with a plain old method, to get it to work with @Controller (left-hand screenshot) you need to use the @ResponseBody annotation, you can also optionally use the @ResponseStatus annotation as well. If using the @RestController (right-hand screenshot, which is actually @Controller and @ResponseBody) you can reduce the code a little. I have given examples of using both returning a String and an Custom object.
 |
 |
Next we take a look at using ResponseEntity object, this is a all singing and dance response object, you can add a body, any custom headers and even a status code, use this if you want full control over the response, again i give a String and Custom object example. You can use ResponseEntity with either @Controller or @RestController.

Next we look at the plain old method, this will only work when using @RestController as its provides the ResponseBody, Spring will also provide the status code and headers, this is ideal if you just want to send back some data and 200 status code.

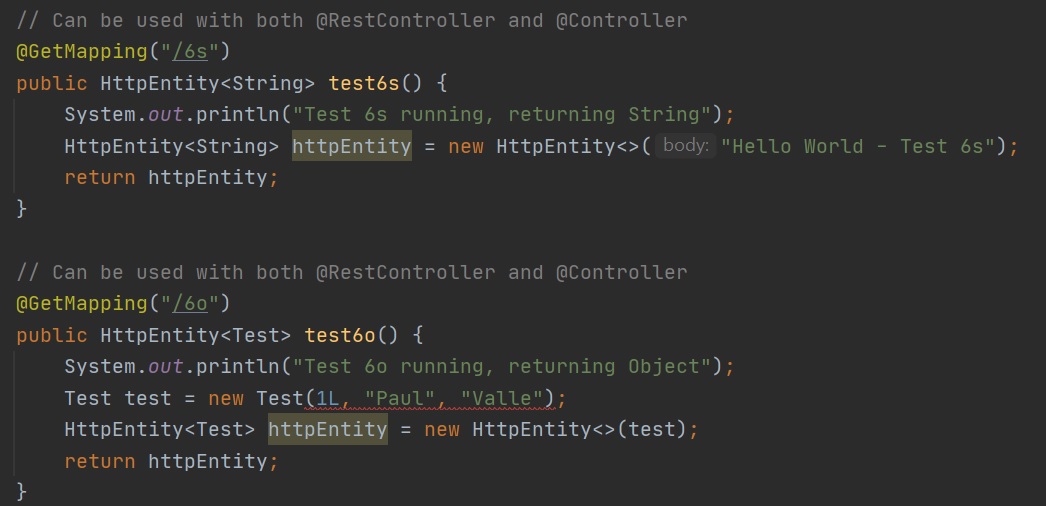
Next we look at HttpEntity, you can add a body and even configure the headers, however you cannot set the status code. You might typically see this being used with RestTemplate which is used for consuming API's.
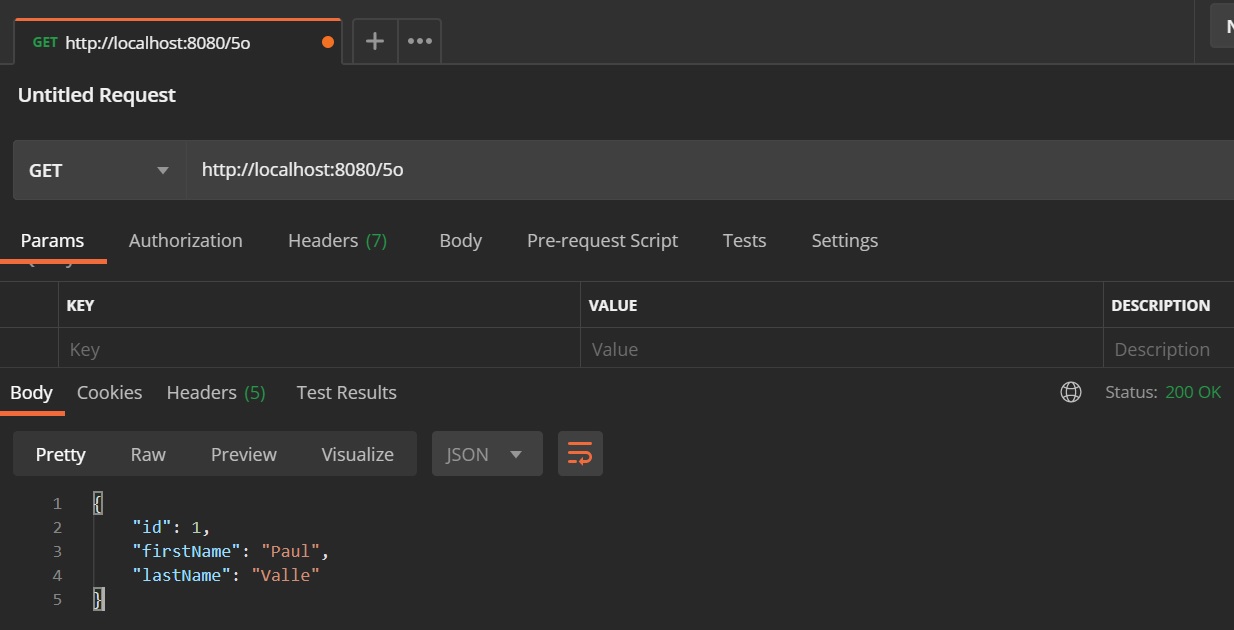
Lastly this exasmple is more to do with what can be consumed or produced, you can use the attributes produces and consumes which basically narrow the types thus the browsers accept and content-type would have a bearing and will only respond back with the types set, for example you could send back either a JSON or a XML formatted response. So if I have the accept header set to application/type i would get a JSON response back as per the postman screenshot below.
 |
 |
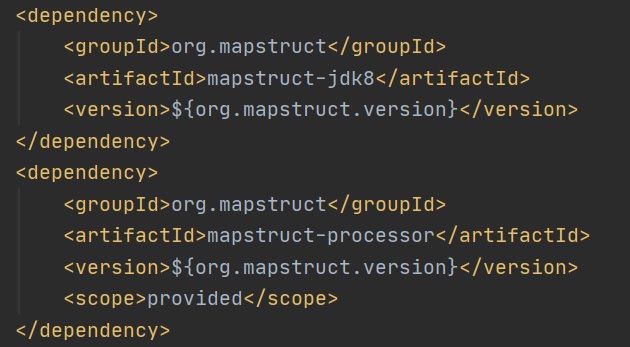
MapStruct is used for automatically mapping between two Java beans, you create the interface and MapStruct will automatically create the concrete implementation.
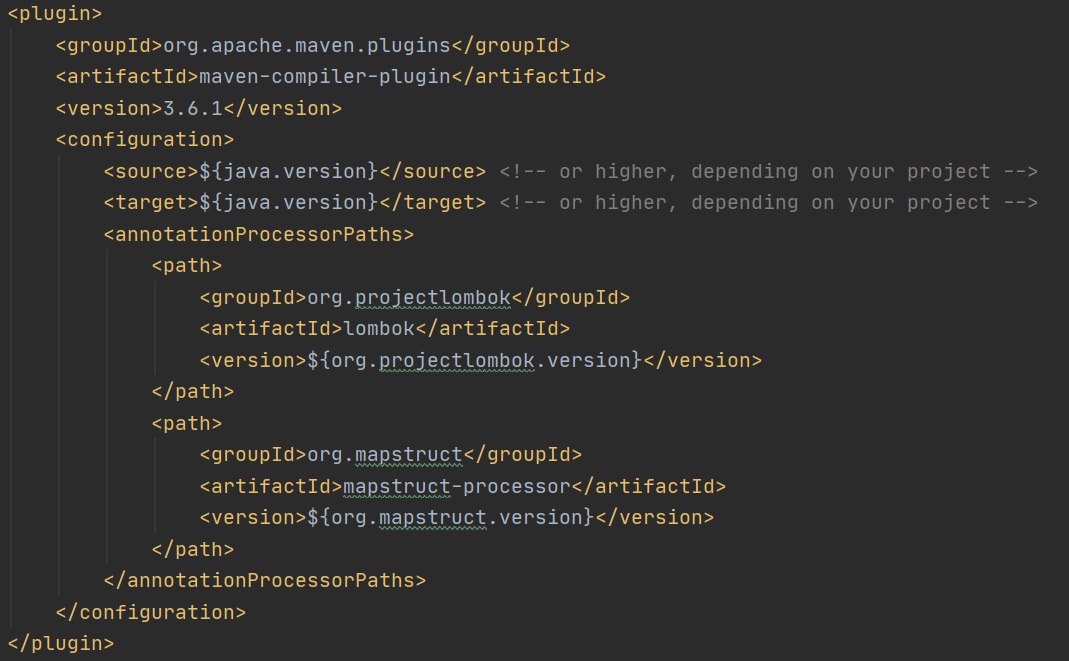
First you have to pull in a dependency and any plugin configuration, which might be needed if you are using any other annotation processors.
 |
 |
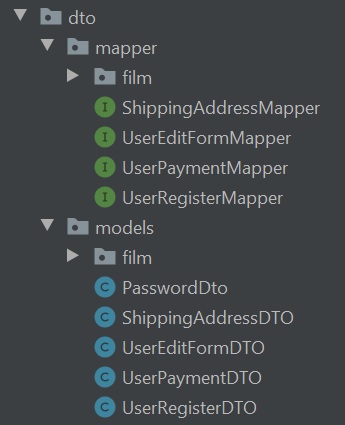
I have created the below directory structure to contain the MapStruct configuration, in the model directory are the DTO's for the actual objects that it will map to, the mapper directory contains the MapStruct interfaces.
The UserEditForm DTO (left-side screenshot) maps to the User object and is a simple POJO and if you notice you can also use Lombok, you can leave out any fields that you don't want to use for example the password field. The DTO object can then be used between the presentation layer and the service layer securely. In the MapStruct interface we start with the @Mapper annotation, this marks the interface as a mapping interface and lets the MapStruct processor kick in during compilation. We then have two methods to map in both directions DTO to Object and Object to DTO, the source of the object is passed as a parameter. There are times where you might need a type convertion as you can see in the example I have one for the dateCreated field from String to MySQL date format. To use Spring IoC in our mapper(dependency injection), we need to add the componentModel attribute to @Mapper with the value spring.
 |
 |
Here is a simplier MapStruct example, MapStruct will take care of the mapping for us.
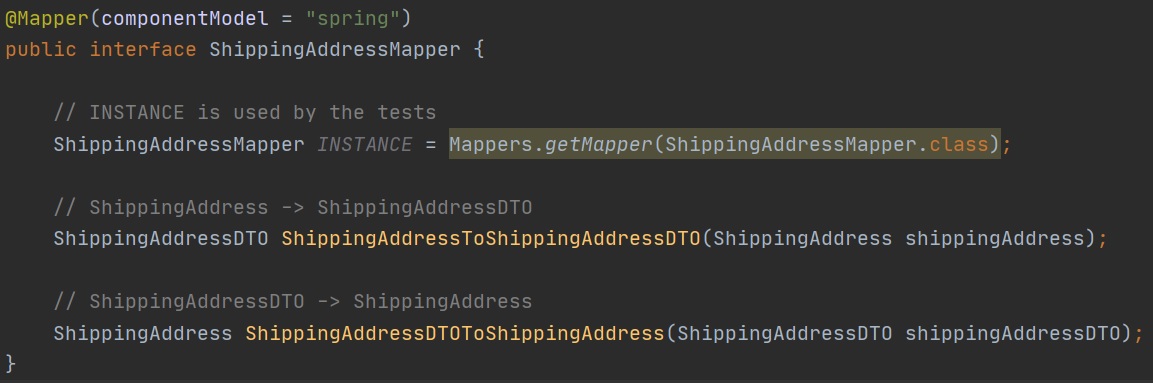
The INSTANCE field provides access to the mapper and is useful for unit testing.
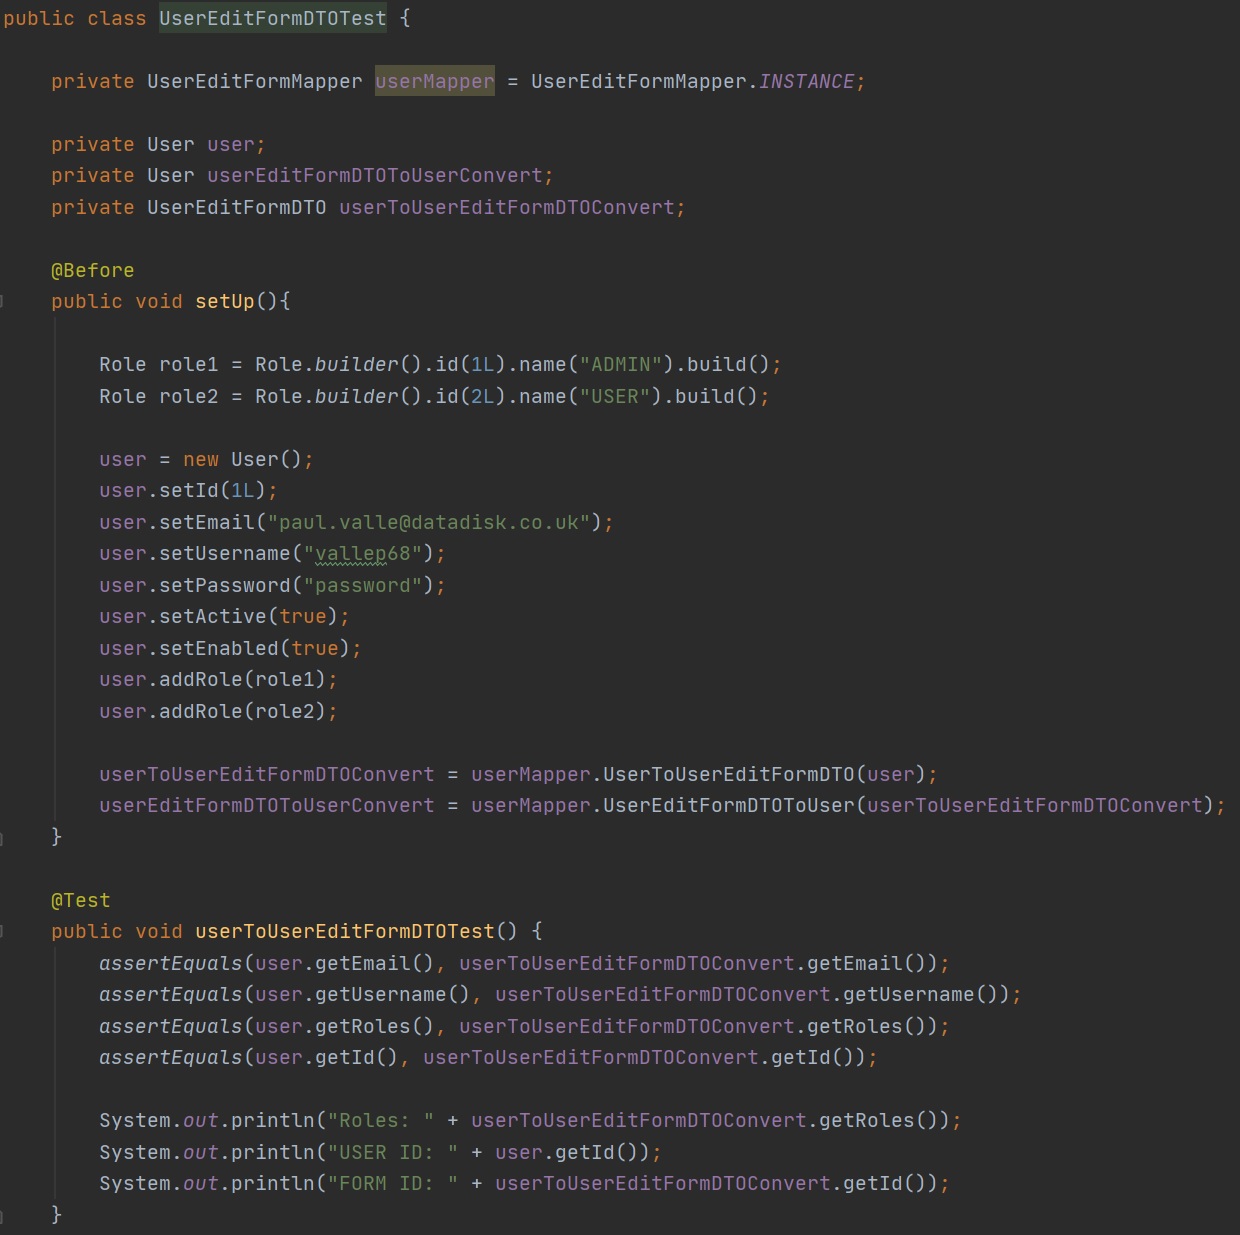
To use the Mapstruct interface you simply inject it and use the methods that you defined in the interface as in the below screenshot

I have covered the very basics regarding MapStruct and will leave you to the MapStruct website for all of its features.