When setting up a test lab you can reduce costs by using nested ESXi servers, this basically means creating ESXi servers inside a ESXi server which runs on a physical server and thus you only need one physical server (or powerful laptop) to test many of the advance features of VMWare. In my test lab i have one physical server (Dell R620) and a single Synology SAN which I can test and have a play around with features like vMotion (VM and storage), DRS, DPM, HA, etc, also you can setup a Site Recovery Manager (SRM) solution.
You must never setup nested ESXi in a production evnionment as it's not a supported solution, however for testing purposes as long as you have enough resources its ideal.
There is some additional setting up on the ESXi ser ver that runs on the physical server to allow the nested ESXi server access to the underlying resources, specially around the networking.
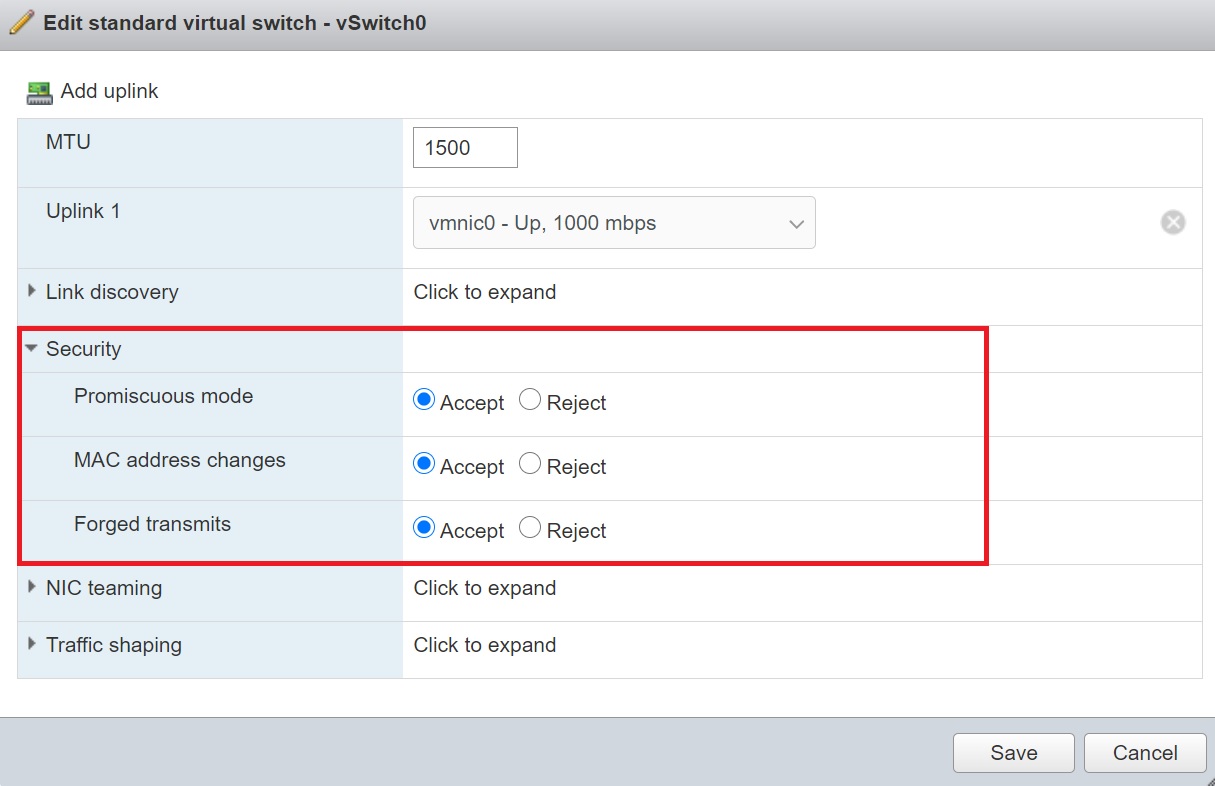
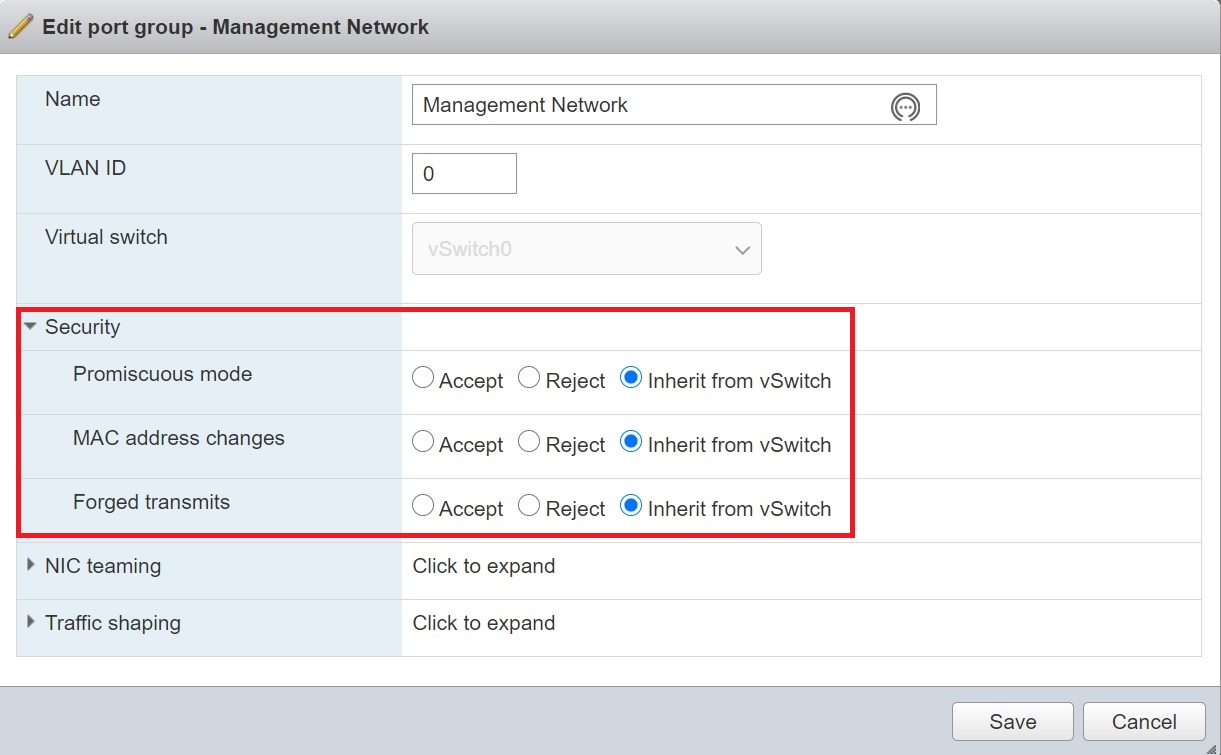
Before we start setting up the first nested ESXi server we have to allow access to the underlying network, any vSwitch or Port group must allow access to promiscuous mode, MAC address changes and Forged transmits either explictly or from inheritance.
|
|
Also to make life easier its better to manage all the nested ESXi server via vCenter which also manages many of the advanced features of VMWare, I will have a whole section on vCenter on how to install and many of the features, administration, etc.
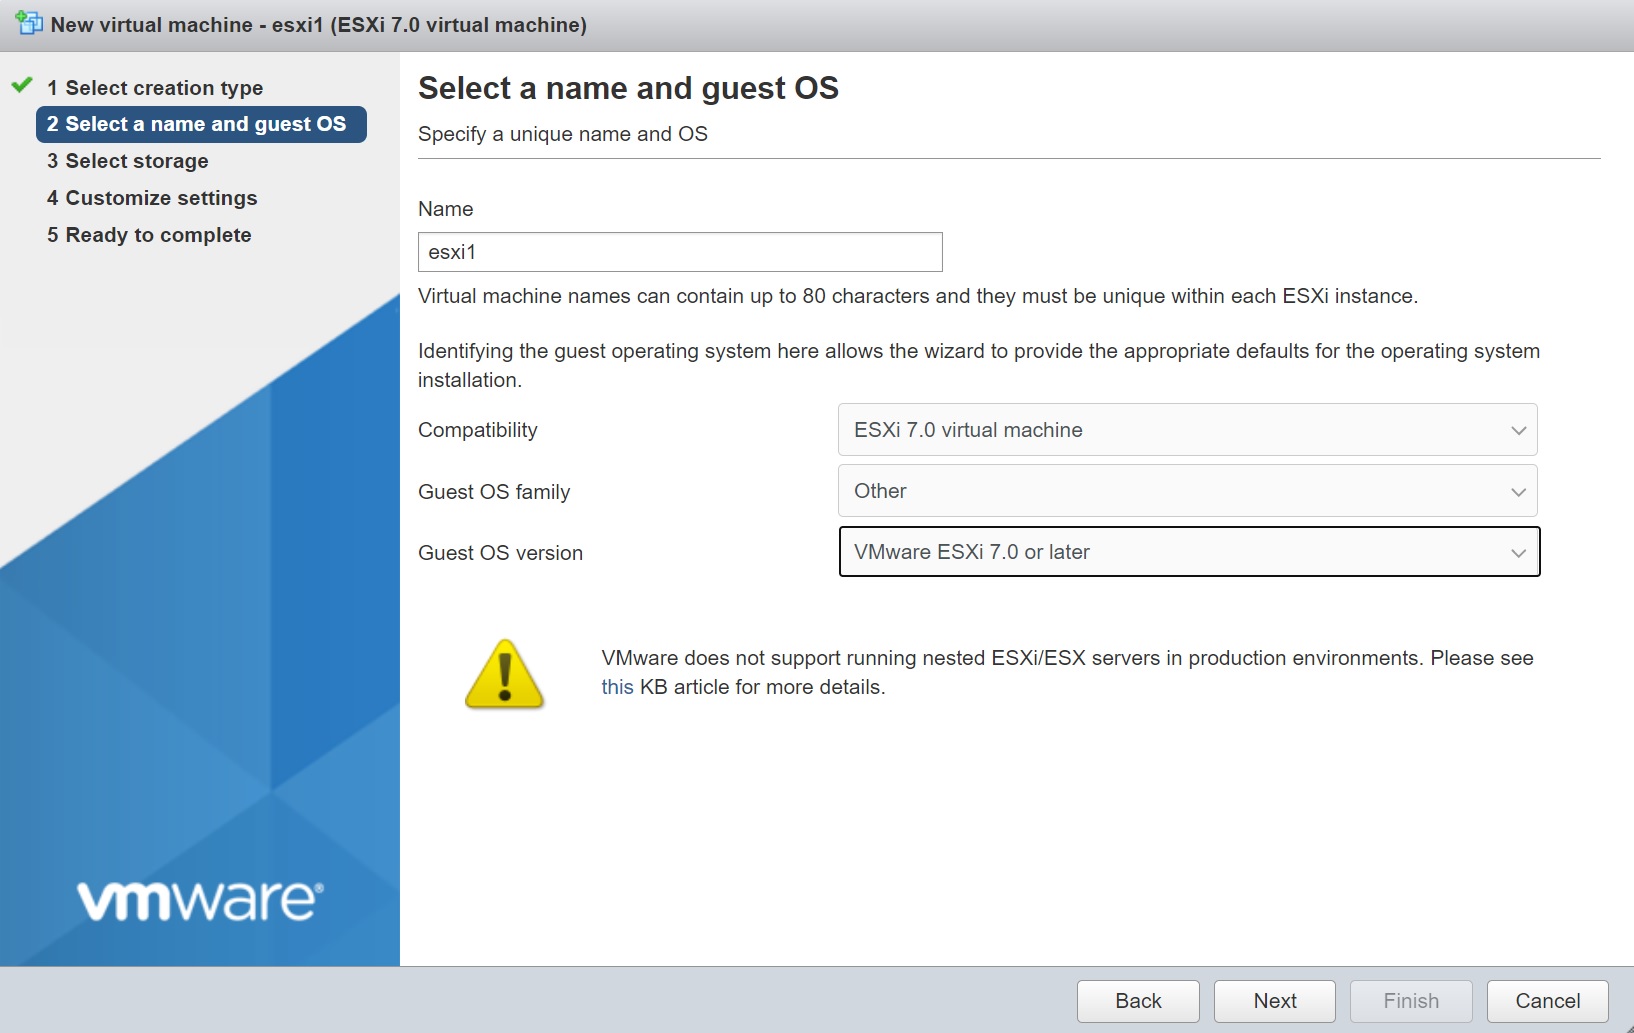
Setting up a nested ESXi server is as simple as creating a VM and pointing the cd/dvd to the ISO image and then installation ESXi as you would normally do giving it it own unique IP address. Give the VM a name and make sure that you select the the Guest OS family as other and the Guest OS version as VMware ESXi 7.0 or later
Then enter the resources for the nested ESXi server, I have kept mine to a minimal, also notice that i have added 3 network adapters each correponds to NIC on the underlying ESXi server, this gives the nested ESXi server access to networks.

Next in the CPU drop down section, I expose the hardware for the assisted virtualization to the Guest O/S, this allows any Guests hosts you create in the nested ESXi server access to the physical server, so to summarize a Guest OS goes via the nested ESXi which goes via the ESXi server which has access to the physical server.

I have setup 3 nested ESXi servers this will allow me to create a cluster and allow me to play around with features like vMotion and SRM.

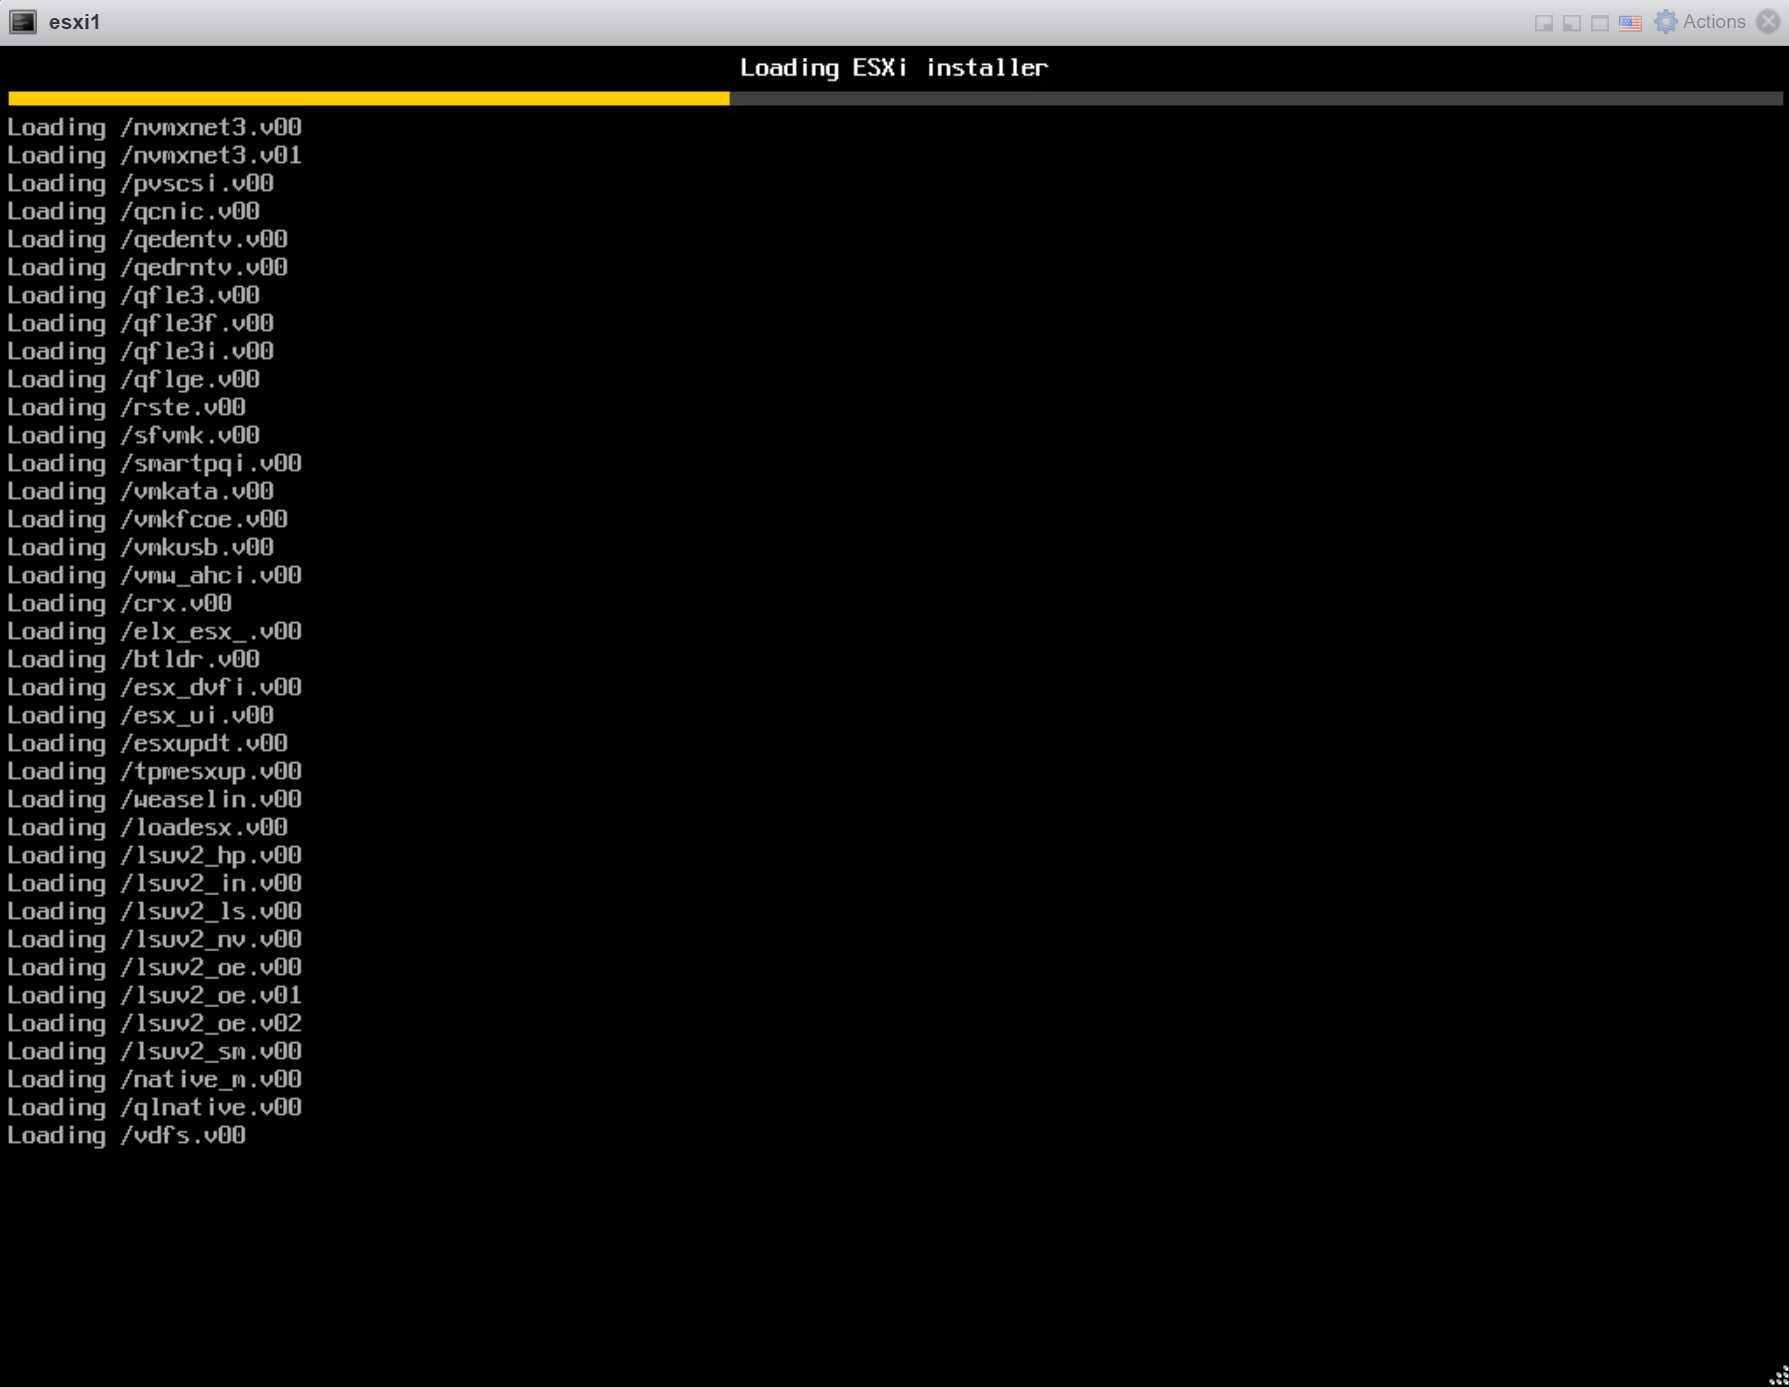
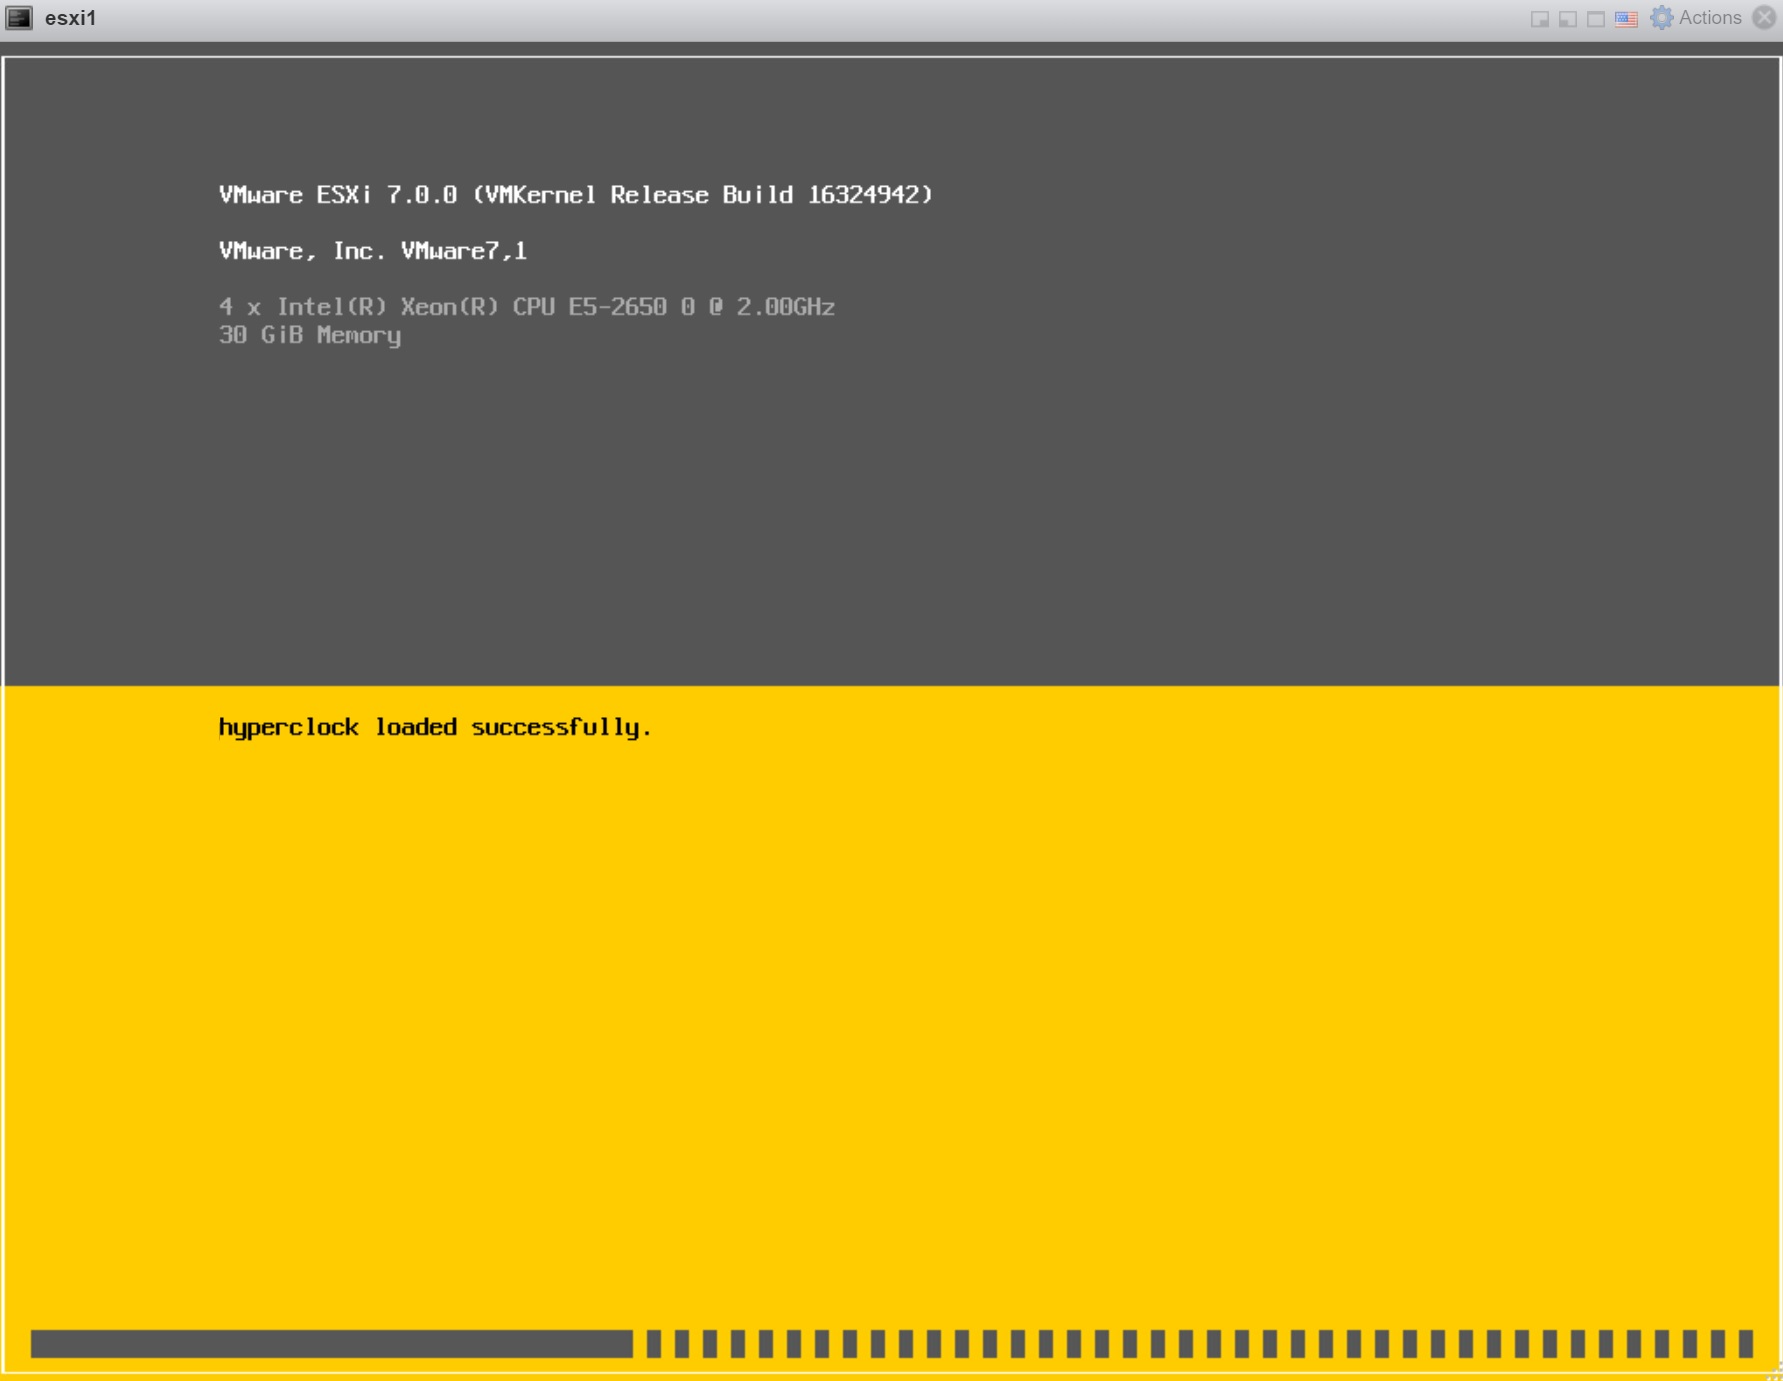
When starting the nested ESXi server you are presented with a normal ESXi installation
As you can see during the installation the resources you setup for the VM
Only one disk will be presented as we only configured one, if you need more disks simply add them to the underlying VM, I will use iSCSI to configure some SAN datastores as they will need to be shared between all the ESXi servers (nodes) in the cluster.

Depending on the underlying physical CPU's they may or may not be supported, you can see the CPU support warning message below stating that in future this CPU may not be supported, for learning this will be ok.

Once the installation has finished you will see the nornal DCI screen, setup the network as per the normal way, again i will use the technitium DNS server.

You can access the web client in the normal way, the nested ESXi acts as a normal ESXi server.

On the nested ESXi servers i setup the iSCSI as per below, I have added two more additonal LUN's to the Synology SAN, this will be used by all the ESXi servers in the cluster and thus all servers will have access to all the created VM's.

After rescanning the SAN LUN's should appear in the devices

Unfortunately you have to use the commandline to determine what SAN LUN targets map to which devices, the command esxcfg-mpath -l -d <device name>, in the below example to can see that naa.6001405397310bad6276d415edafb2db maps to target Target-1 or you can use the IQN

Once you have identified the devices we can then create datastores on them to allow the ESXi servers to create VM's on them.
