In this section I cover from a basic level how to install and configure vCenter. vCenter is a manager server that is used for many things
- Control and configure many ESXi servers
- Control and configure many networks called distributed network across many ESXi server
- Setup and control VMware HA clusters, which helps with ESXi server outages
- Integrate Replication and Site Recovery Manager to help with Data Center outages
Basically vCenter is a centralized tool to manage many VMWare features, having to try and configure many ESXi servers and special VMware products (Replication, SRM) can be an issue and thus vCenter handles this for you to make life simple.
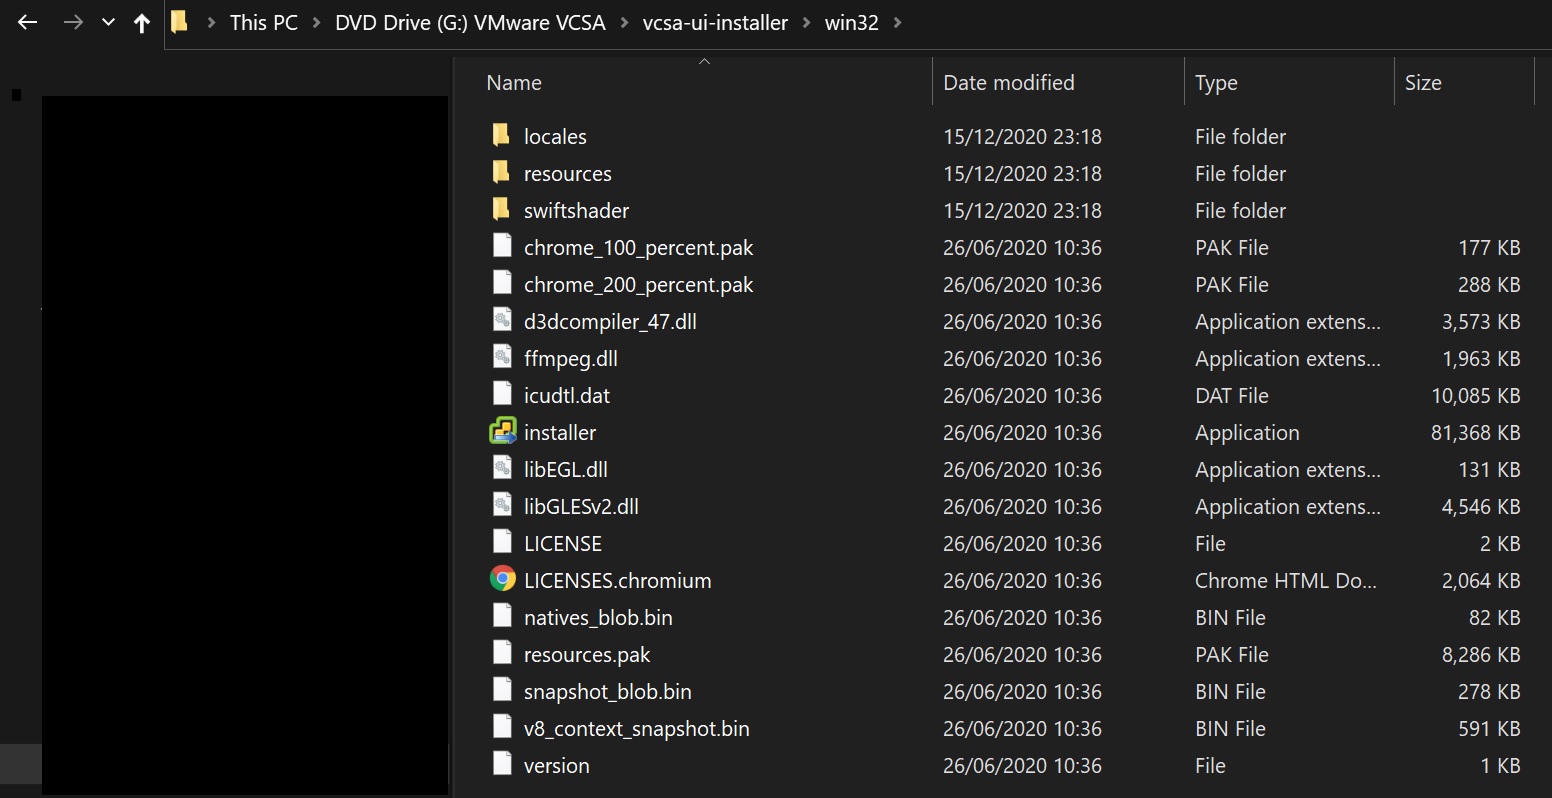
Download the lastest vCenter disc image and mount the ISO image

You should see something like below, I am using window laptop to install the vCenter into my ESXi server
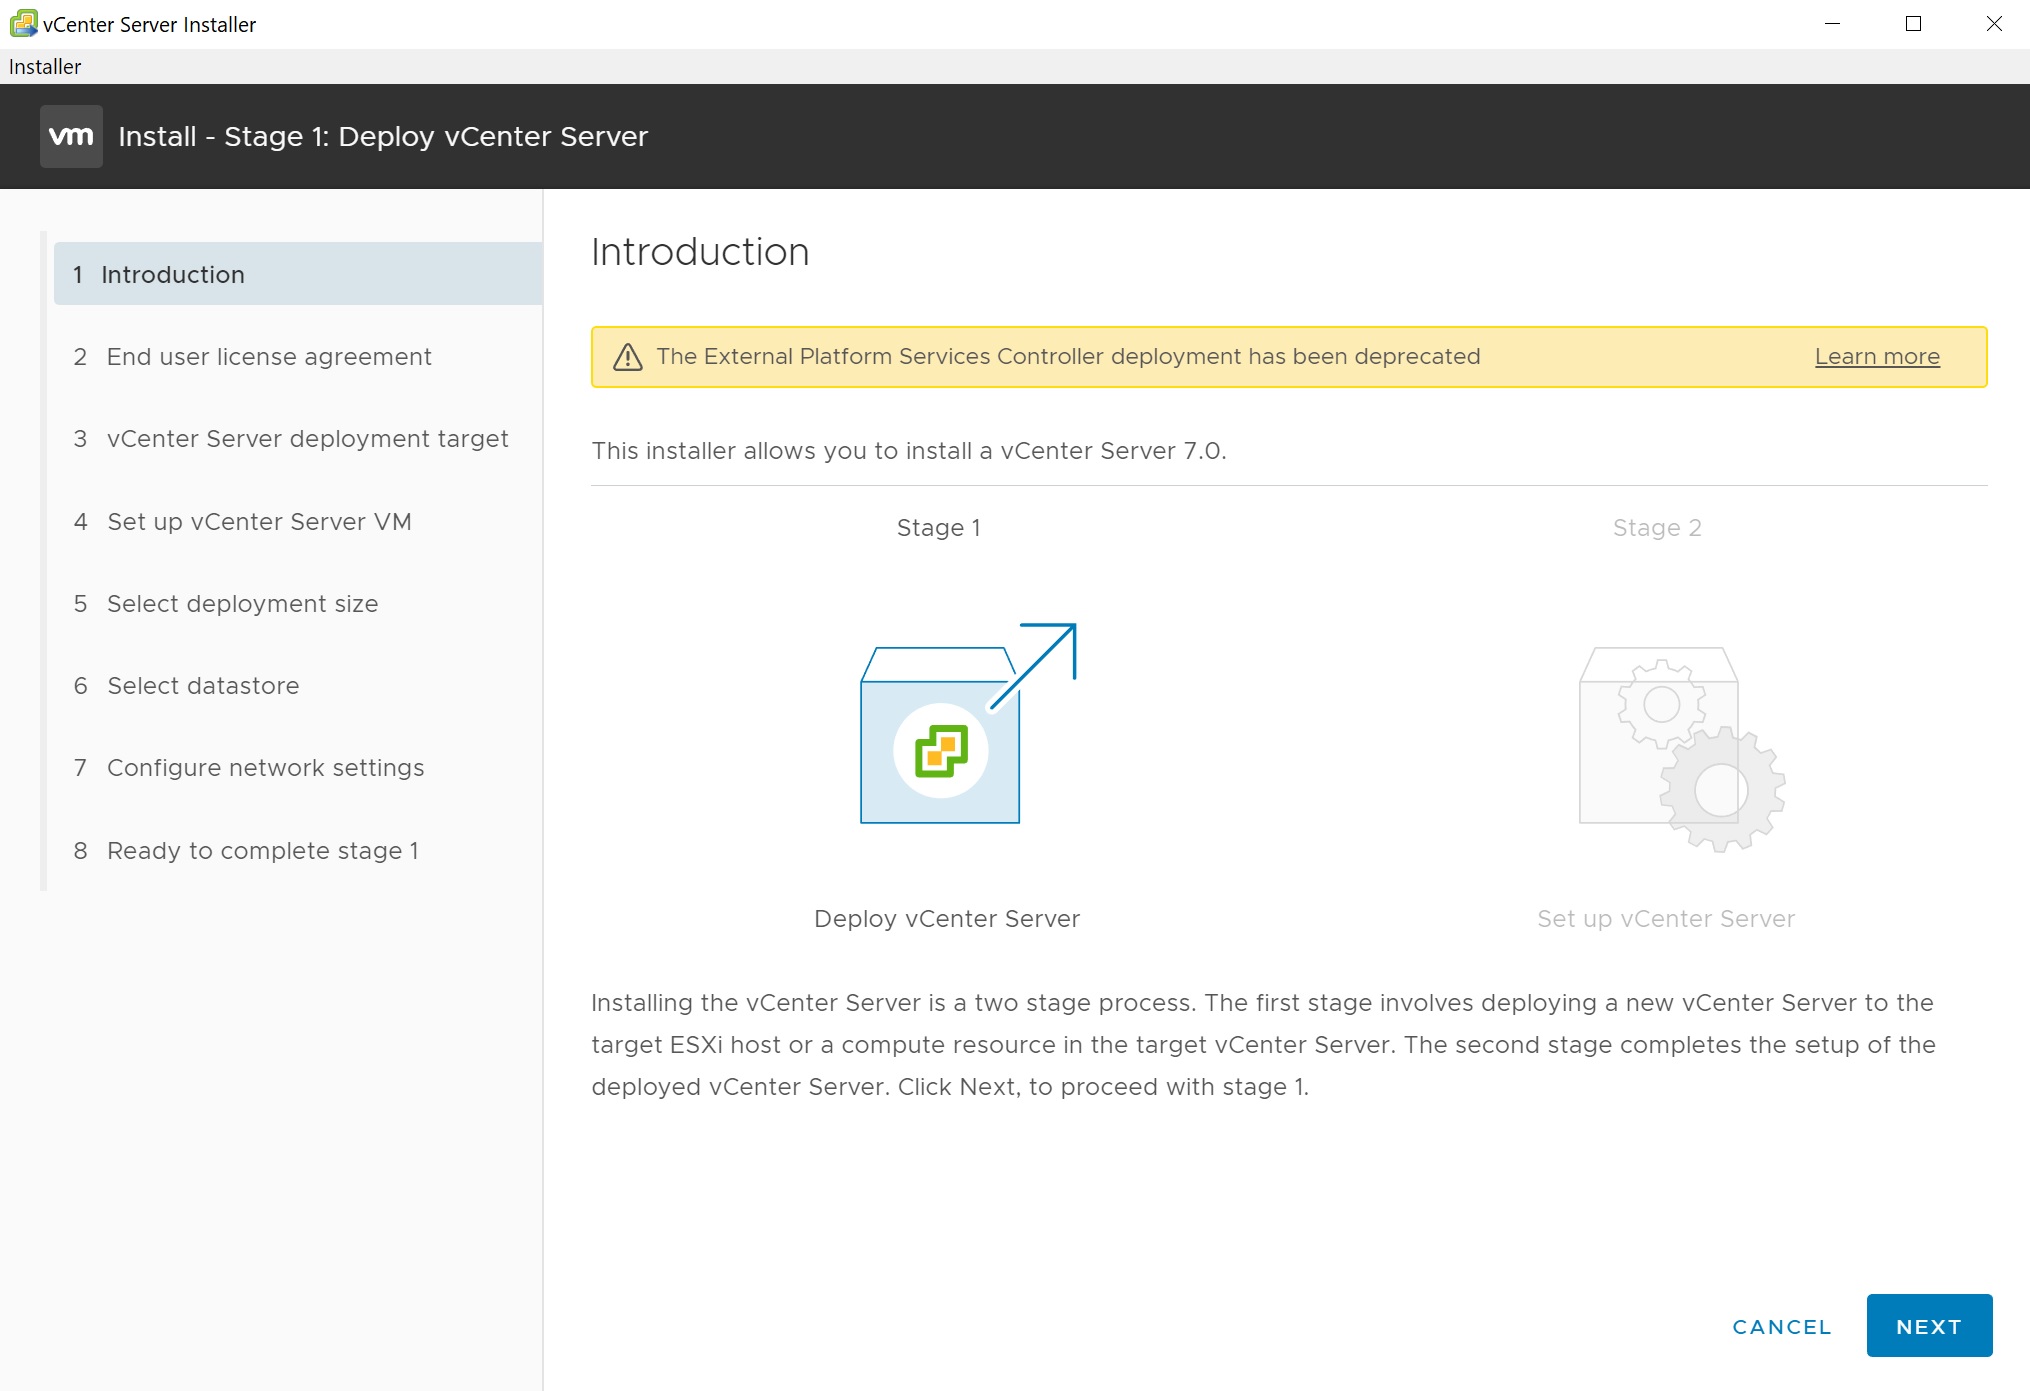
The first screen you will see is the below, here you have a number of options as this is a first time install I will select the install option

Basically the installation is performed in two stages, first being to deploy the vCenter server and secondly to configure it, as you can see there are 8 screens to go through before the installation starts
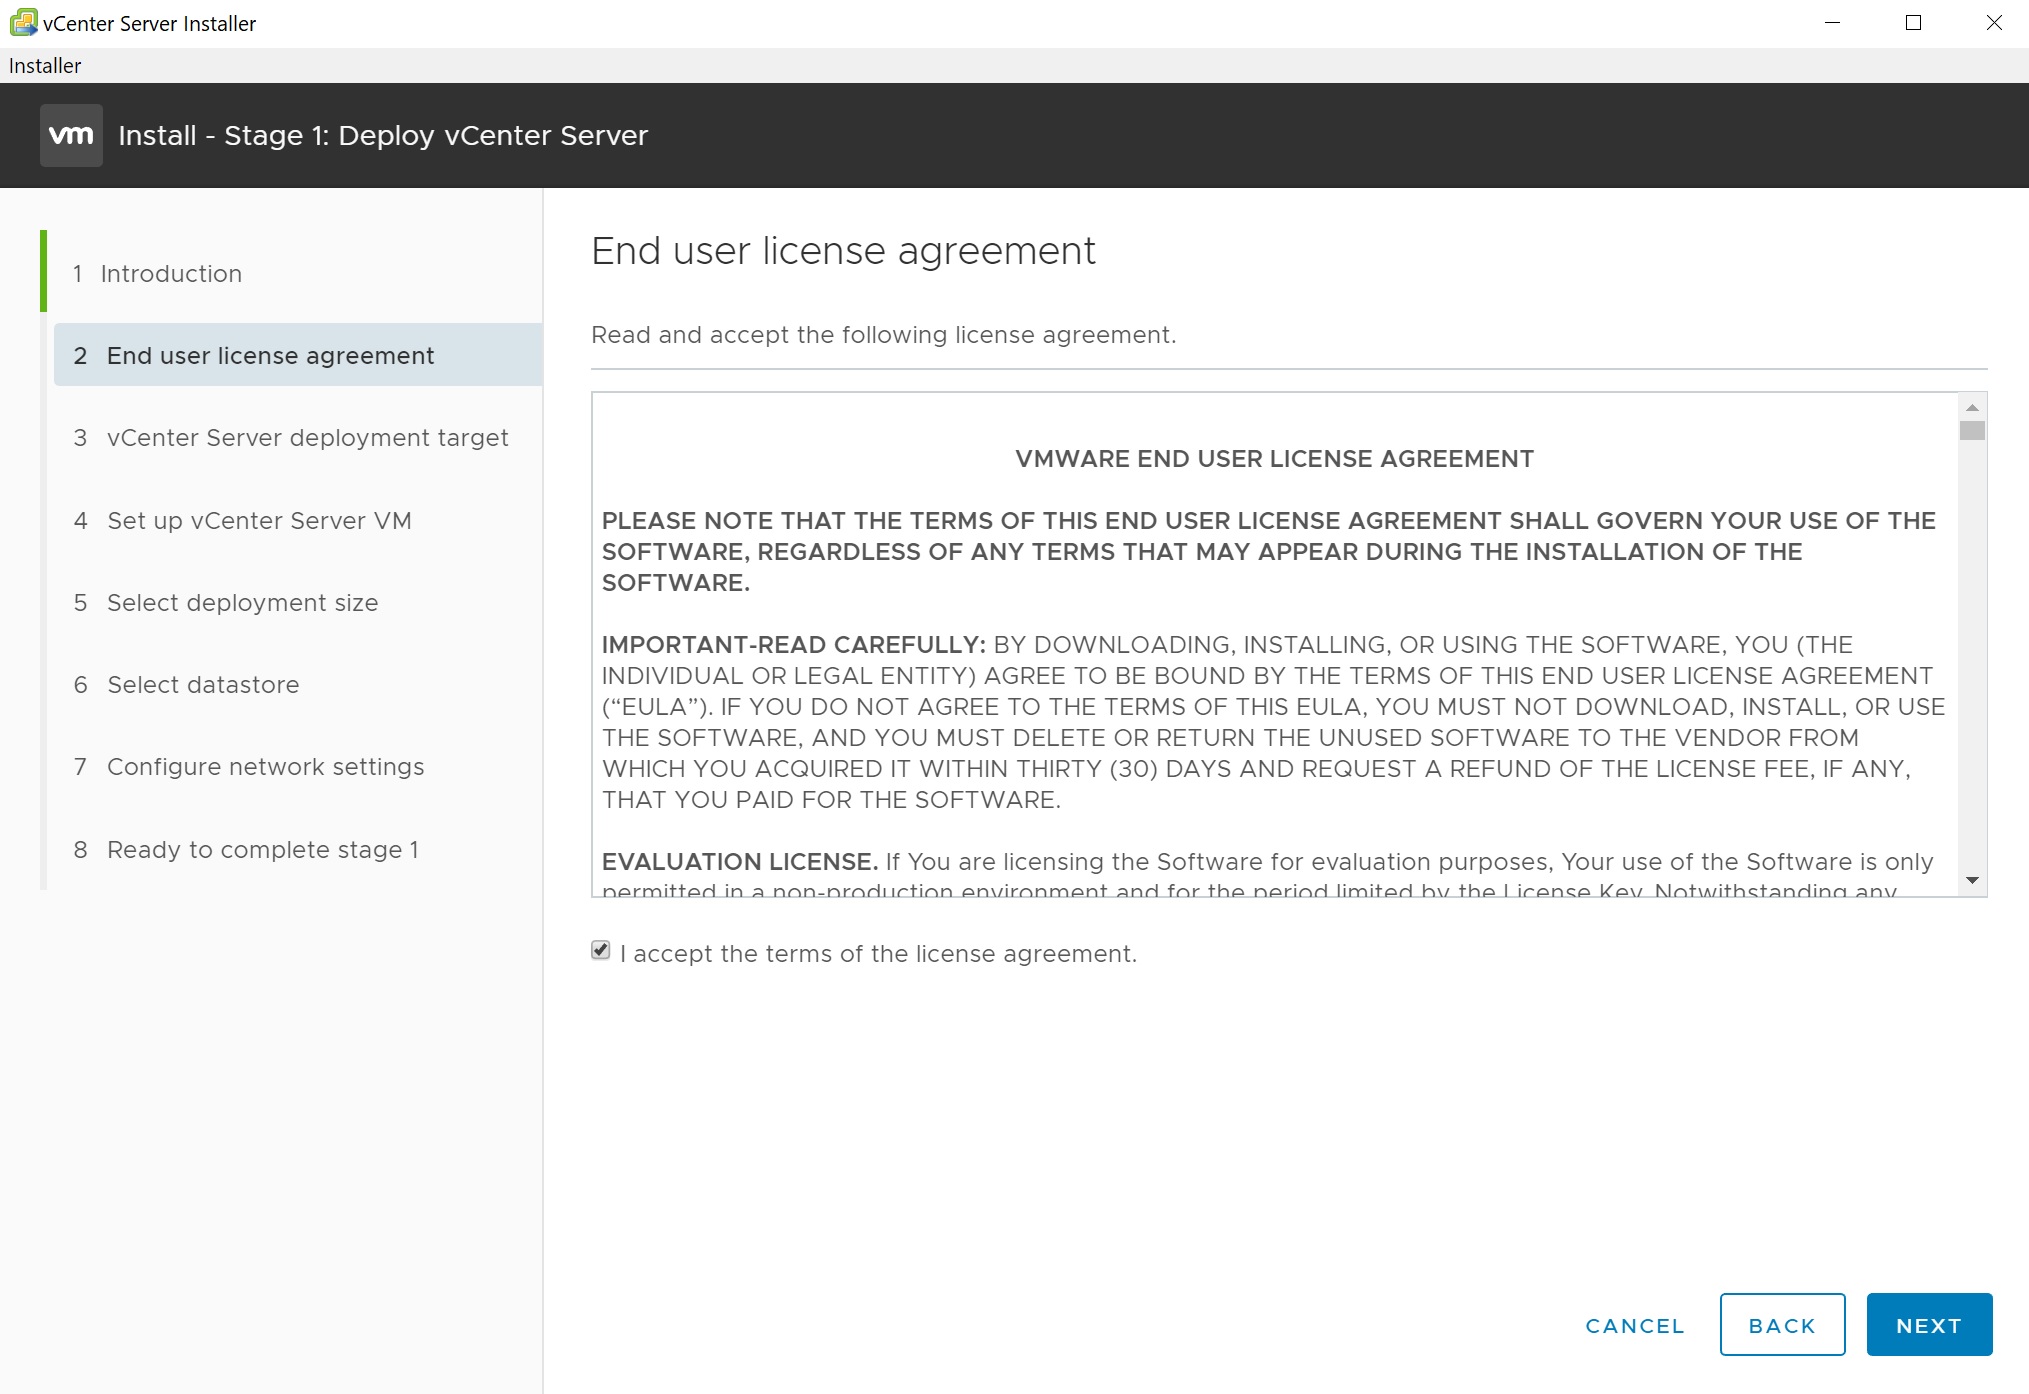
The second screen is the end user license, which I accept and click next
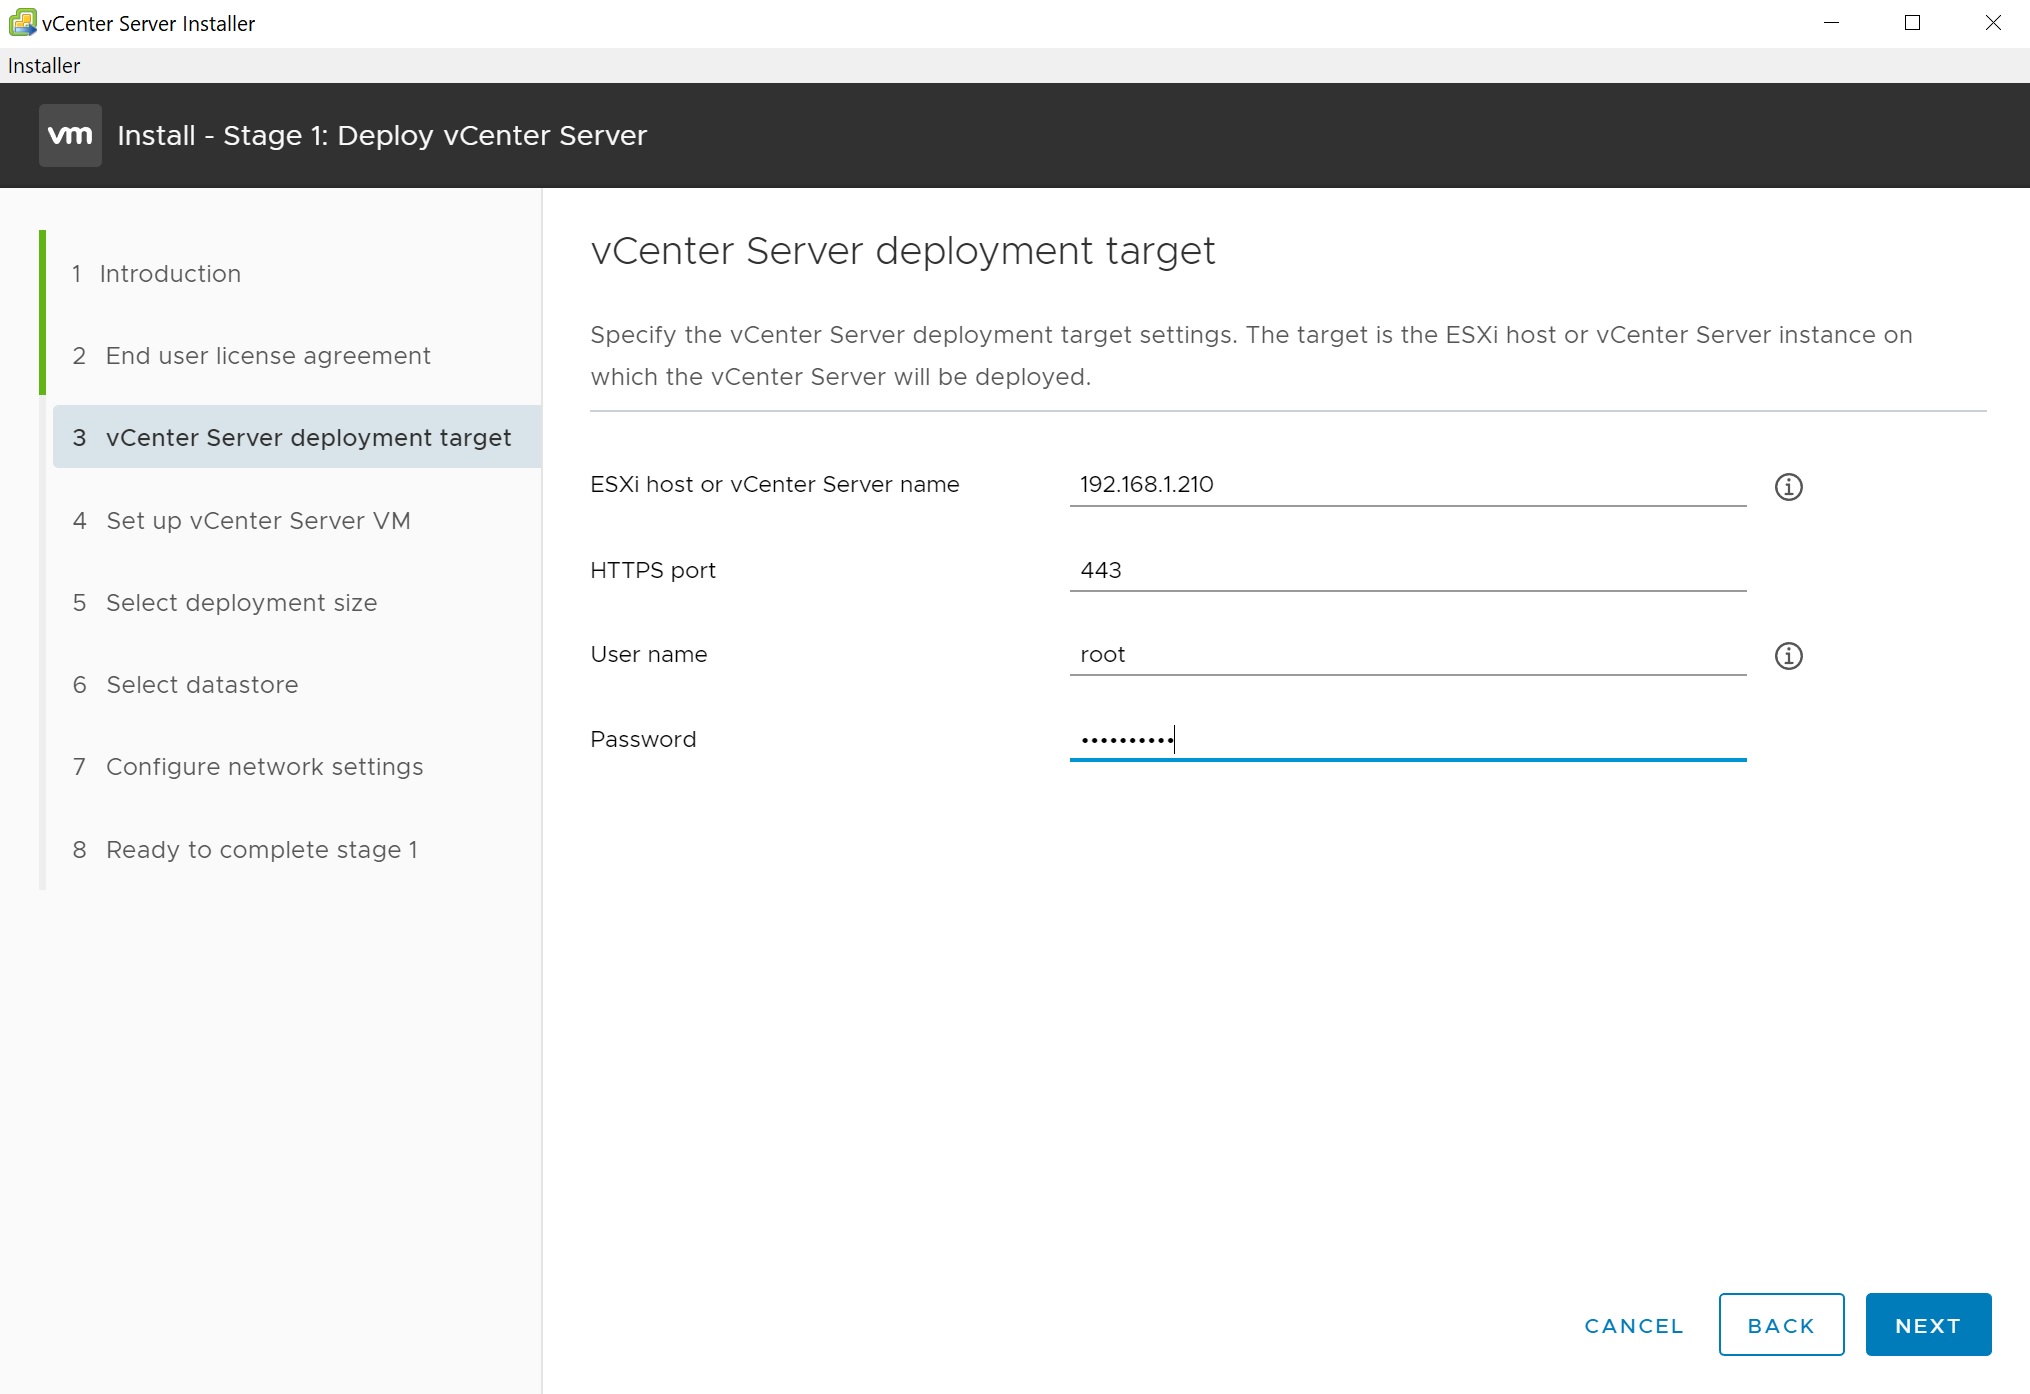
The next screen asks for details on the ESXi server where the vCenter will be installed, enter the details and click next
The next screen you enter name of the vCenter server VM and the root password, click next

The next screen asks for the size of the vCenter, depending on you environment and how many VM's you will be hosting will deteremine the size of the vCenter resources to be configured, for testing purposes I will select Tiny, make a note of the disk space required

The next screen asks for the datastore where the vCenter VM will be installed, make sure that you have enough disk space, I have setup using either iSCSI or NFS datastores with no issues.

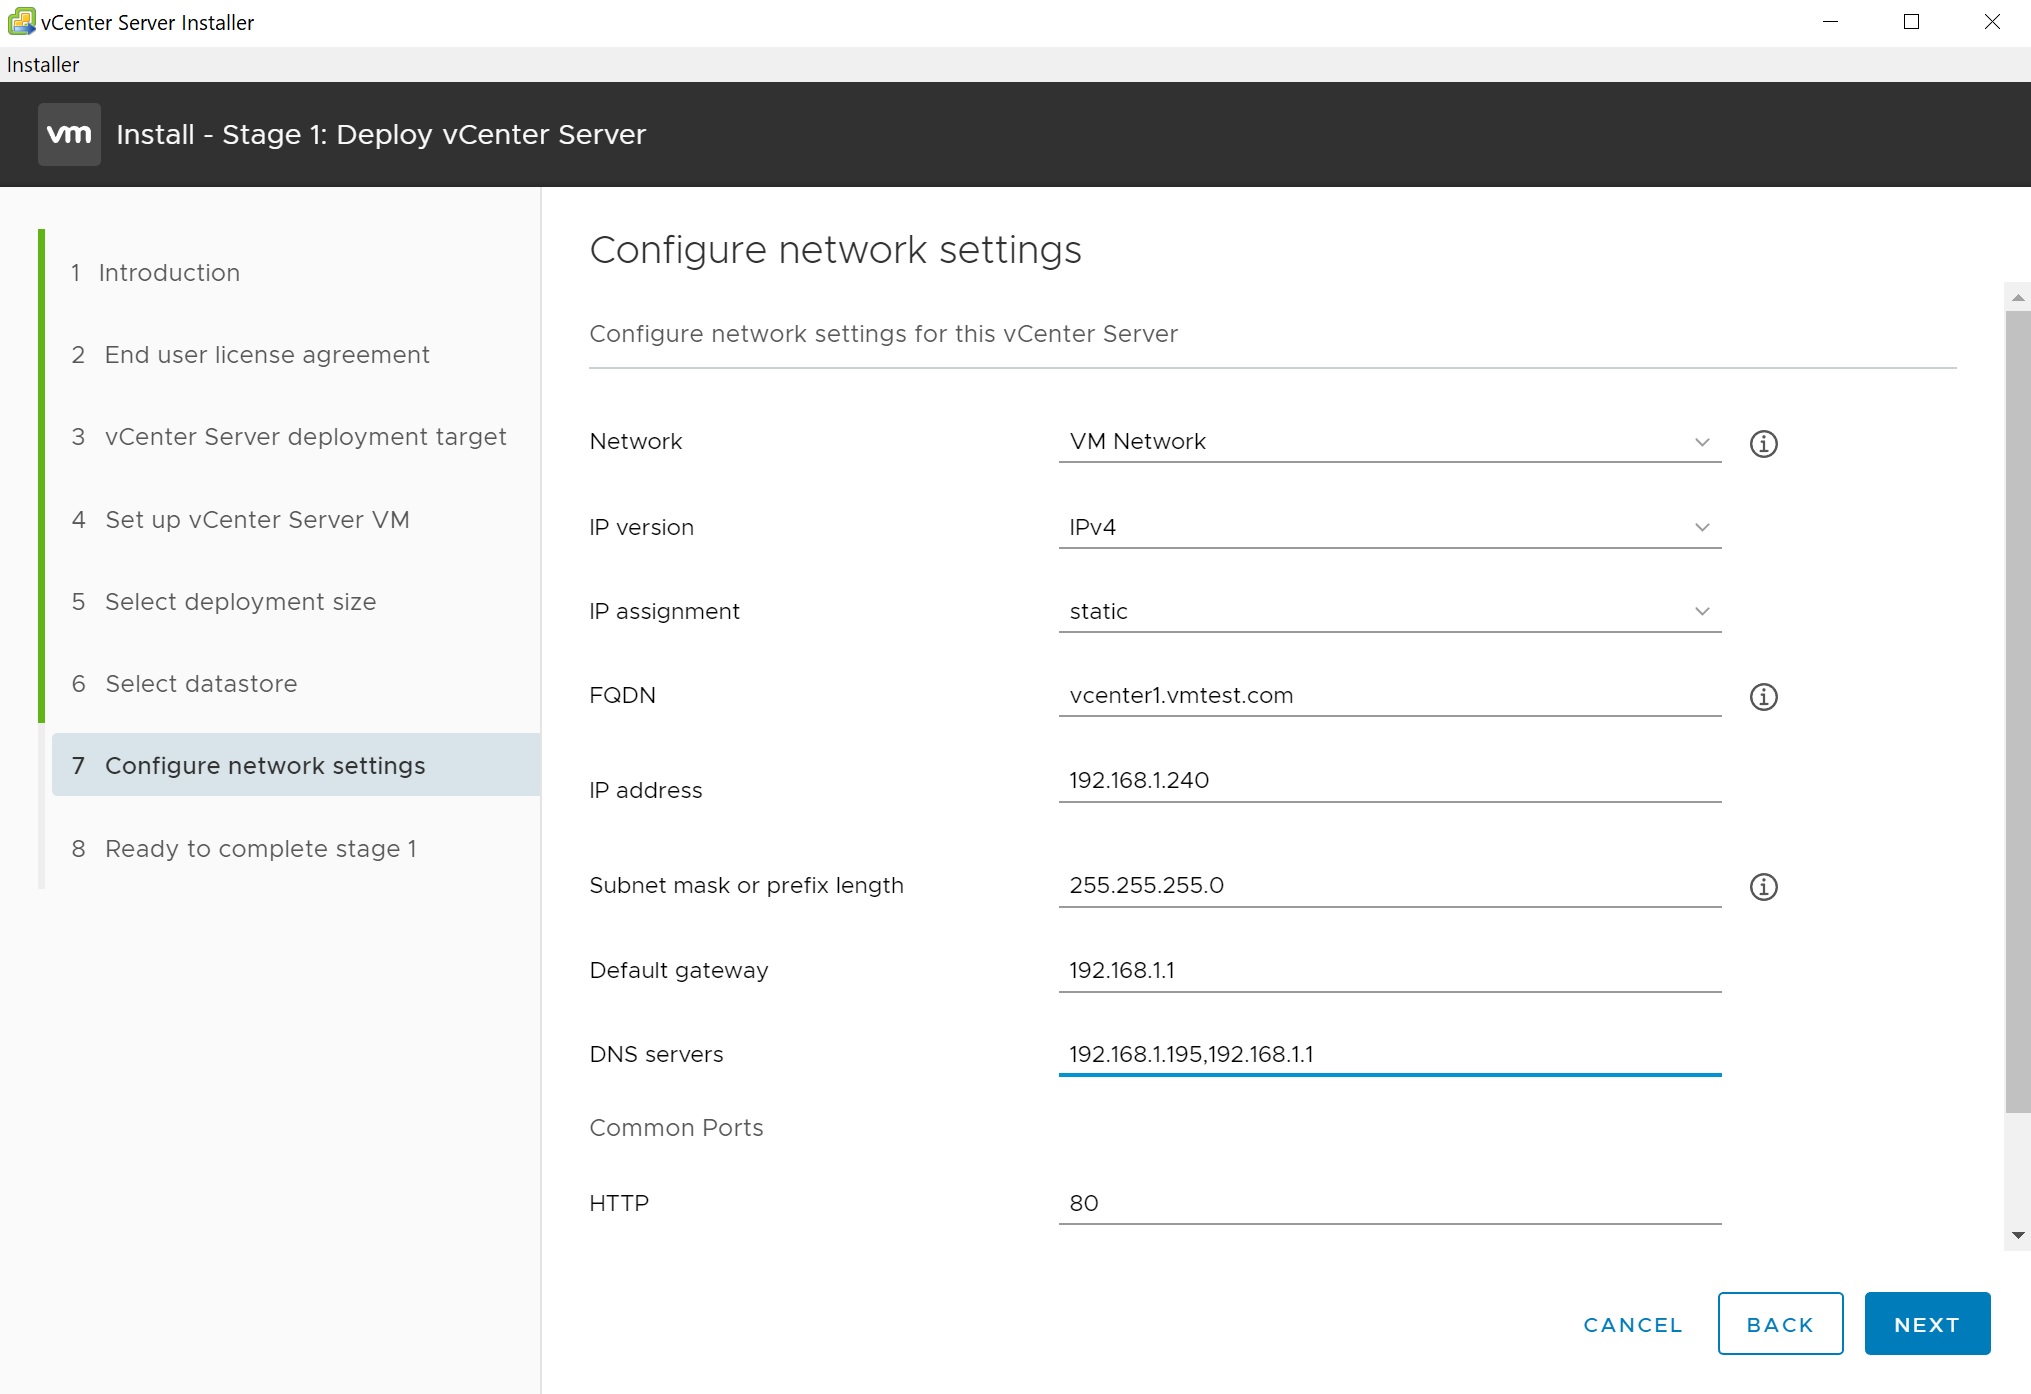
The next screen is the vCenter network configuration, here you enter the network details IP address, FQDN, Gateway, DNS server, etc
The final screen has a summary of the configuration, click next to begin the installation

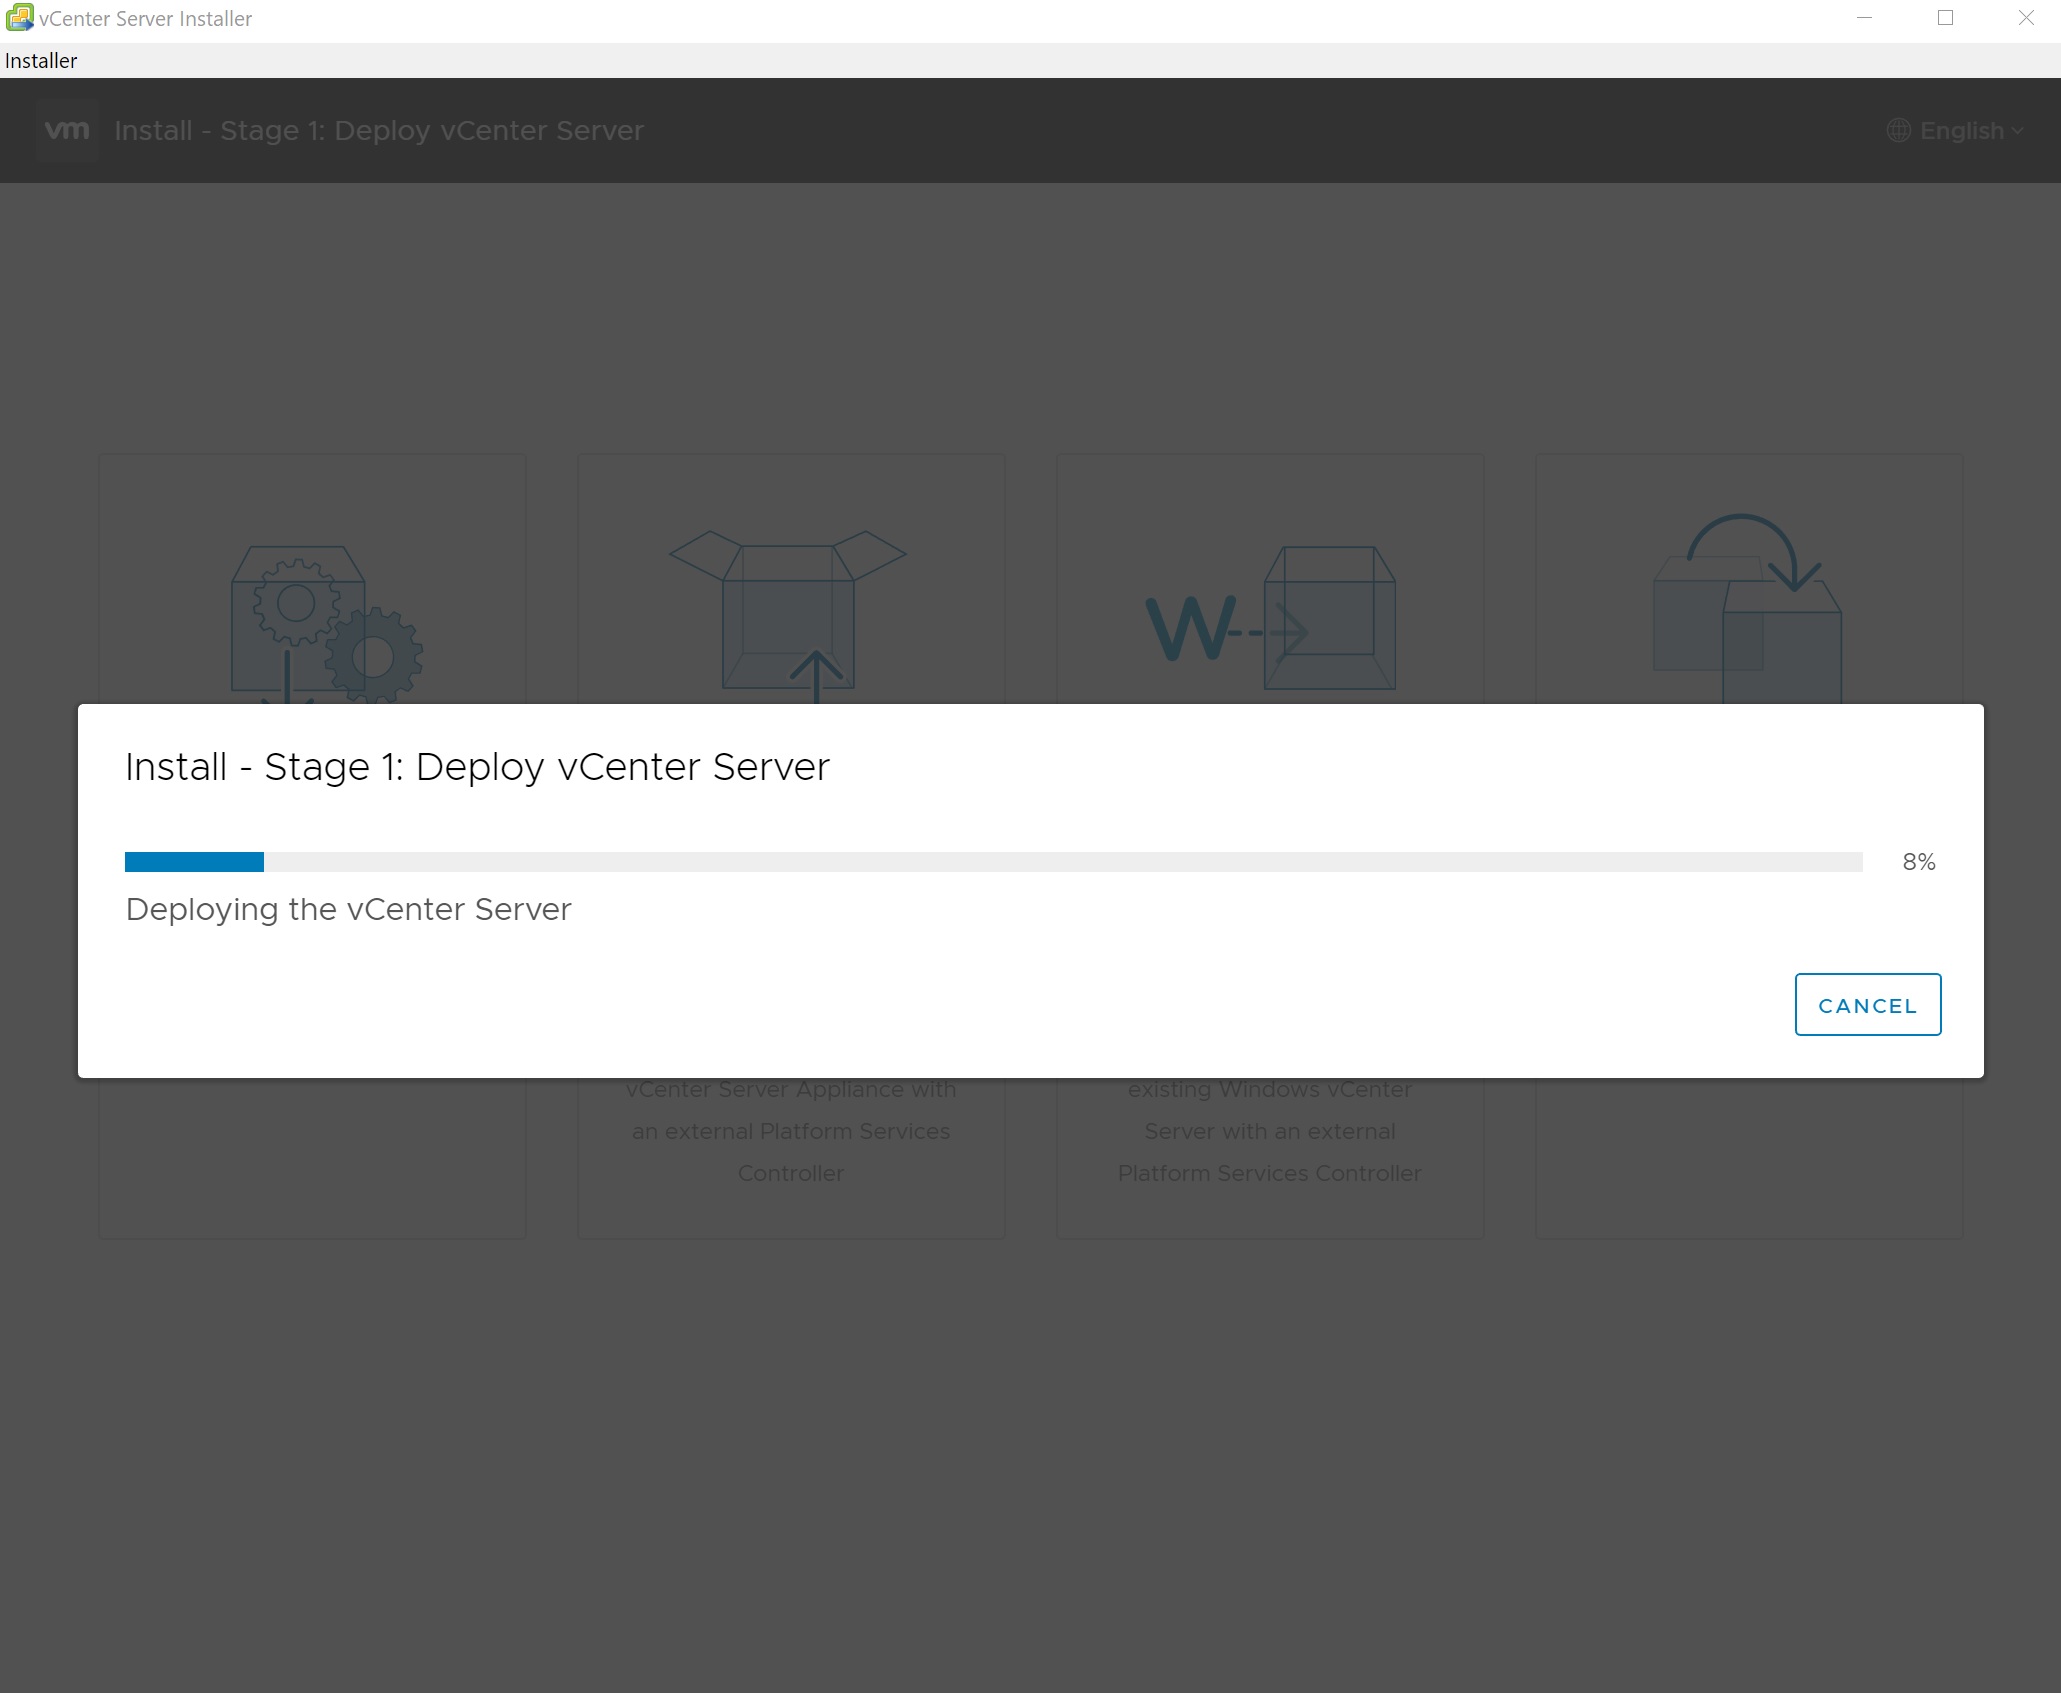
Now the installation begins, first with stage 1
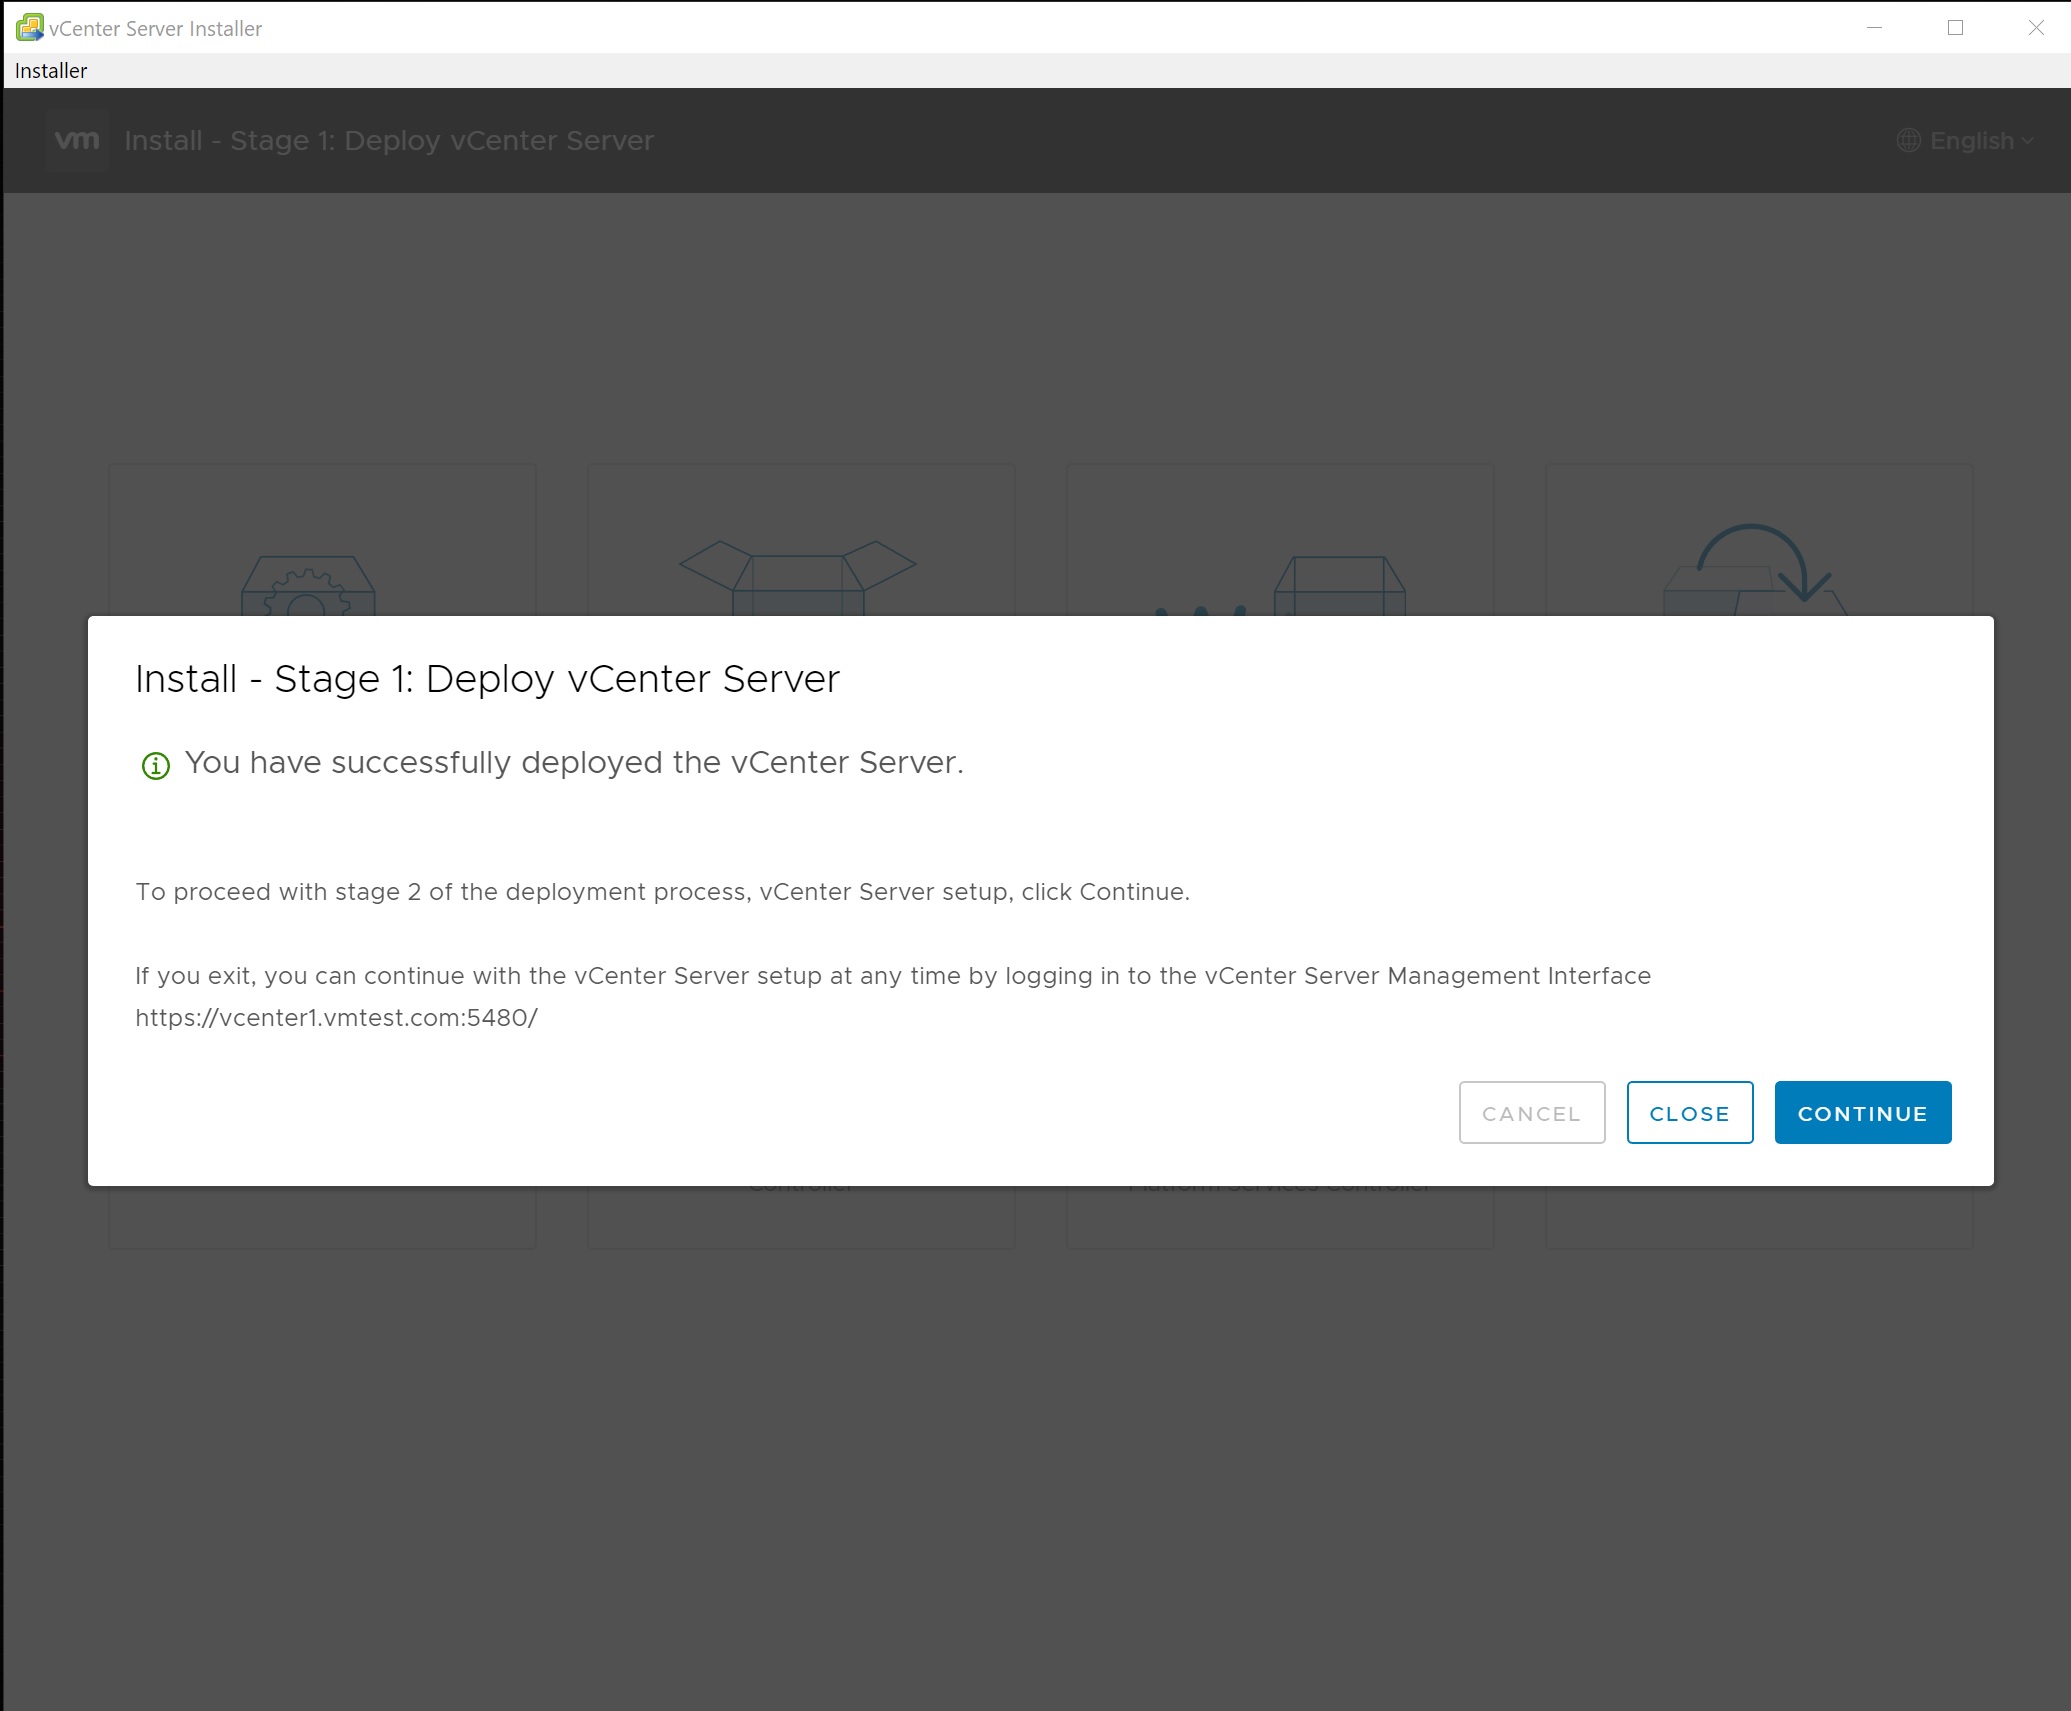
Finally stage 1 completes which took about 10 minutes, make a note of the URL as you will need this later
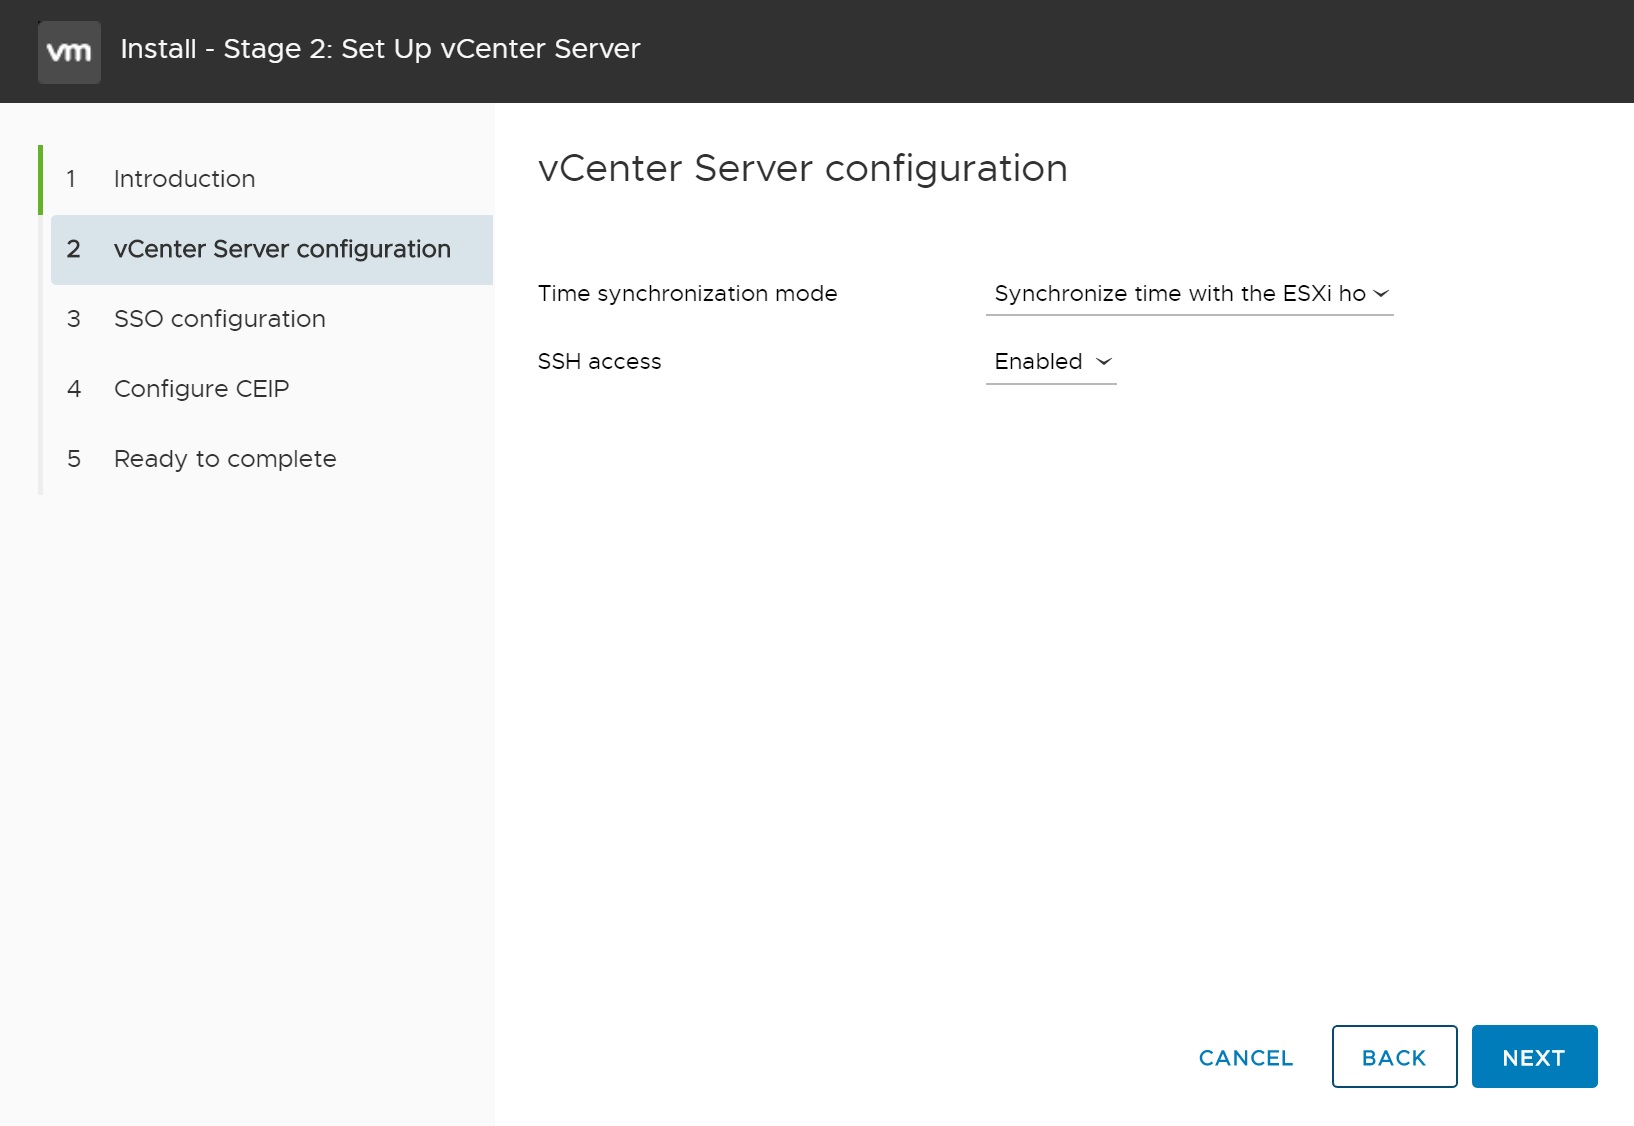
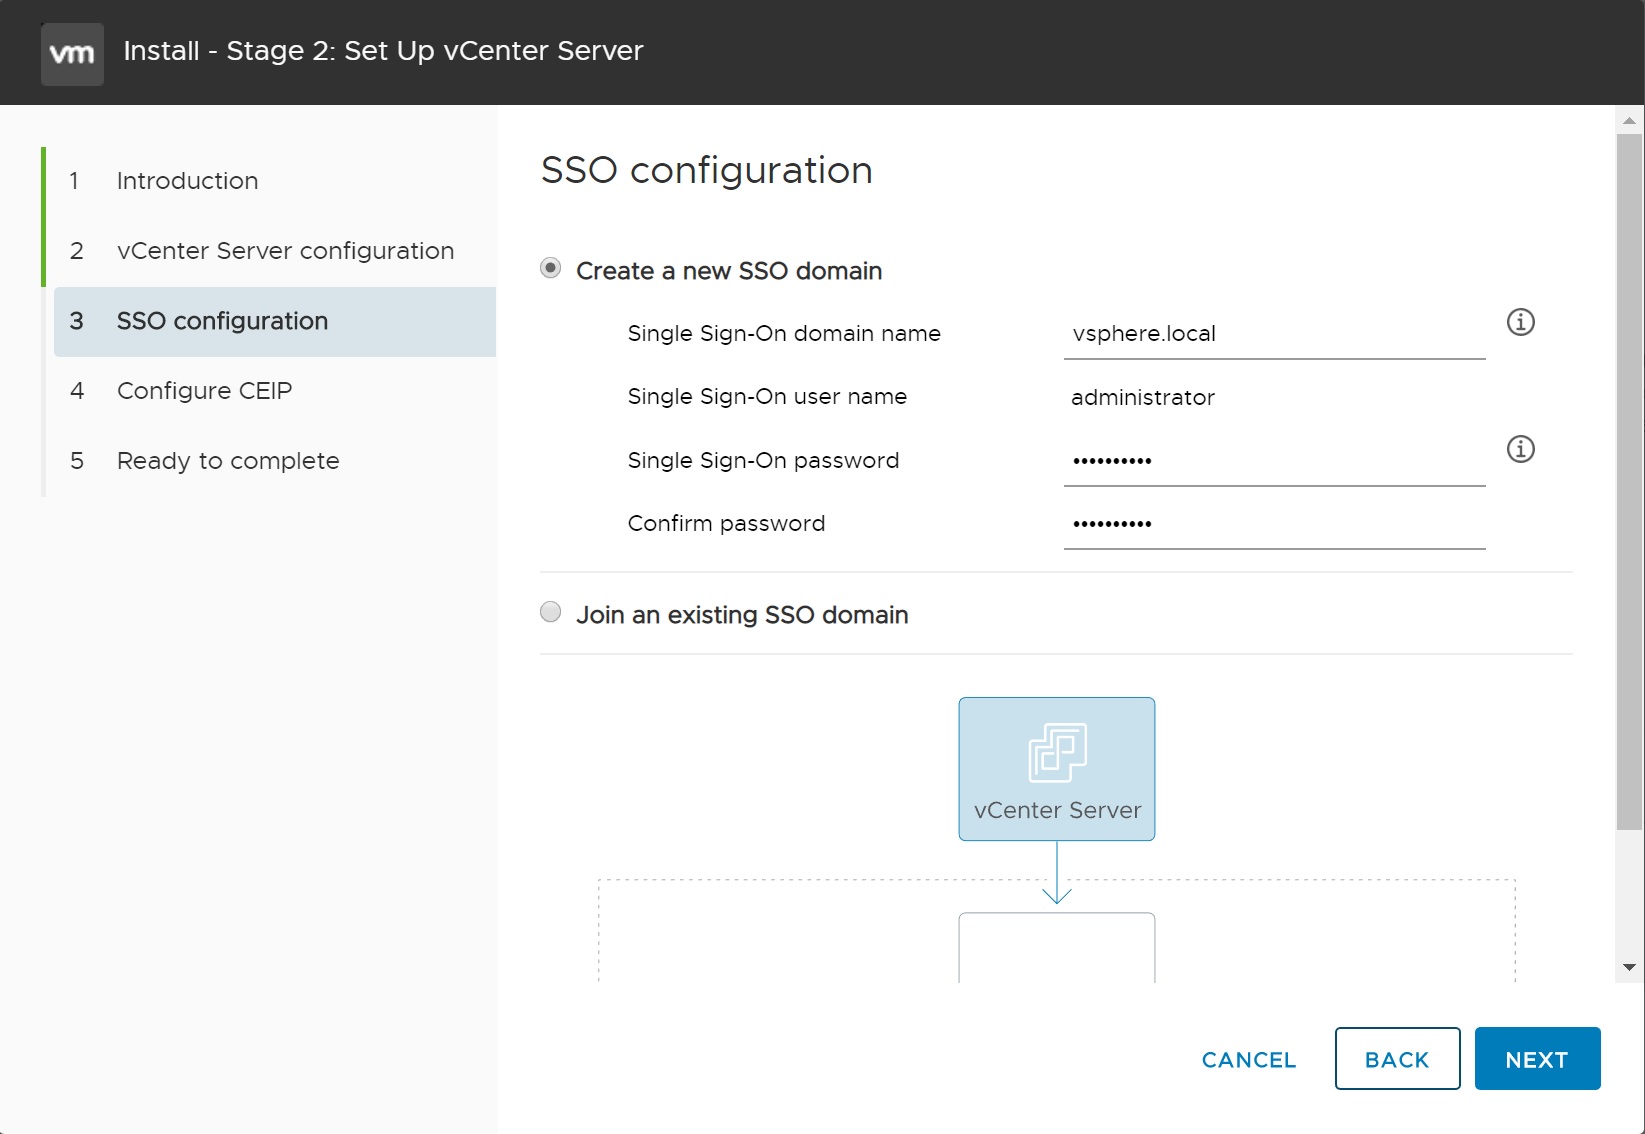
Now we start the 2nd stage, which is more related to the user details of the vCenter VM itself

First we setup NTP and enable SSH (ideal as you might at some point want to connect to the server via SSH)
Next we enter the user details, I generally keep the defaults here, if you have multiple vCenters you could opt to join an existing domain, but be careful if vCenter reside at different data centers or might power off, you might find yourself unable to login.
The next allows you to join the VMWare customers experience

Finally you come to the summary screen, check everything and if happy click finish to start the second stage.

The vCenter is started and then configured
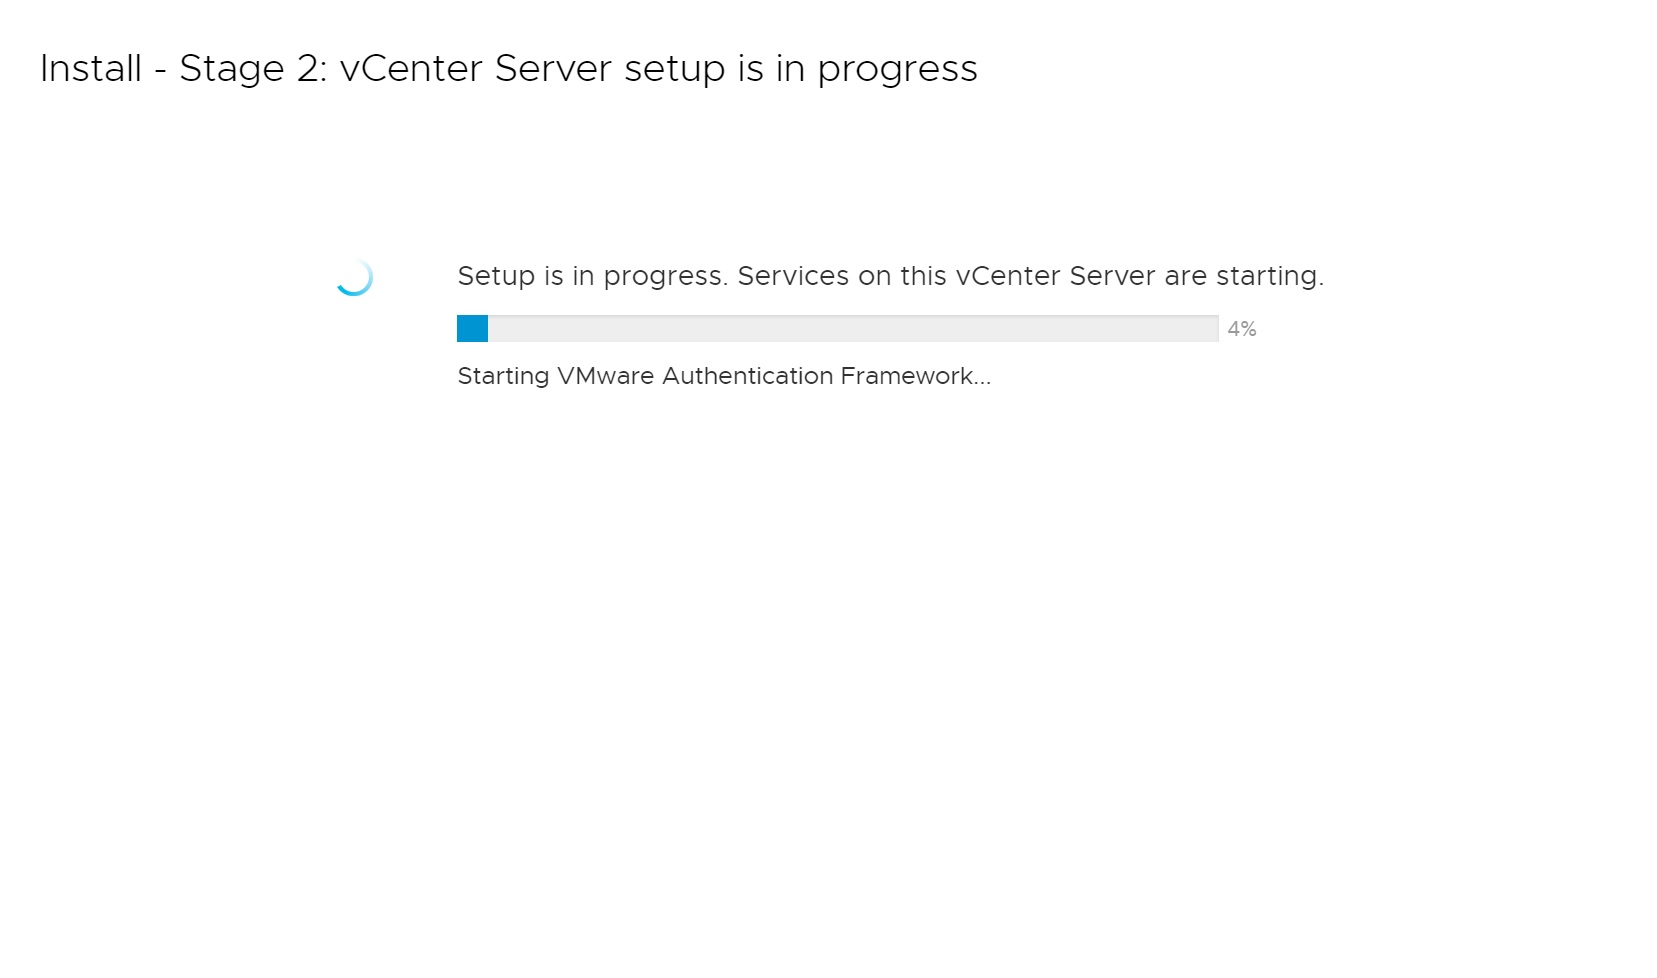
This stage took about 15 minutes, again make a note of the URL

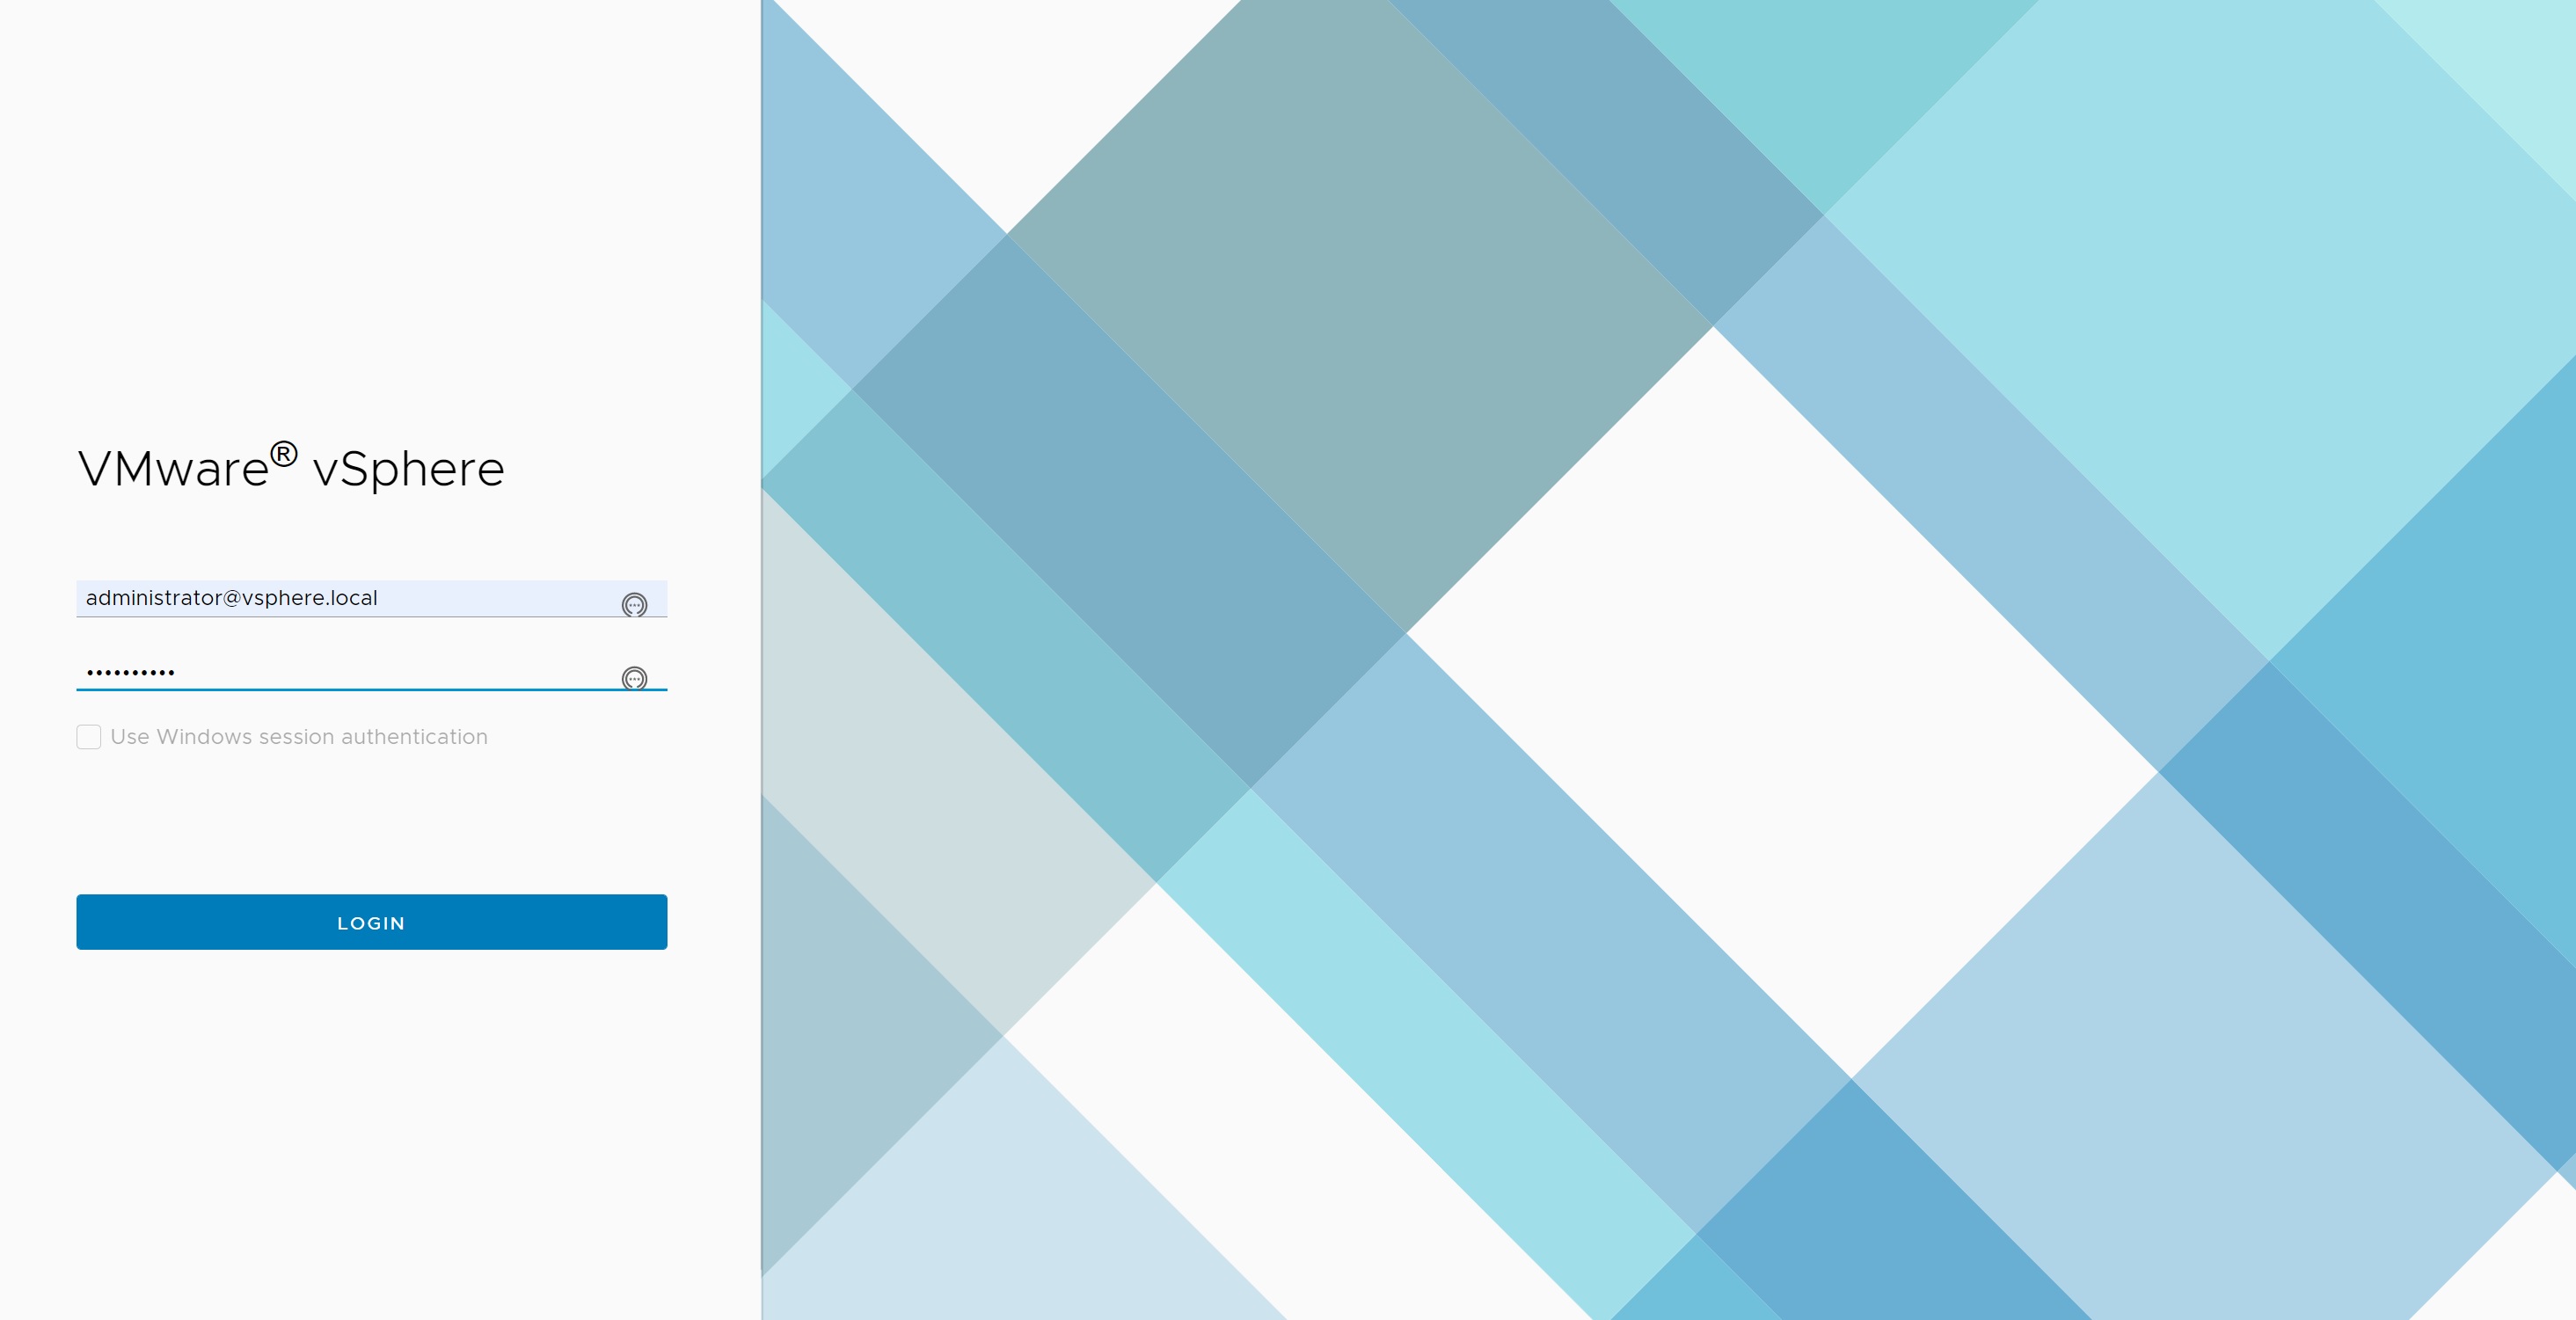
Once the vCenter VM is installed you should be able to login, using the URL noted above
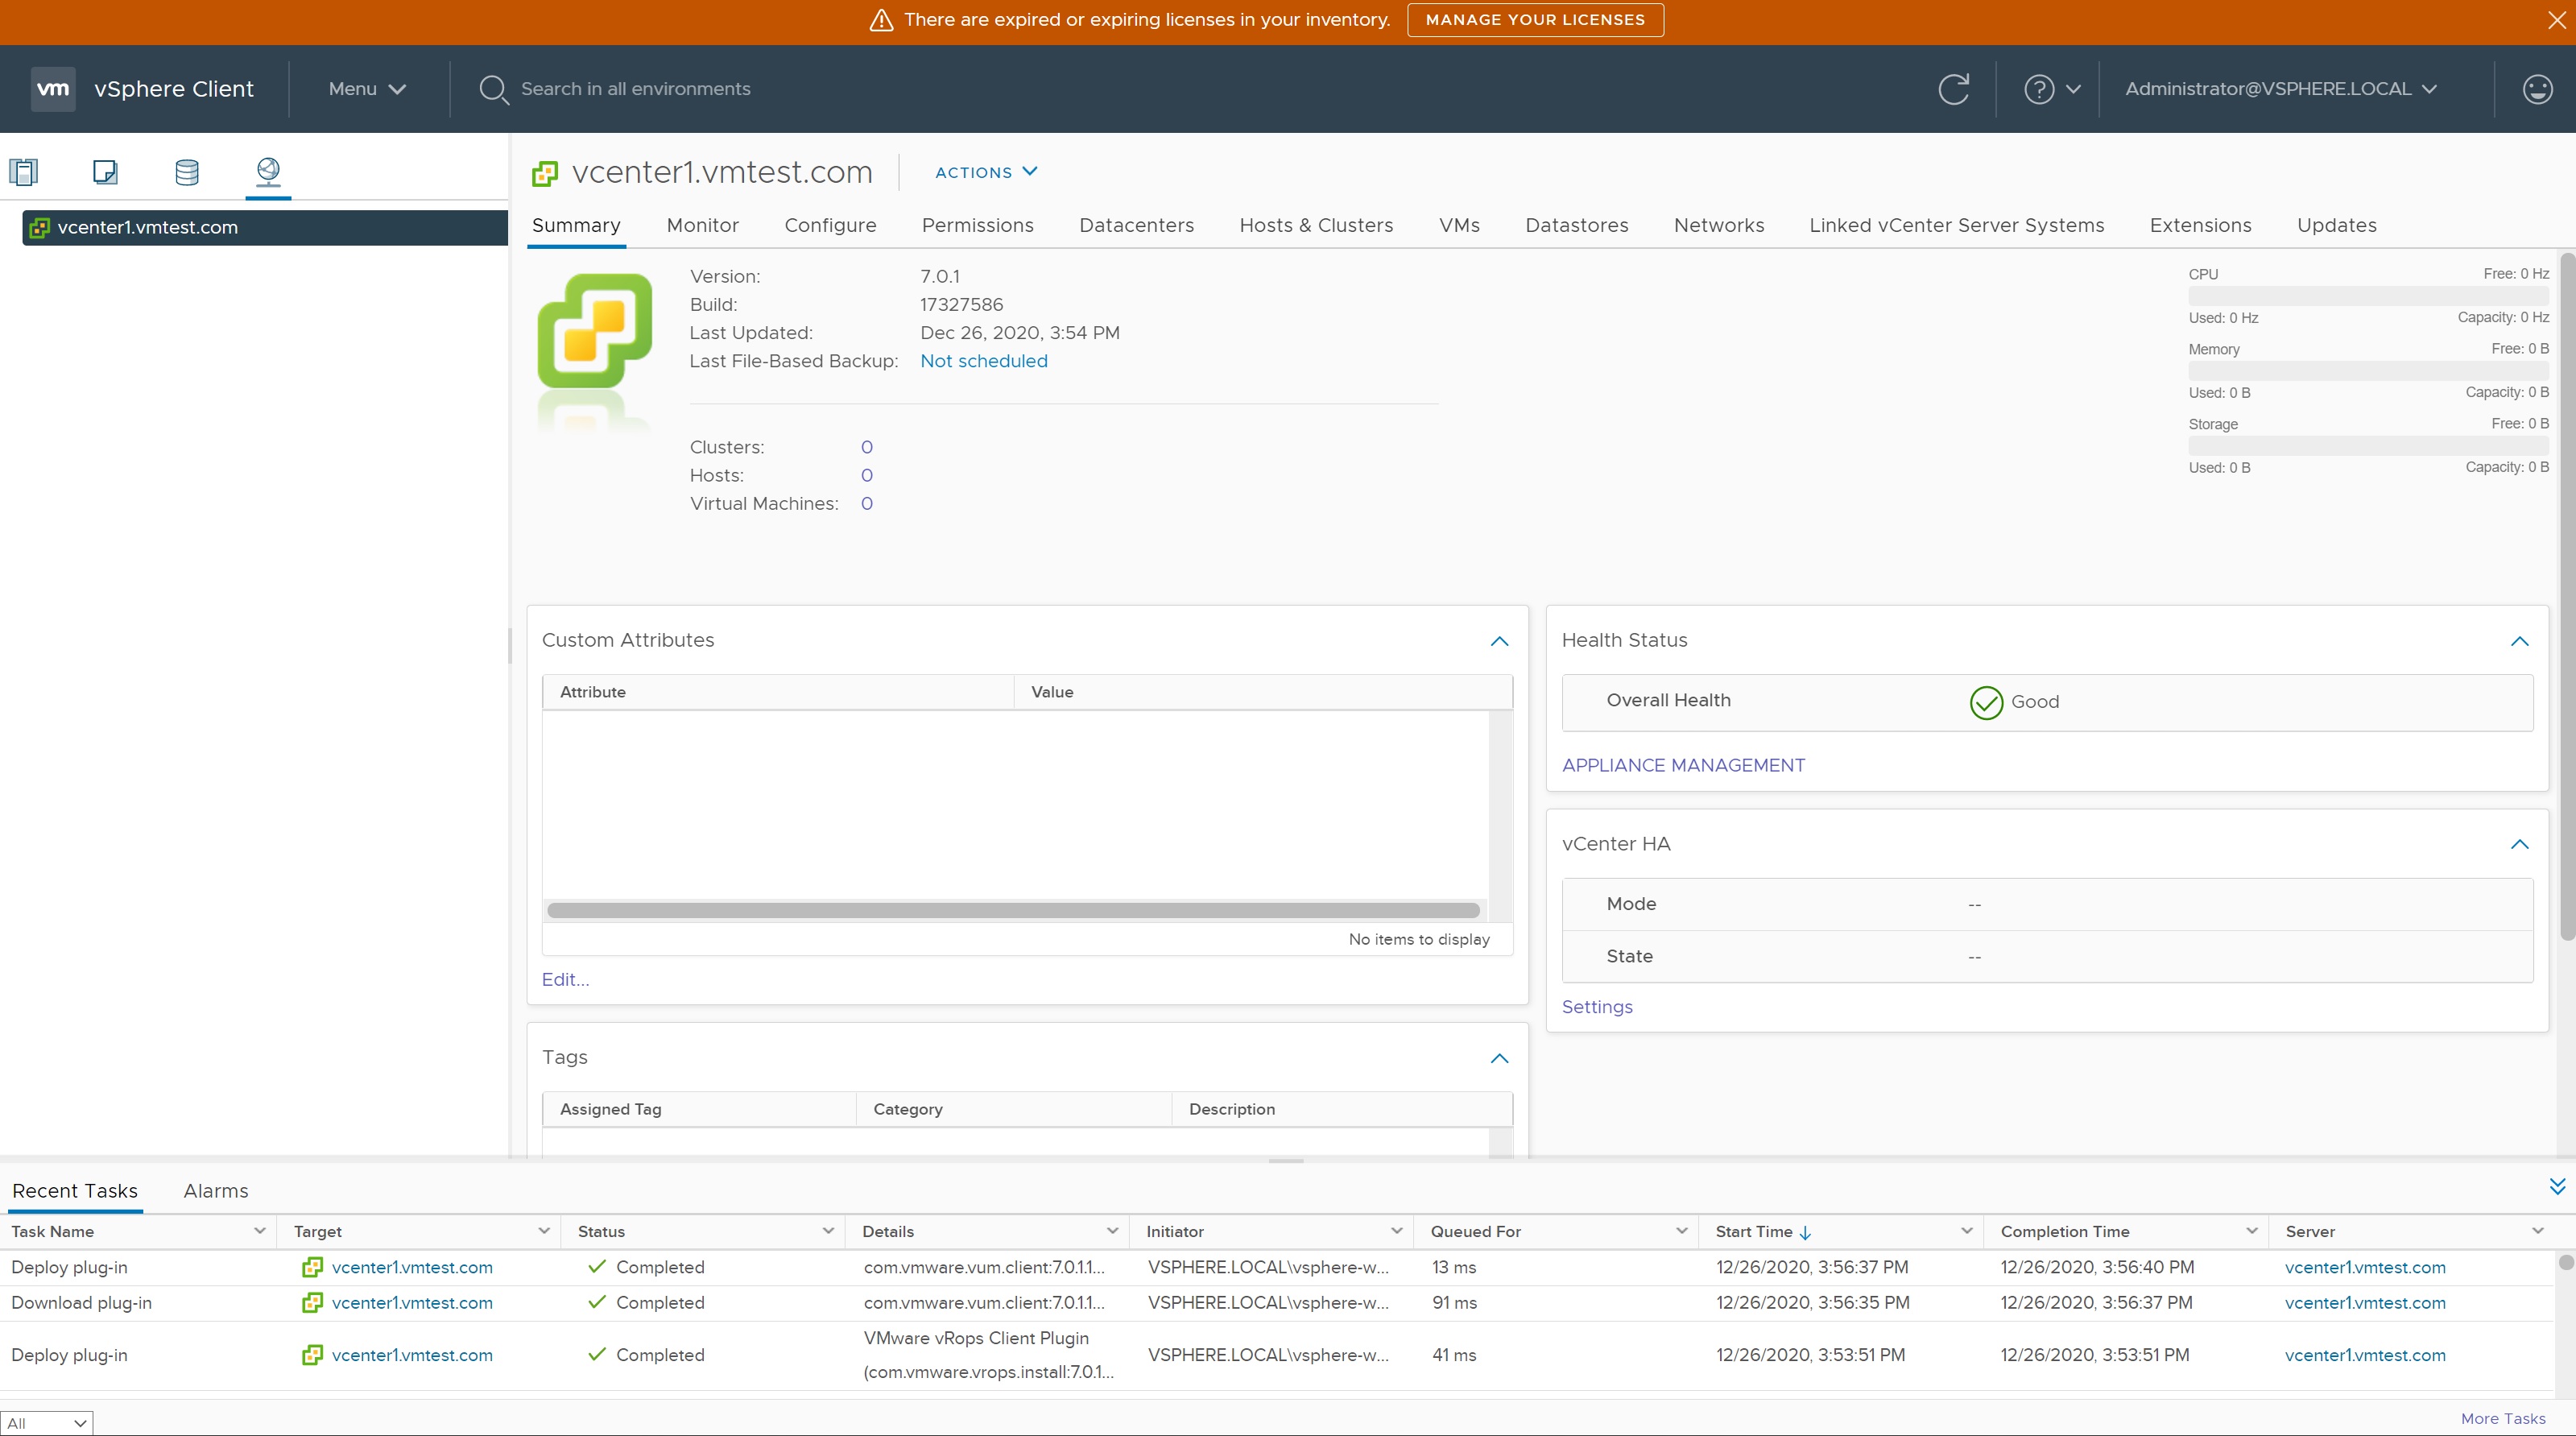
Finally we enter the vCenter main screen, here you configure the VMWare environment, ESXI servers, clusters, DRS, HA, Replication, SRM, etc
The vCenter management screen (accessed via the URL detailed above) allows you to change/configure the vCenter server itself, one point to note make sure that NTP is configured, features like Replication and SRM need all componets to be in time sync of each other.

If you made a note of the URL's you should have one for the VMware Environment GUI and for the vCenter Management GUI as per below
Thats it, vCenter it self is not hard to install and configure, in my more advanced section details on how to setup clusters, Replication and Site Recovery Manager (SRM)
| vCenter GUI | https://vcenter1.vmtest.com:443 |
| vCenter Management GUI | https://vcenter1.vmtest.com:5480 |