ESXi Installation and Configuration
VMware is pushing hard on the embedded version of its product, because the footprint is now much smaller it can be embedded into flash drives and ROMs. However for the time being there is still a good old fashioned installable version which is freely available for use.
As I have mentioned you can have a running ESXi server from a flash drive, this is called the embedded version of the VMware hypervisor, eventually this O/S will be in a ROM on the motherboard. All that will be left to do is setup a password, the IP address and server name which can all be done via the Direct Console User Interface (DCUI).

To create a USB memory stick for ESXi follow the below, please change the below to the latest version as I might not have the latest version below
| USB stick | Make sure that the USB stick is supported by VMware, here are some of the supported one, but do check with VMware web site
For testing purposes I would try any USB stick and see if it works, however try and make sure it is USB 3.0 compatible and is at least 16GB and is a high-speed device. |
| Installation | You will need to download the installable version ISO file, for here we will need to obtain the .dd image file which will be used to image a USB stick. Below is how to install onto a USB using Linux
|
I am not going to go over how to configure the rest of the ESXi server as there are many documents on the web already and the DCUI is very easy to use, however I will point out some defaults that have been created
- A default virtual switch called vSwitch0 is created with two ports groups called VM network and Management Network
- The root account by default will have no password set
- The default domain name will be localhost.localdomain
- If the local disks are blank then a local VMFS volume called datastore1 will be created
One thing regarding the network setup is that you can now test the network configuration within the DCUI which is very handy, a couple of screens in the DCUI are worth noting
- Configure Lockdown Mode - we have already mentioned this but is prevents access to the ESXi server directly from a vSphere client
- Restart Management Network - restarts the management when you have made changes i.e changes to IP address, etc
- Disable Management Network - if you have very high security then you may want to disable the management network
- Configure keyboard - this only changes the keyboard and not the language on the screen
- View Support Information - handy screen if you need to give VMware support some information basically serial and license numbers
- View System Logs - you can view the messages, config, management agent and the virtual center agent system logs
The last thing to mention is the tech support command-line/Putty access although you can use Putty to access the ESXi server it is not supported and maybe removed in future releases, from the DCUI screen. To configure select "troubleshooting mode options" then select "Enable remote tech support (SSH)", you then can restart the management network. You now should be able to ssh to the ESXi server and login as root. However if you want to use a command-line tool you should use either vCLI or PowerShell, again I will be covering these tools in another section.
You can also access a command-line from the console as long "Local Tech Support" has been enabled, which is in the troubleshooting mode options screen.
| Console comand-line | Make sure "Local Tech Support" has been enable in the DCUI
|
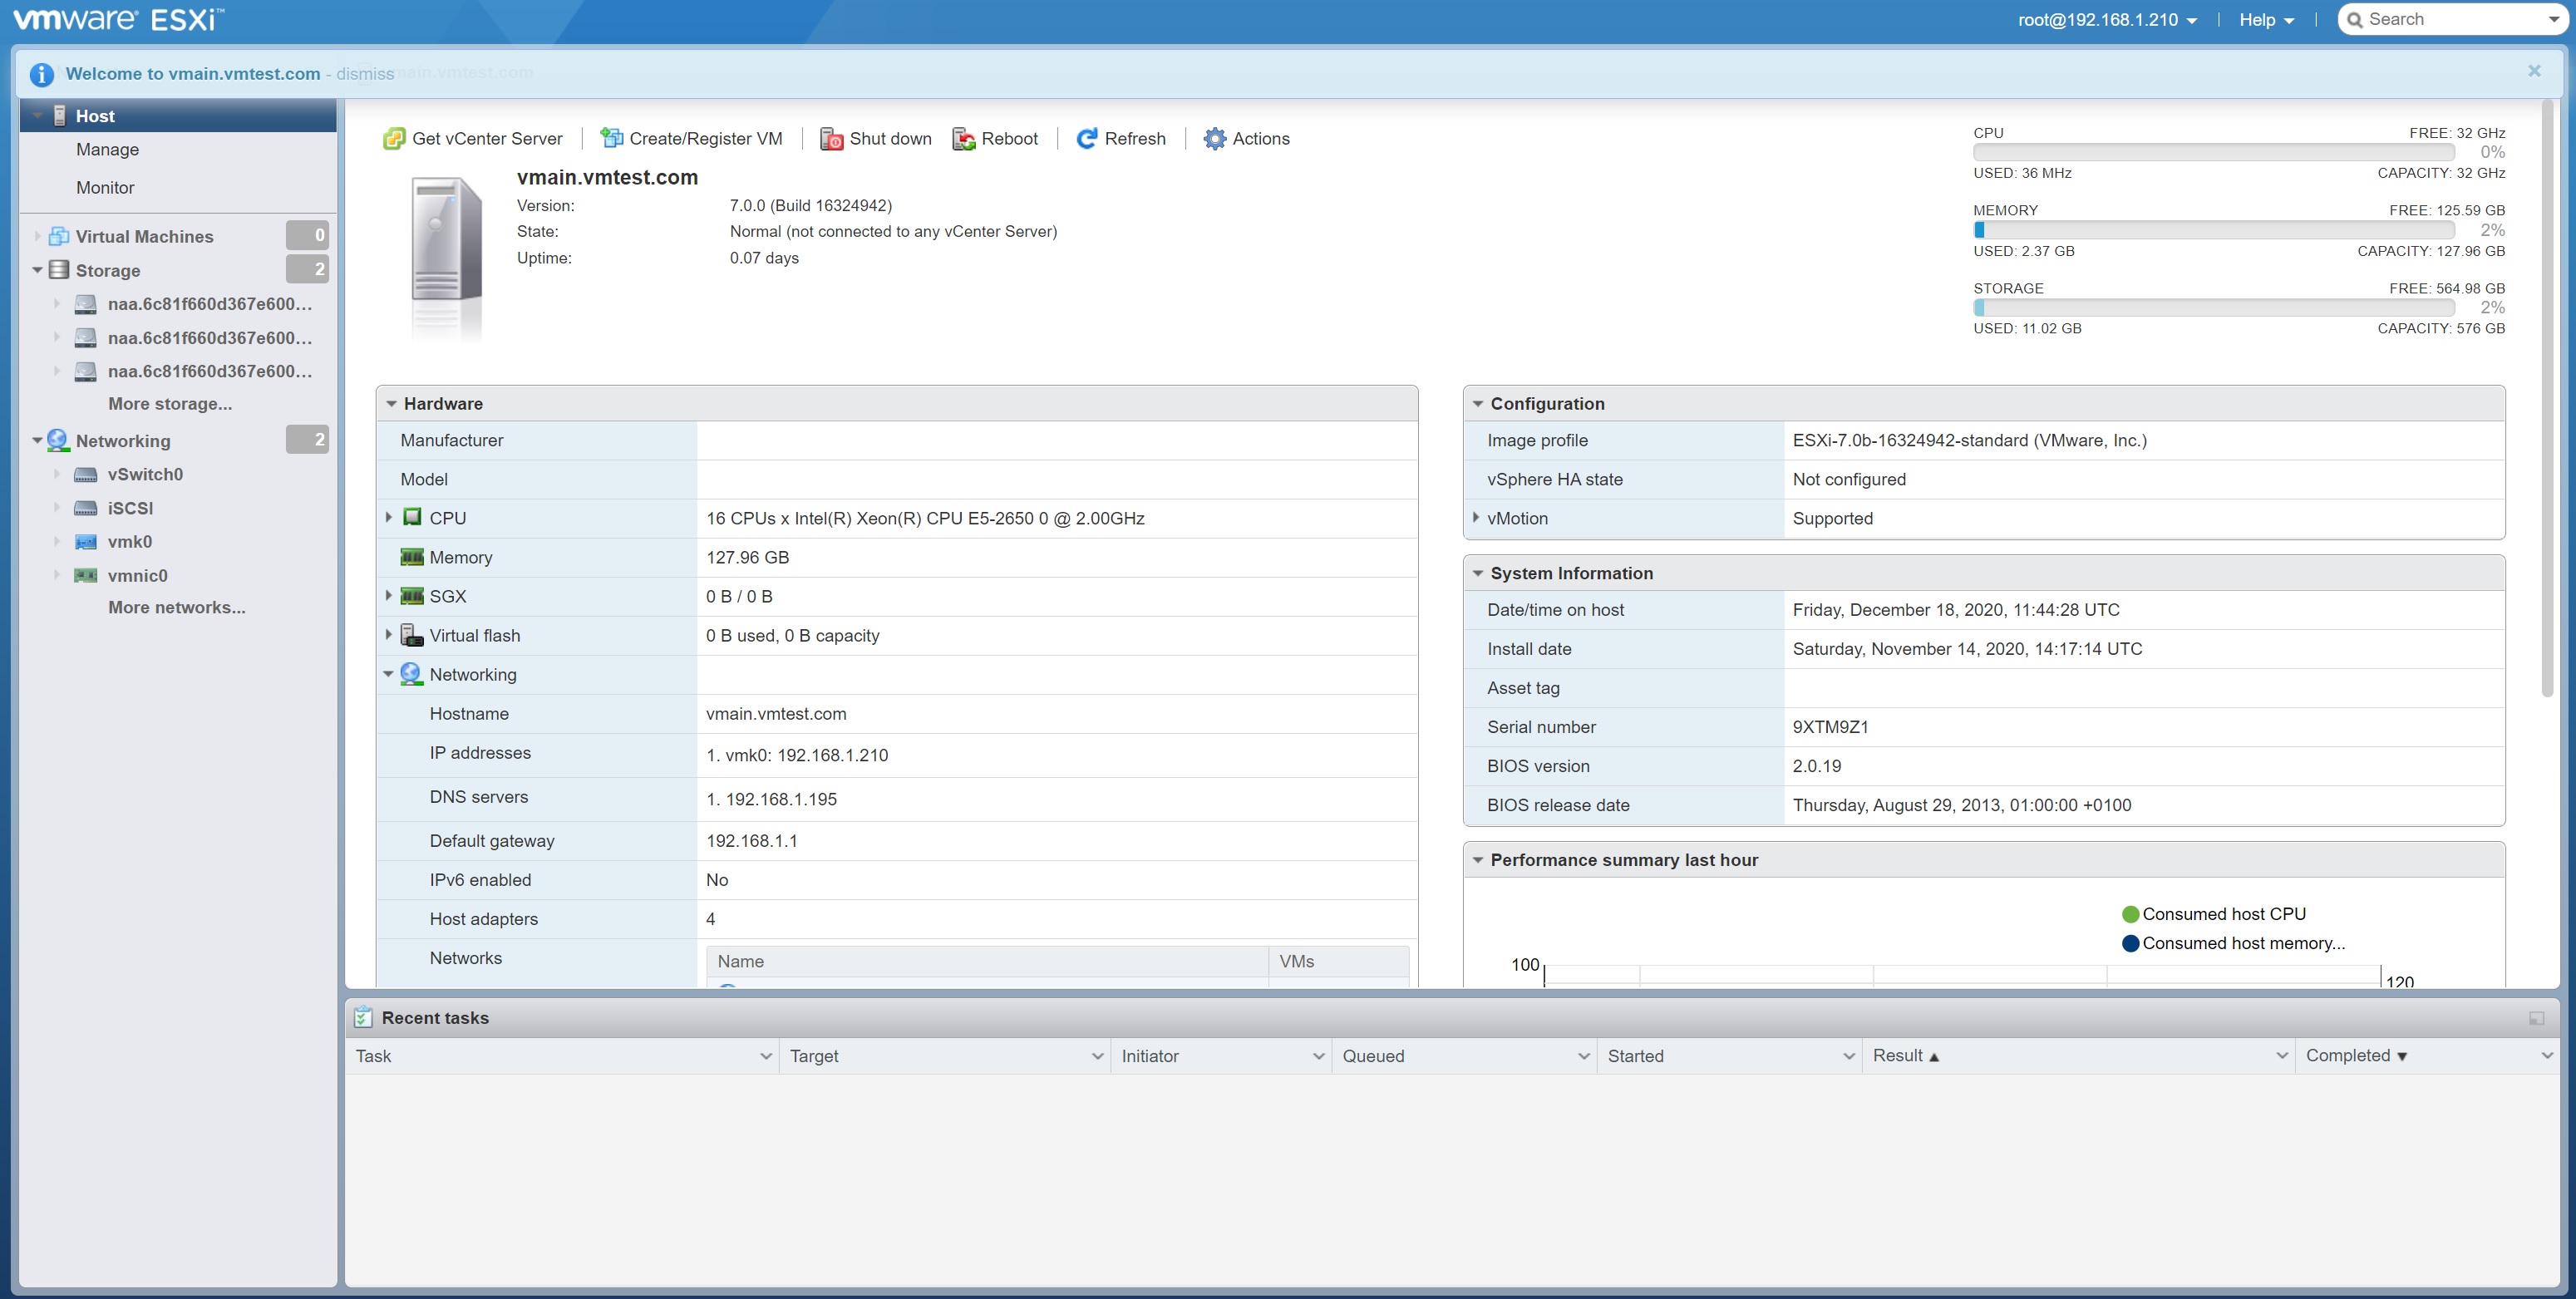
In older versions you had to install a vSphere client however by default the newer ESXi versions have a HTML 5 UI interface in which to configure the ESXi server.
The UI interface has all the option that the old client used to have, however many new features have been added to make it easier to configure the ESXi server.
vCenter is a management application that allows you to manage many ESXi servers in a single window. vCenter now comes as an appliance you simply download the vCenter installer and run it from your desktop/laptop, during the setup you give details on the ESXi server on which the vCenter server will be installed and will run from.
I have moved this section to it own vCenter installation section as its quite lengthly in terms of screenshots and explainations, I also have a vCenter Management section on how to manager the server itself after being installed.